So, you already have a Laravel application, and you want to add a blog to it? This guide is for you!
Hyvor Blogs is a simple and powerful blogging platform. In this tutorial, we will see how to create a blog with Hyvor Blogs and host it in your Laravel app’s /blog route. All contents of the blog will live inside a cache store in your application, which you can customize. We will use webhooks for cache invalidation.
Part 1: Set up Hyvor Blogs
In this part, we will create a blog and configure the basic settings needed for self-hosting.
First, create a blog at the Hyvor Blogs Console. You will get a subdomain, which you need in the next step.
Go to Settings → Hosting
Update Hosting on/at to Self-hosting
Set the Self-hosting URL to the absolute URL of your Laravel application’s blog route. For this tutorial, set it to
https://mywebsite.com/blog. You can customize the/blogroute later if needed.
Note: To test webhooks, this URL should be publicly accessible. Therefore, if you are testing locally, we recommend using a tool like ngrok to expose your Laravel site temporarily on the internet.Click Save
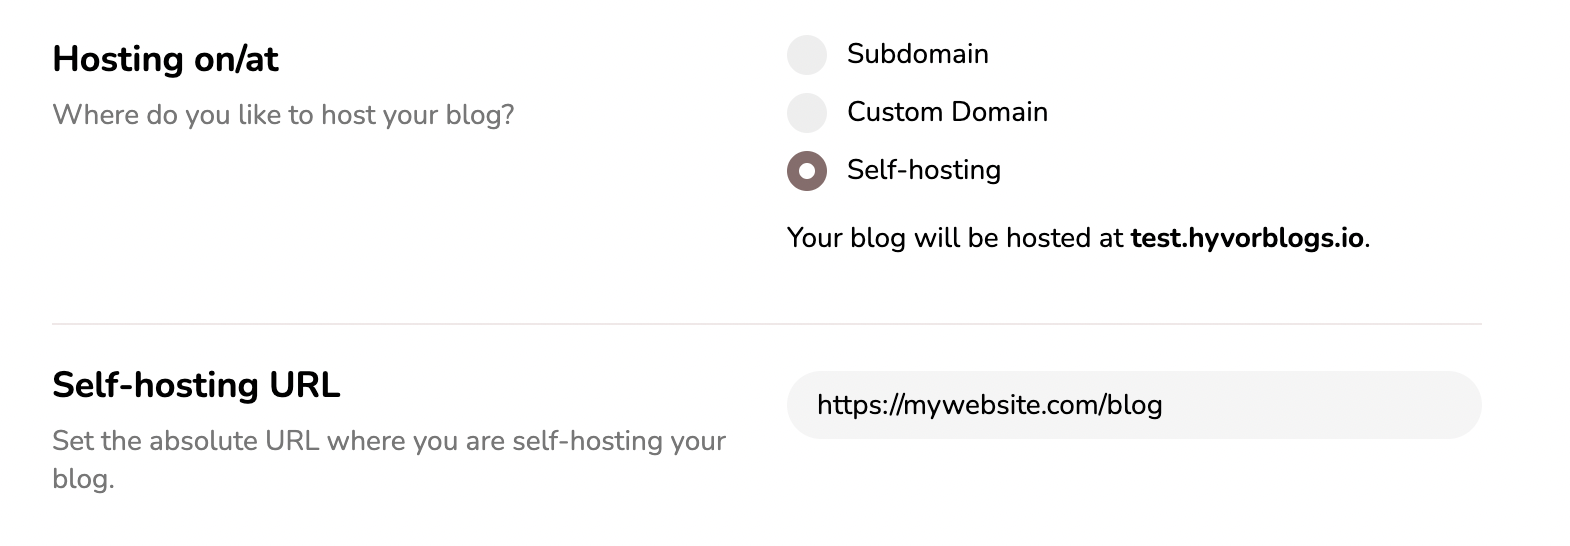
Hosting setting up in Hyvor Blogs Console
Go to Settings → API Keys
Click CREATE
Set a name (ex: “For Laravel Blog”)
Select Delivery API as the API
Create API Key
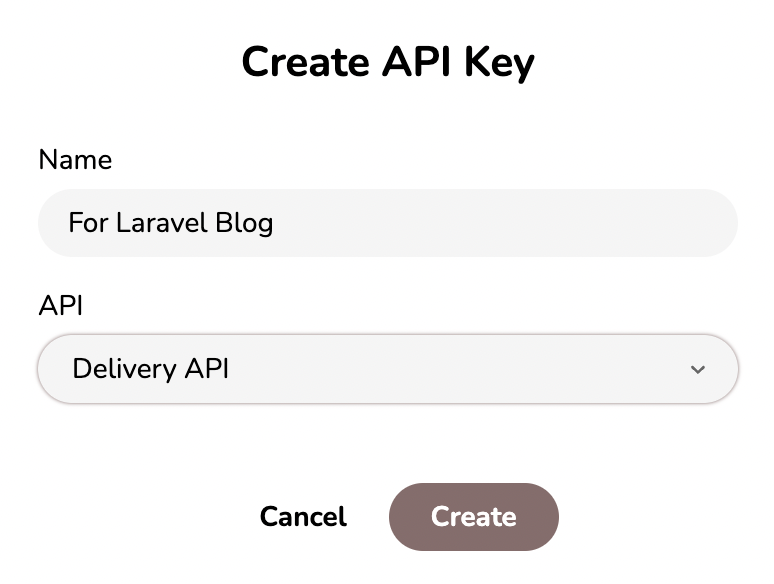
Creating an API key
This API key will be needed in the next step.
Go to Settings → Webhooks and create a Webhook with the following values.
URL: Set this to “your website URL + /hyvorblogs/webhook”. Ex:
https://mywebsite.com/hyvorblogs/webhookSelect the following events
cache.singlecache.templatescache.all
You will need the Webhook Secret in the next step.
Part 2: Set up Laravel Application
In this part, we will set up your laravel application to “communicate” with Hyvor Blogs APIs/Webhooks to render your blog correctly.
First, install the hyvor/hyvor-blogs-laravel Laravel package in your project using composer.
composer require hyvor/hyvor-blogs-laravelThen, run the following command to generate the config file.
php artisan vendor:publish --provider="Hyvor\HyvorBlogs\HyvorBlogsServiceProvider" --tag="config"This command will copy the default configuration file to config/hyvorblogs.php in your application, where you will be configuring the blog.
1<?php 2blogs key contains an array of blog configurations. It allows you to set up multiple blogs in the same Laravel application. Let’s configure a blog.
Set
subdomainto the subdomain of the blog, you created in the first step. You can get it to Console → Settings -> Hosting.Set
delivery_api_keyto the Delivery API key, you created earlier at Console → Settings -> API KeysSet
webhook_secretto the secret you got at Console → Settings -> WebhookSet
routeto the base path of your blog within the Laravel application. If you change this, make sure to update the Hosting URL in the Console.(optional) Set
cache_storeto use a custom cache store to cache your blog.(optional) If you need to add any additional middleware, use the
middlewarearray.
Now, try visiting the /blog path of your blog. If everything is fine, your blog should be displayed there. Try updating a post to make sure webhooks are working.
Finally
If you have any troubles, comment below or contact support.
If you would like to know how this works internally, see our self-hosting with web frameworks documentation.
Once you have set up everything, you can customize your blog theme and start writing. Our documentation has all the information you need.
If you like to set up multiple blogs within the same applications, you can add more configuration arrays to the
blogsarray in the config file.Any problems with the Laravel package? Raise an issue or contribute at Github.

Translations: Français
Comments