Tags
Tags can be used to group similar posts. You can assign one or more tags to a post.
Tag index page
Each tag creates an index page (/tag/{slug}), which lists the posts of that tag. This makes easy for users to browse posts of a specific tag. You can change the base URL of tag index pages (/tag/) by editing routes.
Assigning a tag to a post
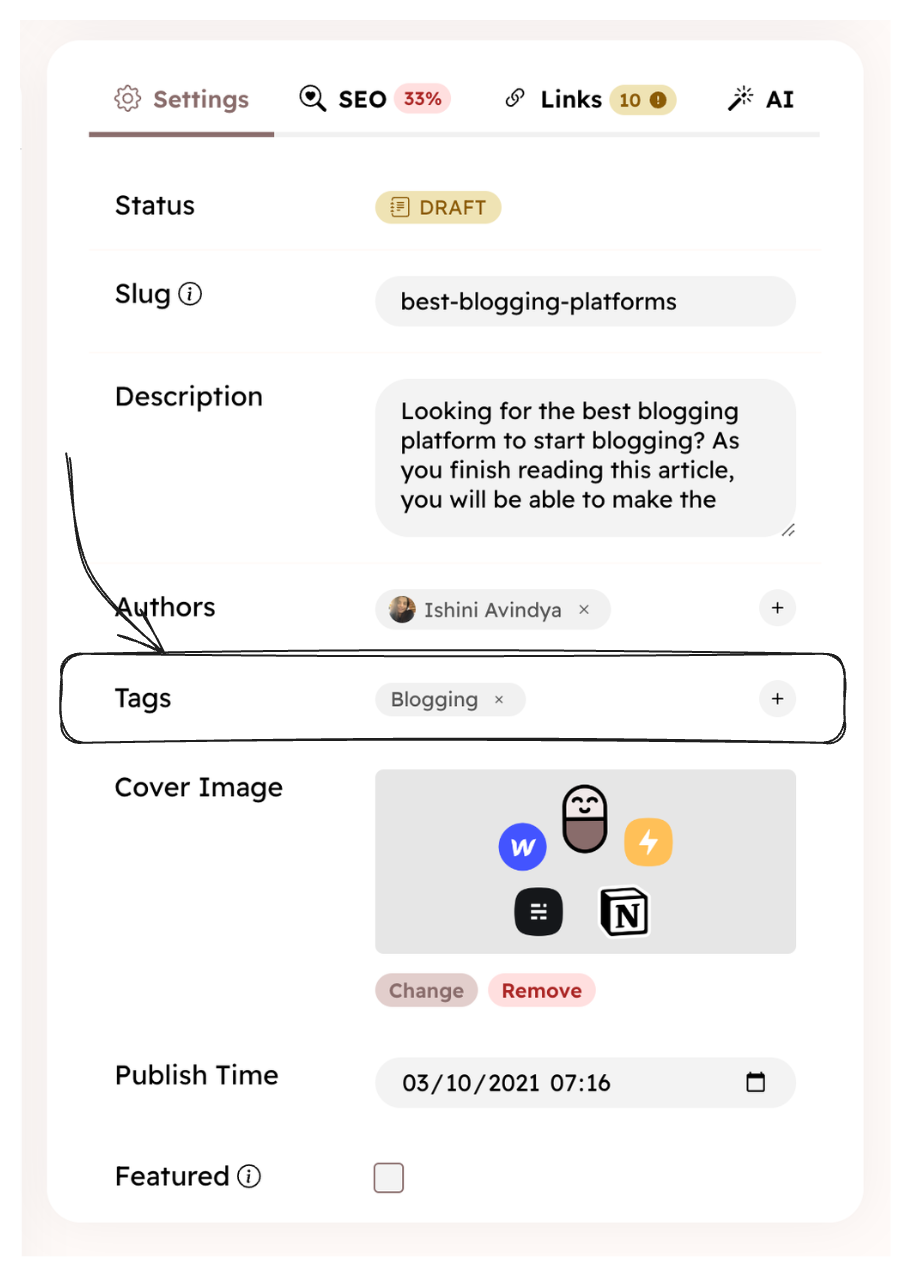
You can assign a tag to a post in the post editor. In post settings, click the + icon next to the tags field to assign a tag. Then, type the name of the tag you want to assign. If the tag exists, it will be assigned to the post. If not, you can create a new tag.
Creating a tag
There are two ways to create a tag:
Create a tag in the post editor
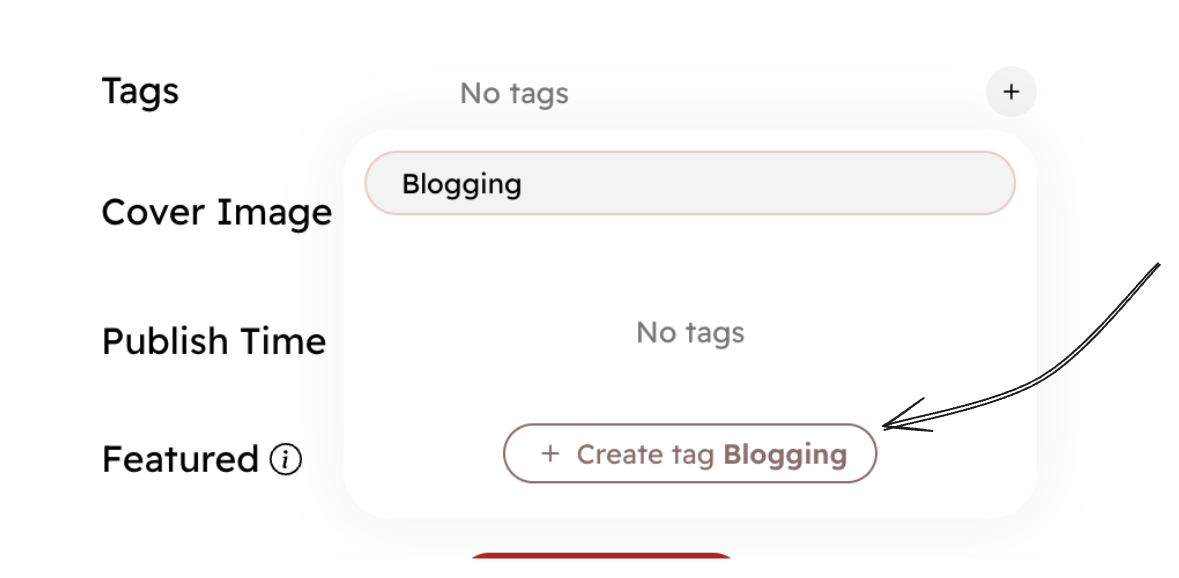
You can easily create a new tag while writing a post. In post settings, click the + icon next to the tags field to assign a tag. Then, type the name of the tag you want to create. Then click the Create tag button.
Create a tag in tag settings
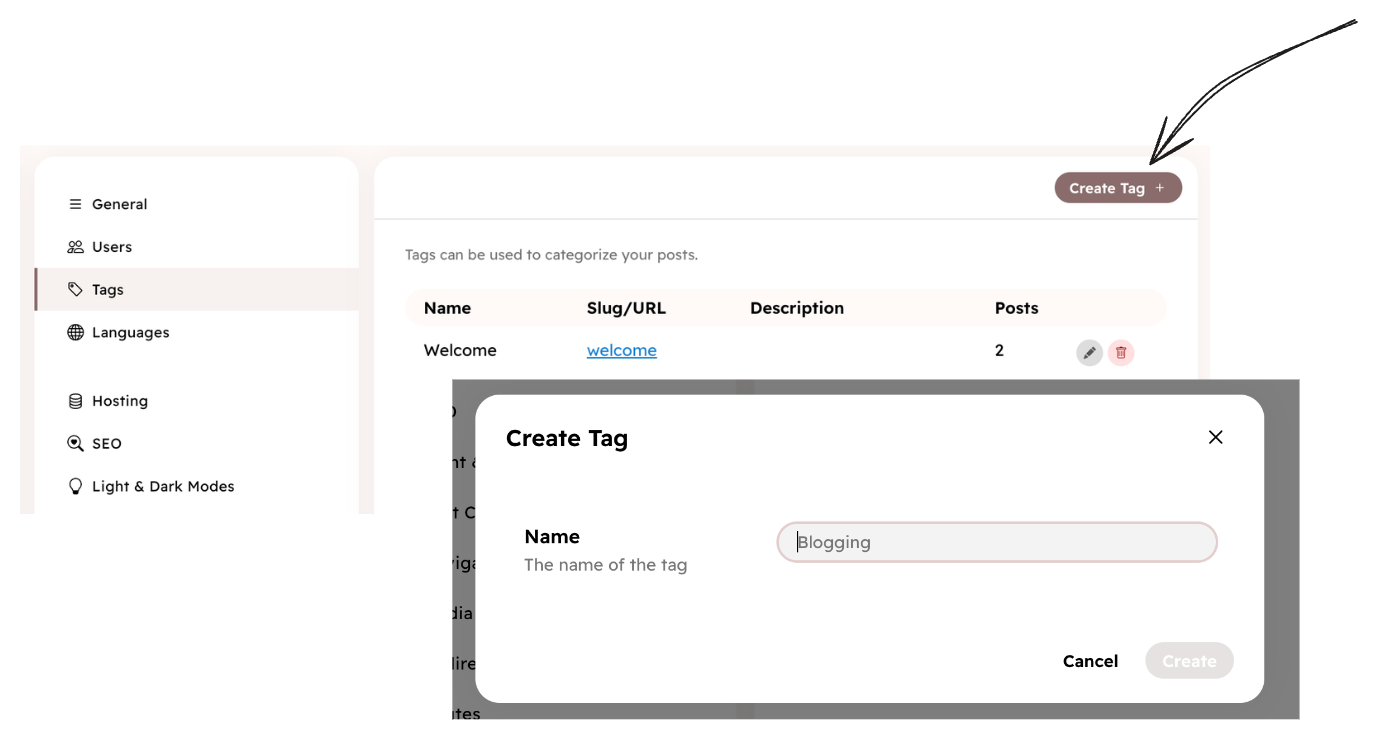
You can also create a tag in Settings → Tags.
Private tags
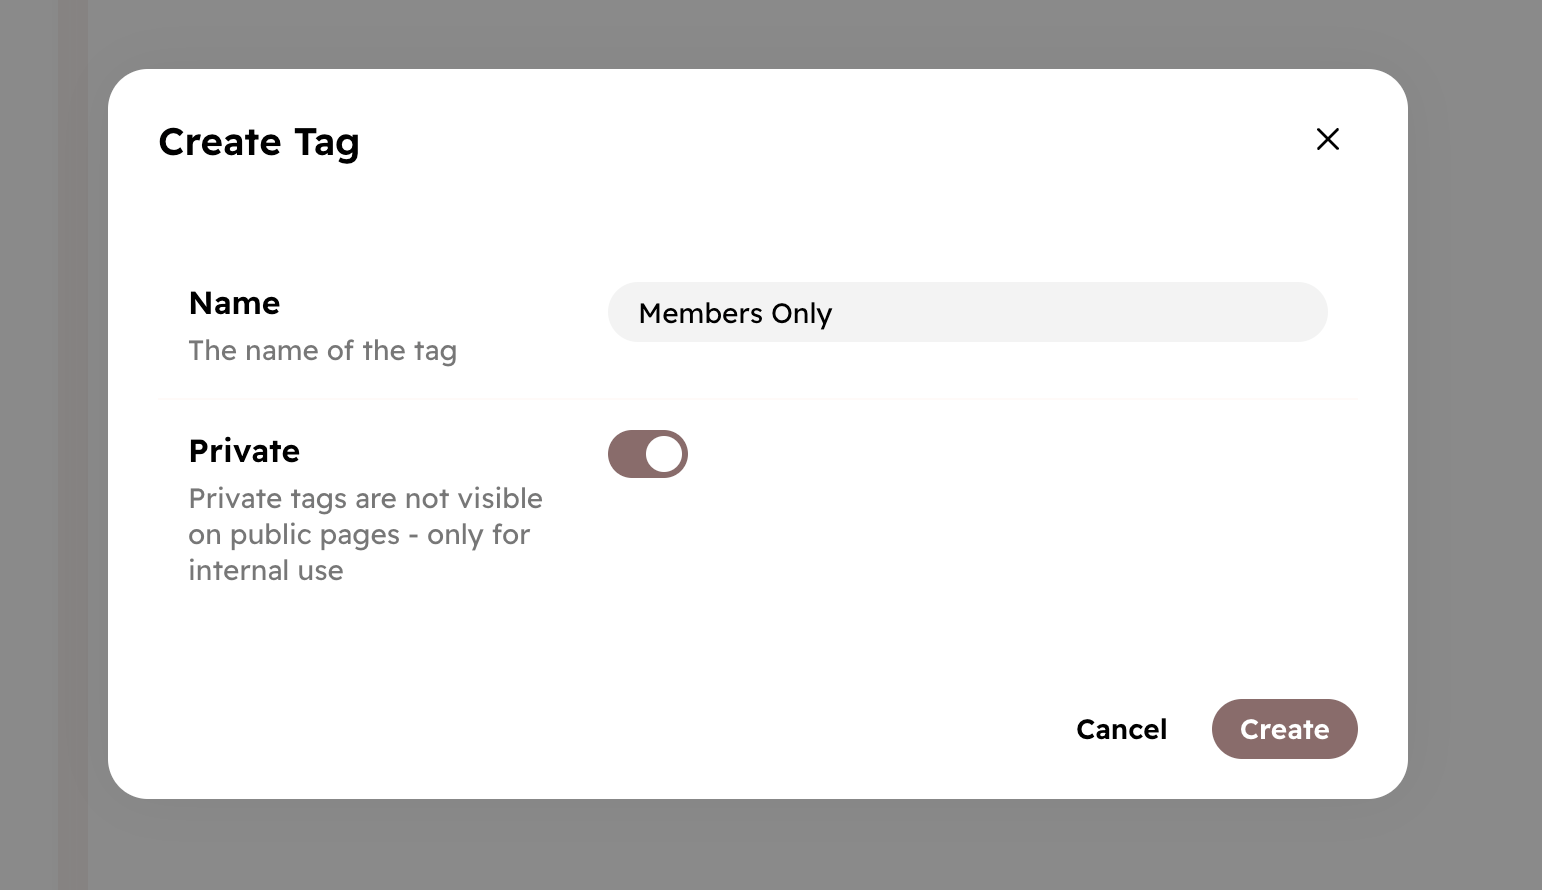
Private tags are not shown publicly on your blog. They are only used for internal purposes. For example, you can use a members-only tag to mark posts that are only visible to members by editing your theme code, but you don’t want to show this tag on the tag index page.
To make a tag private, check the Private checkbox in the tag settings when creating or editing a tag.
Updating tag settings
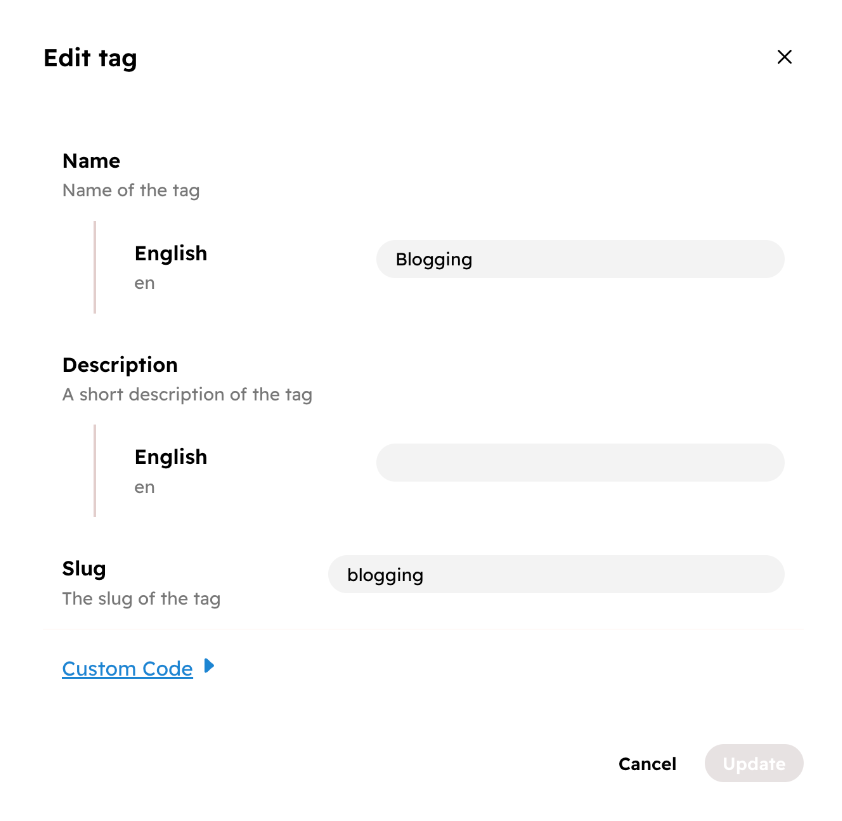
There is a few settings you can change for a tag in Settings → Tags.
- Name: The name of the tag. This is what users see.
- Description: A short description of the tag. This may be shown on the tag index page.
- Slug: The slug of the tag index page.
- Custom Code: The custom code you add here will be added to the posts of this tag, not to the tag index page.
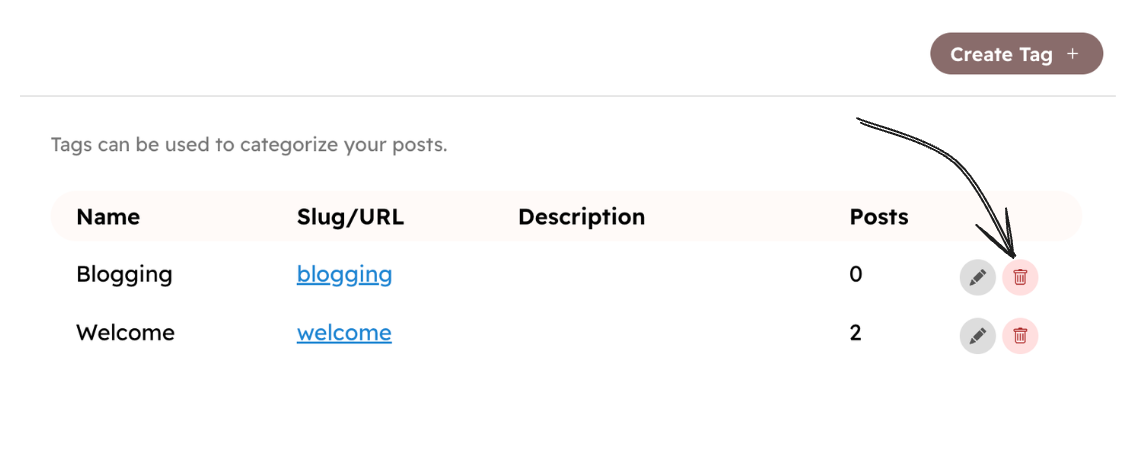
Deleting a tag
You can delete a tag in Settings → Tags. This tag will be unassigned from all posts.