Are you looking for an efficient way to manage your blog's email list and automate your email marketing campaigns? Look no further than ConvertKit! In this blog post, we'll guide you to add ConvertKit to your blog and write your first newsletter. Whether you're a seasoned blogger or just starting, ConvertKit's user-friendly interface and powerful automation features make it the perfect choice for bloggers of all levels.
Let's get started!
Step 1 - ConvertKit account setup
Sign up for a ConverKit account at https://convertkit.com/.
Answer the questions for the account creation according to you and your blog.
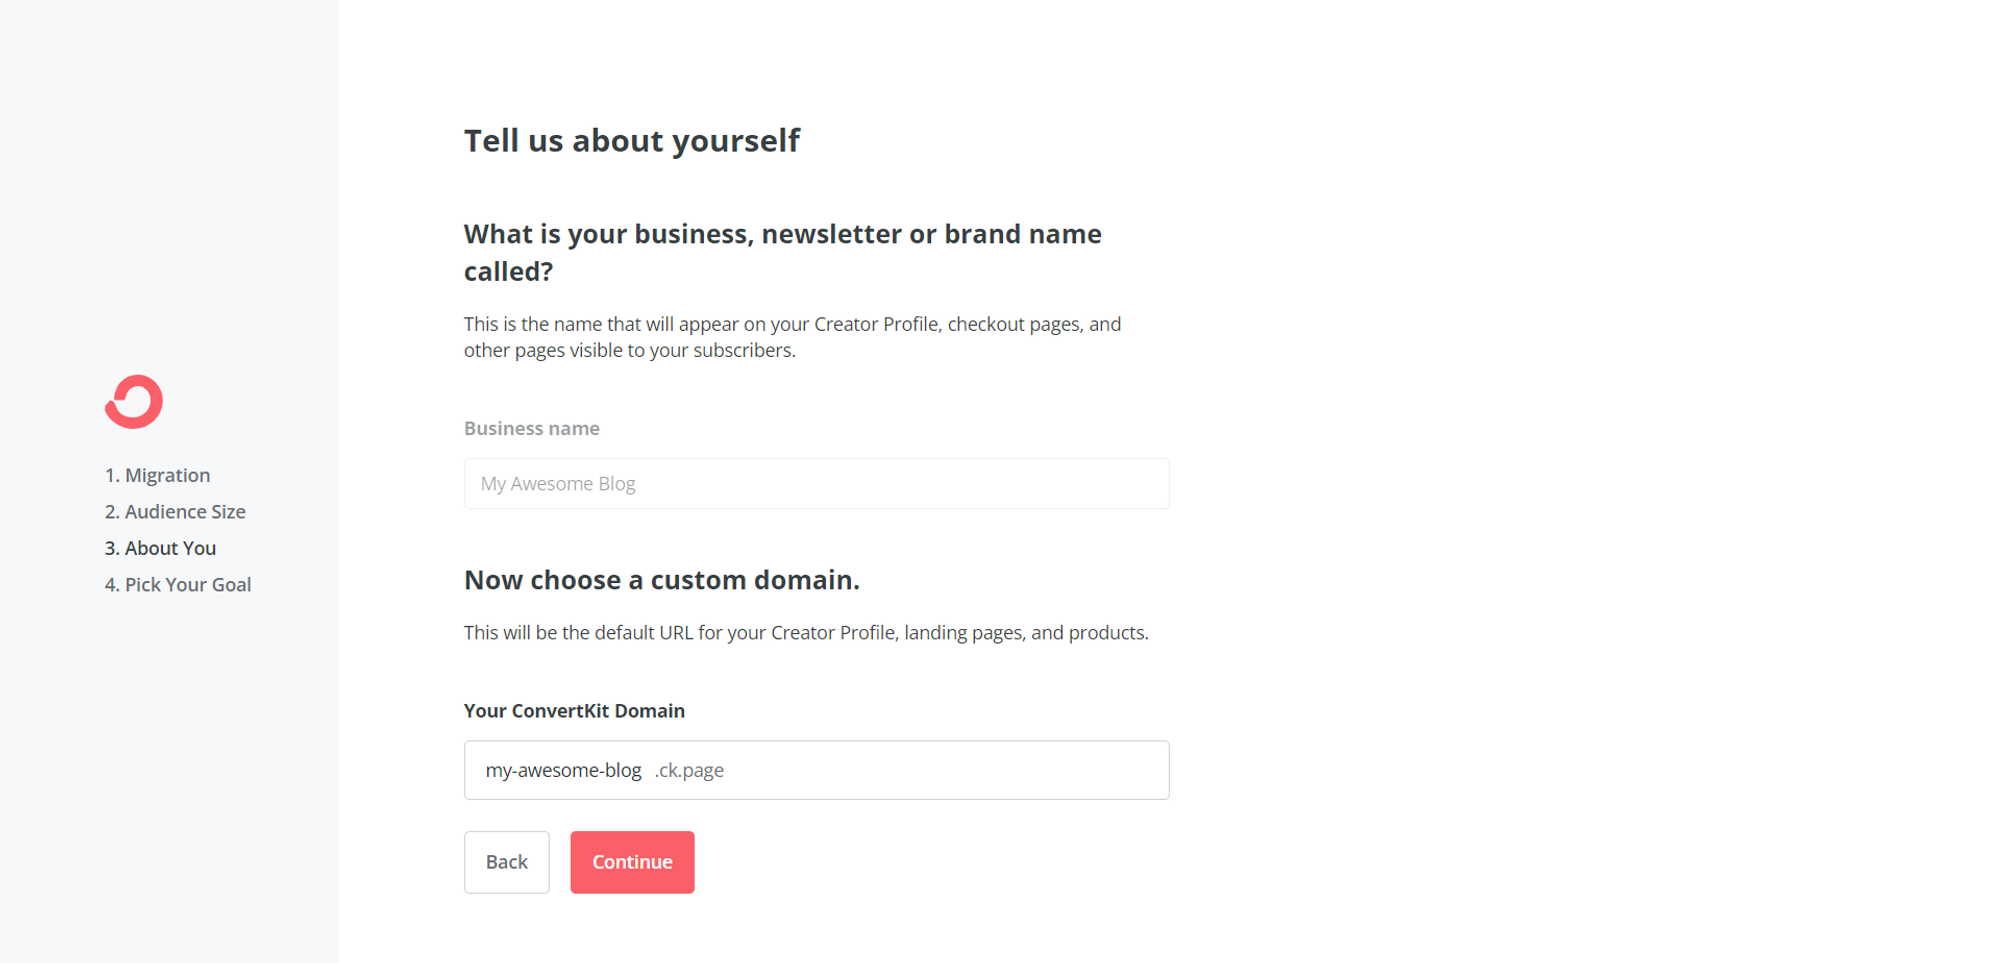
You now have access to the ConvertKit Dashboard.
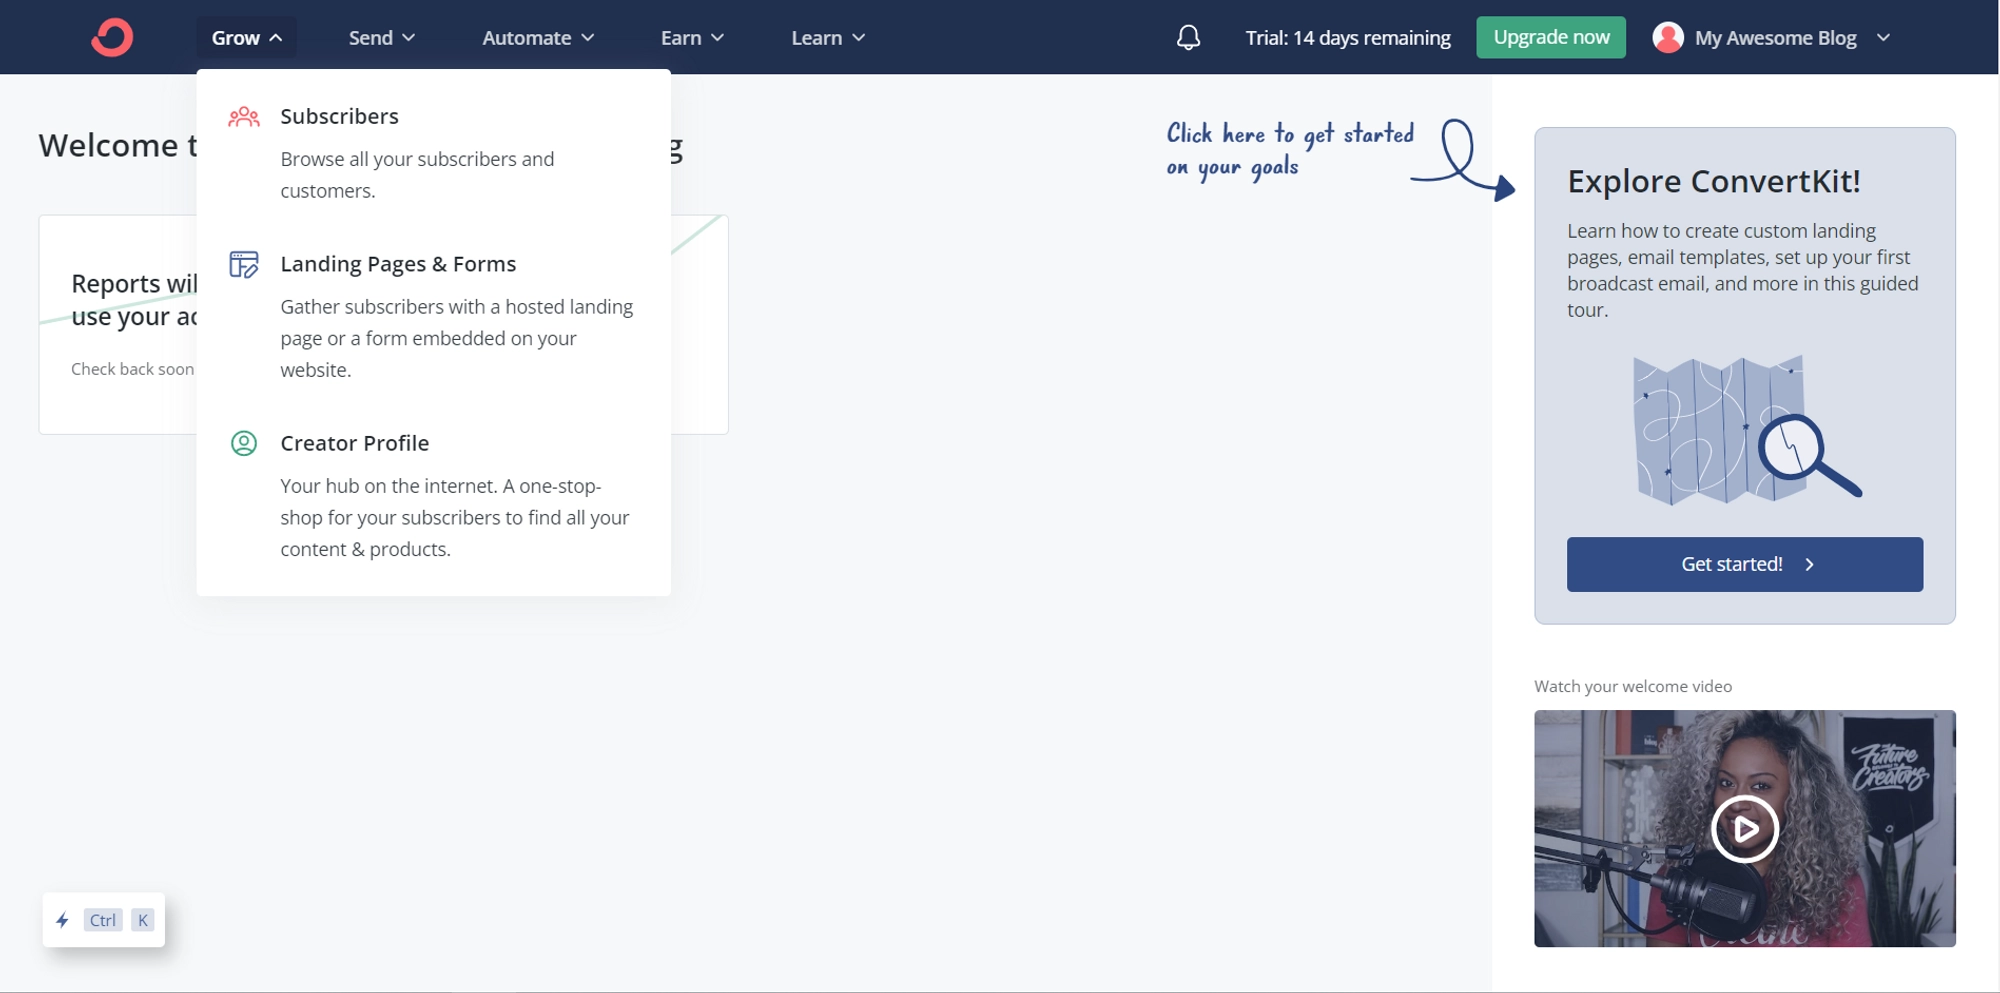
Step 2 - Create a subscription form
In your Dashboard, go to Grow → Landing Pages & Forms.
Click on Create a Form and choose Inline as a display format.
Pick a template that matches your blog style (For this tutorial, we will use the Clare template)
You can customize the form by adding fields, changing the font, adding labels… (For the tutorial we will keep the form by default)
In Settings, you can customize the message when the user subscribes to your newsletter. You can also personalize the form’s behavior when the user has already subscribed.
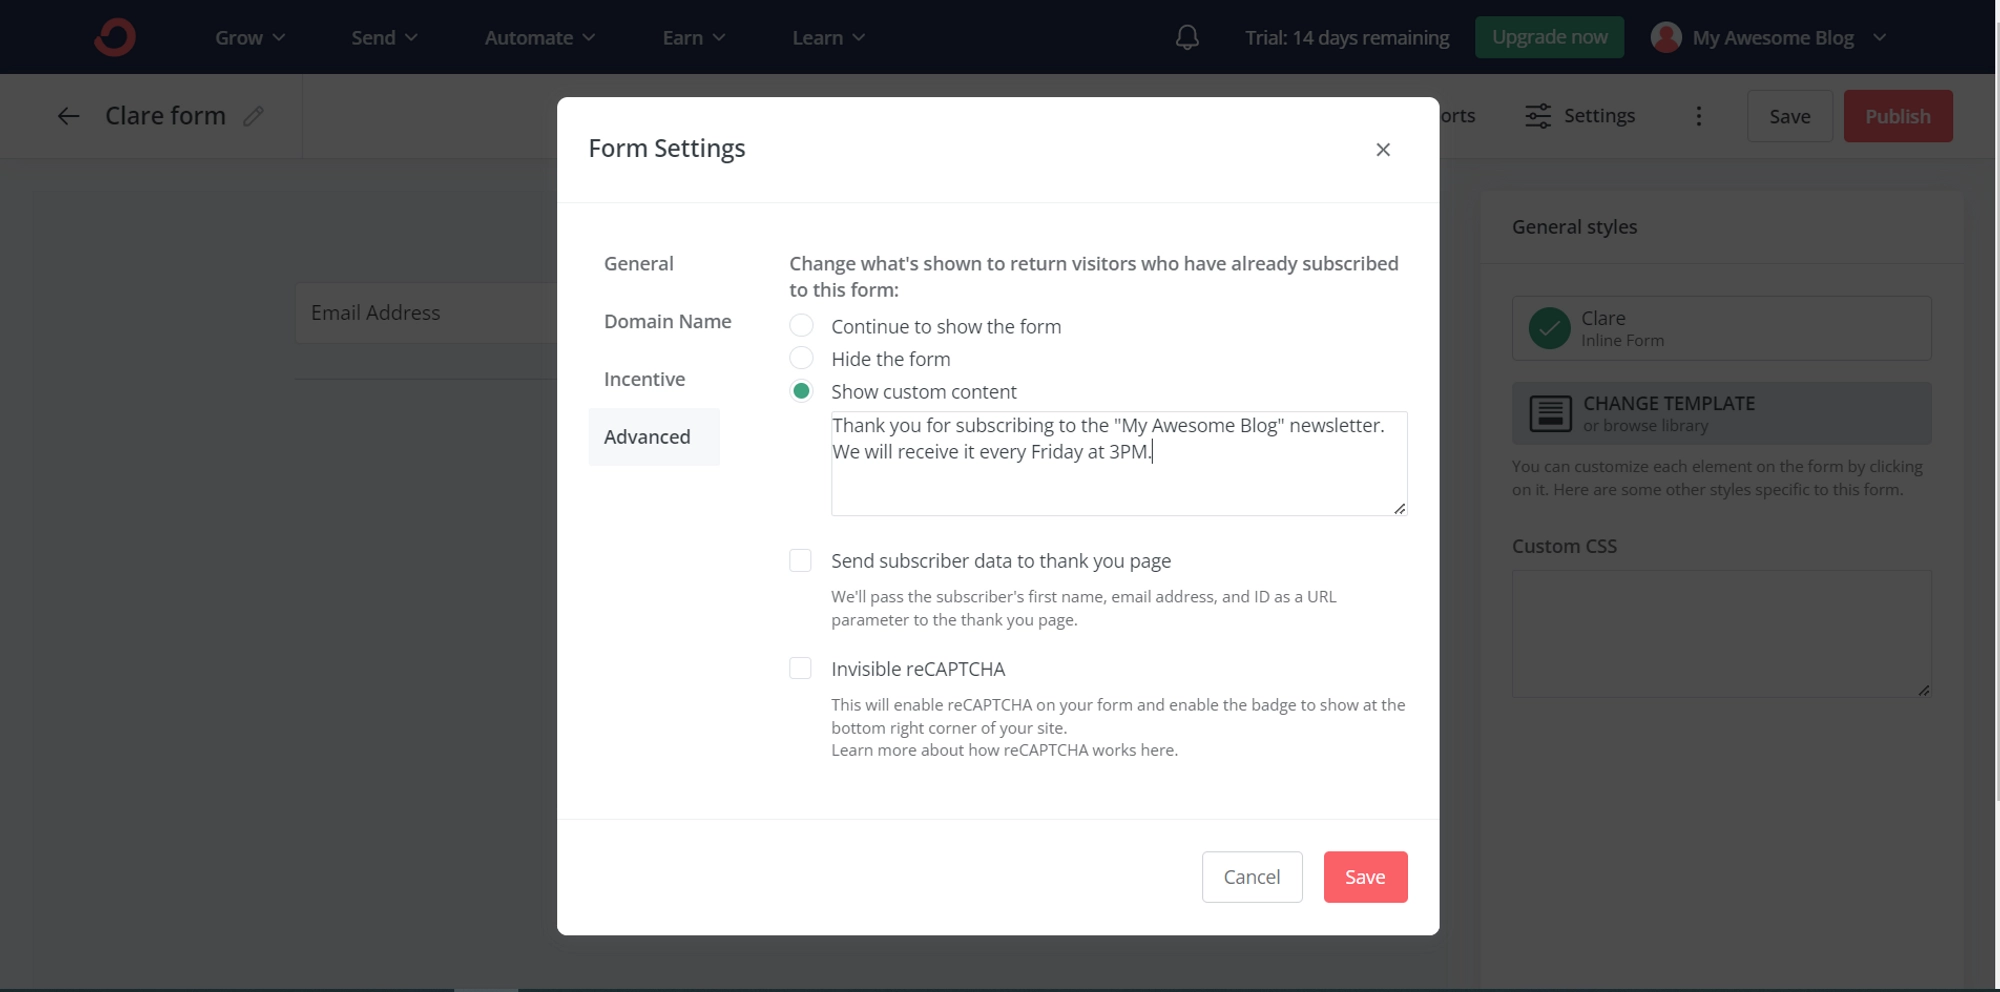
When your customization is done, click on SAVE.
Take your time to customize your subscription form to encourage your visitors to subscribe to your newsletter.
Step 3 - Include the subscription form in your blog
On the form edition, click on Publish.
Copy the Javascript code snippet.
Go to your blog’s settings in Settings → Comments & Newsletter
Paste the previously copied code in the Newsletter Signup Form Code.
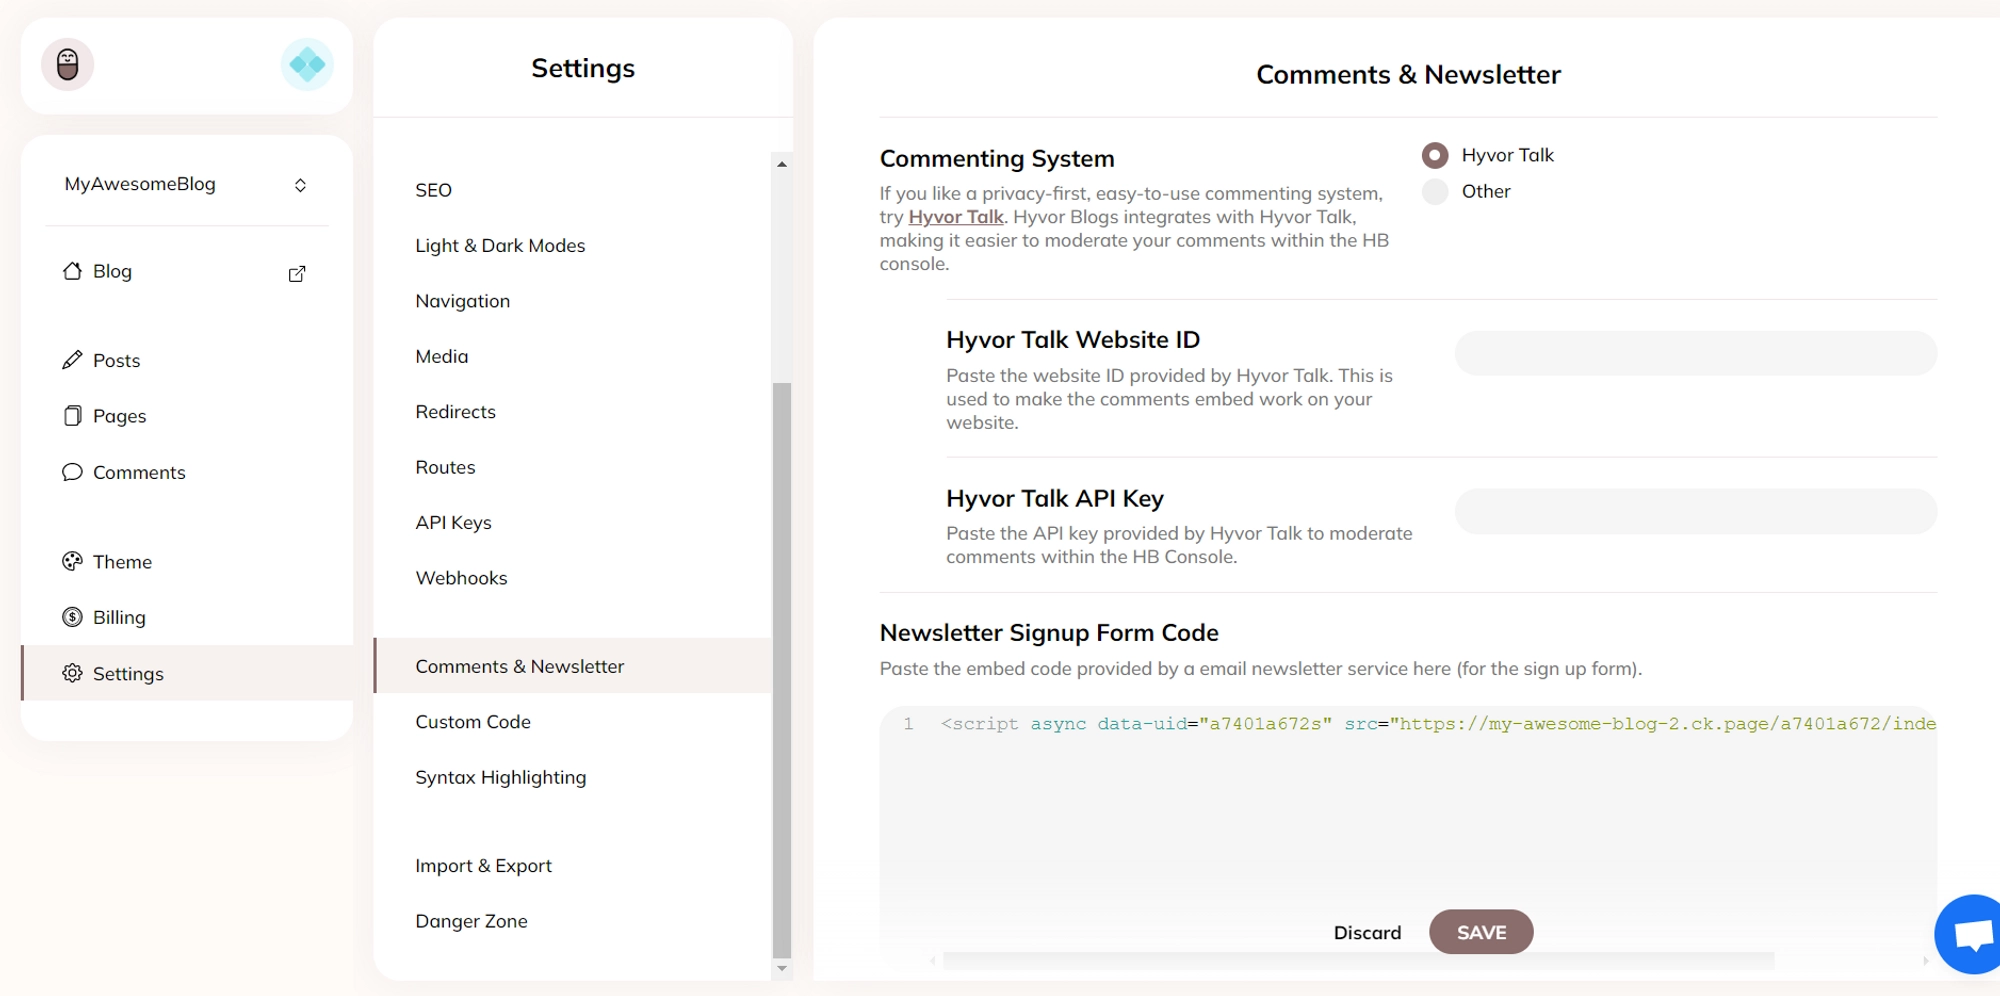
Click SAVE.
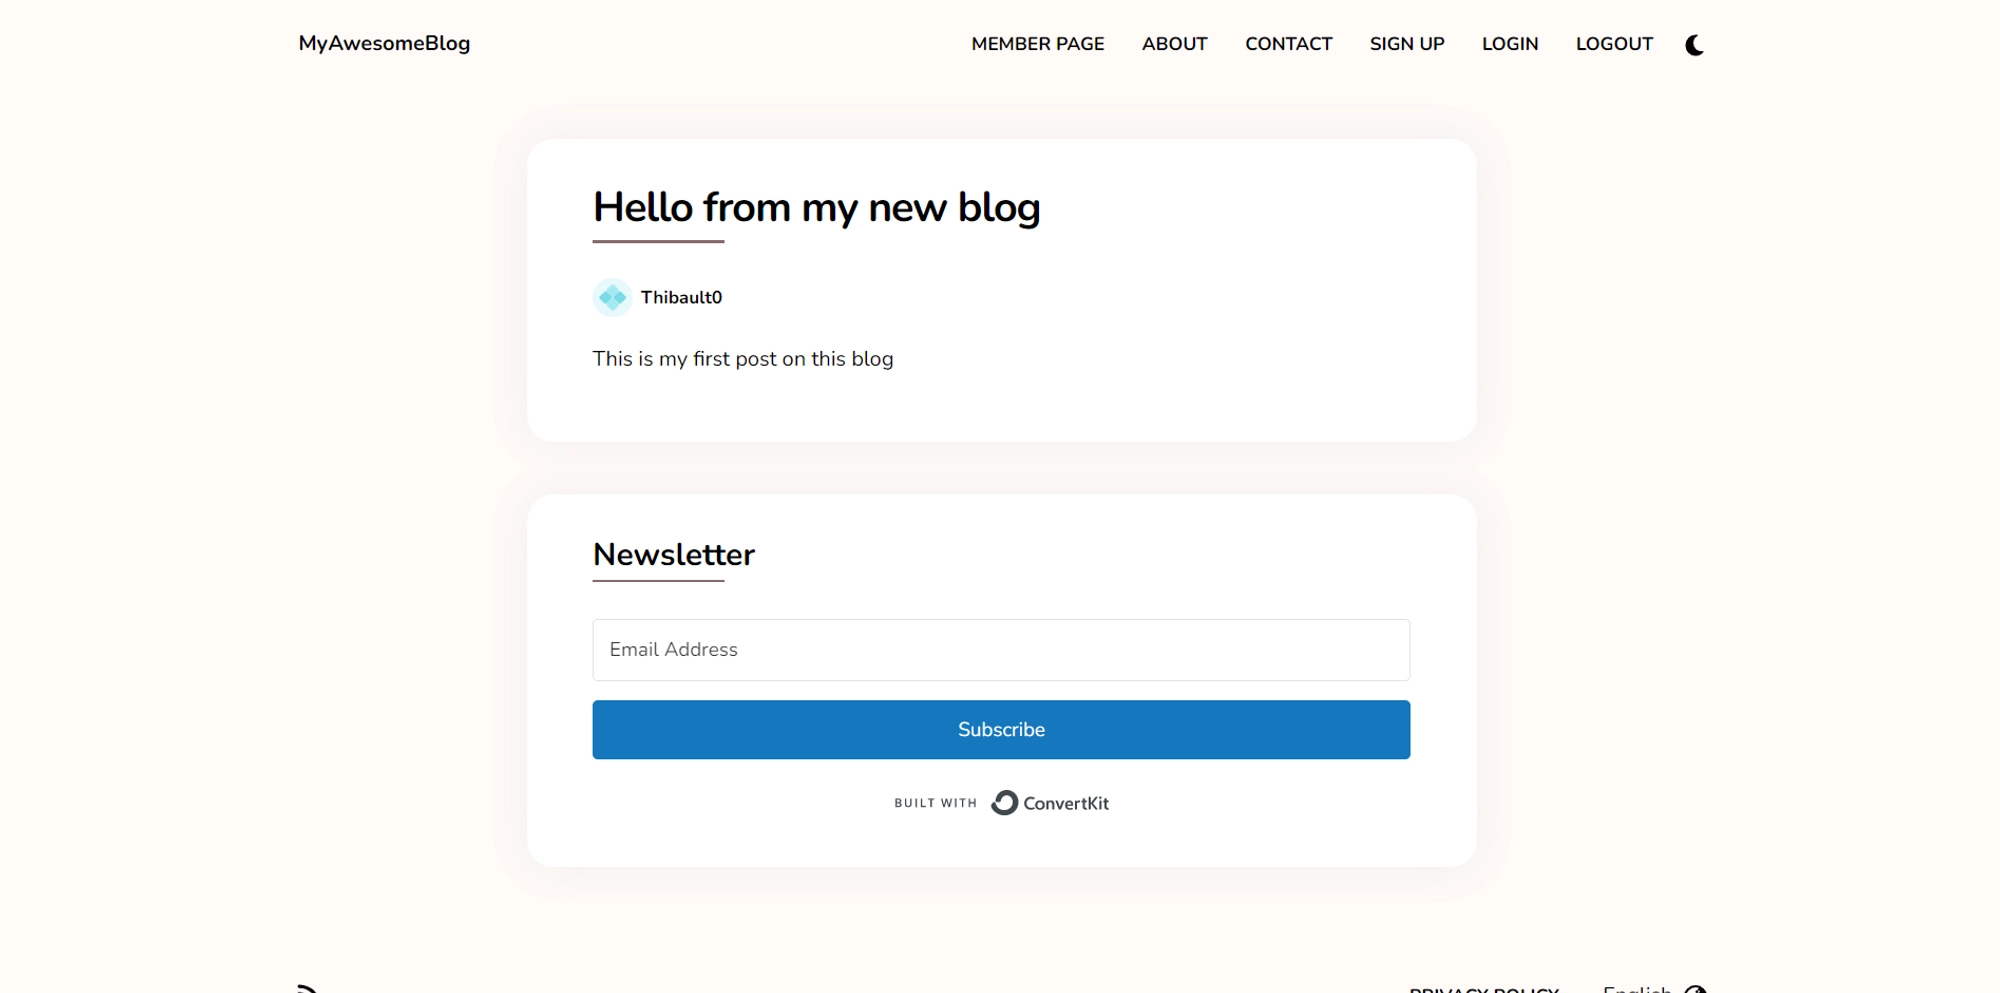
Your form is now displayed in your Blog.
⚠️ Warning: The place of the form depends on the template used by your blog. For example, the form is displayed on the post pages in the Hello theme. To choose where to display the subscription form, follow step 3.5.
Step 3.5 (optional) - Editing the blog’s theme to add the subscription form
If the newsletter form location used by your blog’s template does not fit your needs, you can edit the theme to customize the location.
Go to the Theme → templates section.
Choose the file where you want to display the form (For this tutorial, we will put it in
_footer.twigto be displayed in every footer of the blog.Copy the following code snipped before the
</footer>marker by replacingCONVERTKIT_CODE_SNIPPEDwith the code snipped provided by Convertkit when publishing your form.
1<center>2 CONVERTKIT_CODE_SNIPPET3</center>4This way, you can customize where to put the subscription form. Note that you can put it in multiple places.
Step 4 - Send your first newsletter to your subscribers
You can now see the statistics of your subscribers in the Convertkit Dashboard.
Go to Send → Broadcasts to create a newsletter.
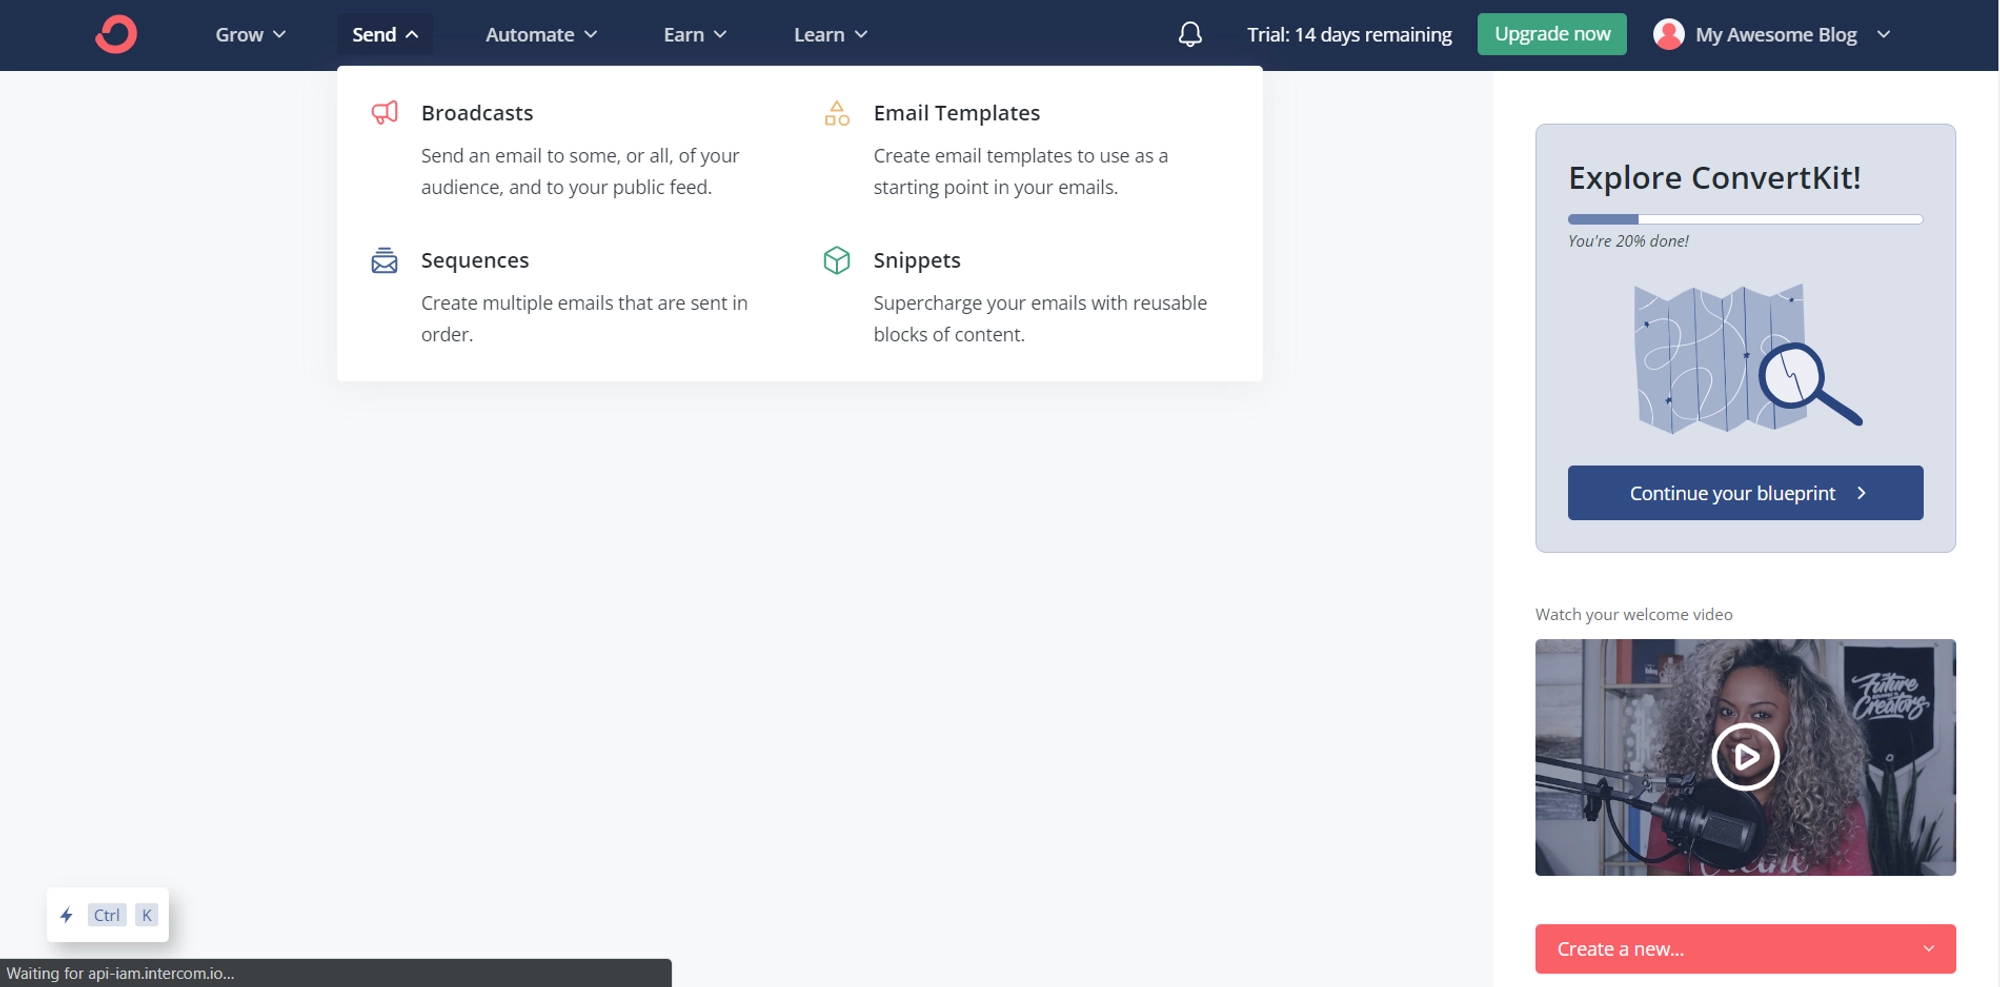
Click on New Broadcast.
Choose a template (For this tutorial, we will use the Intro template).
Write and customize your newsletter.
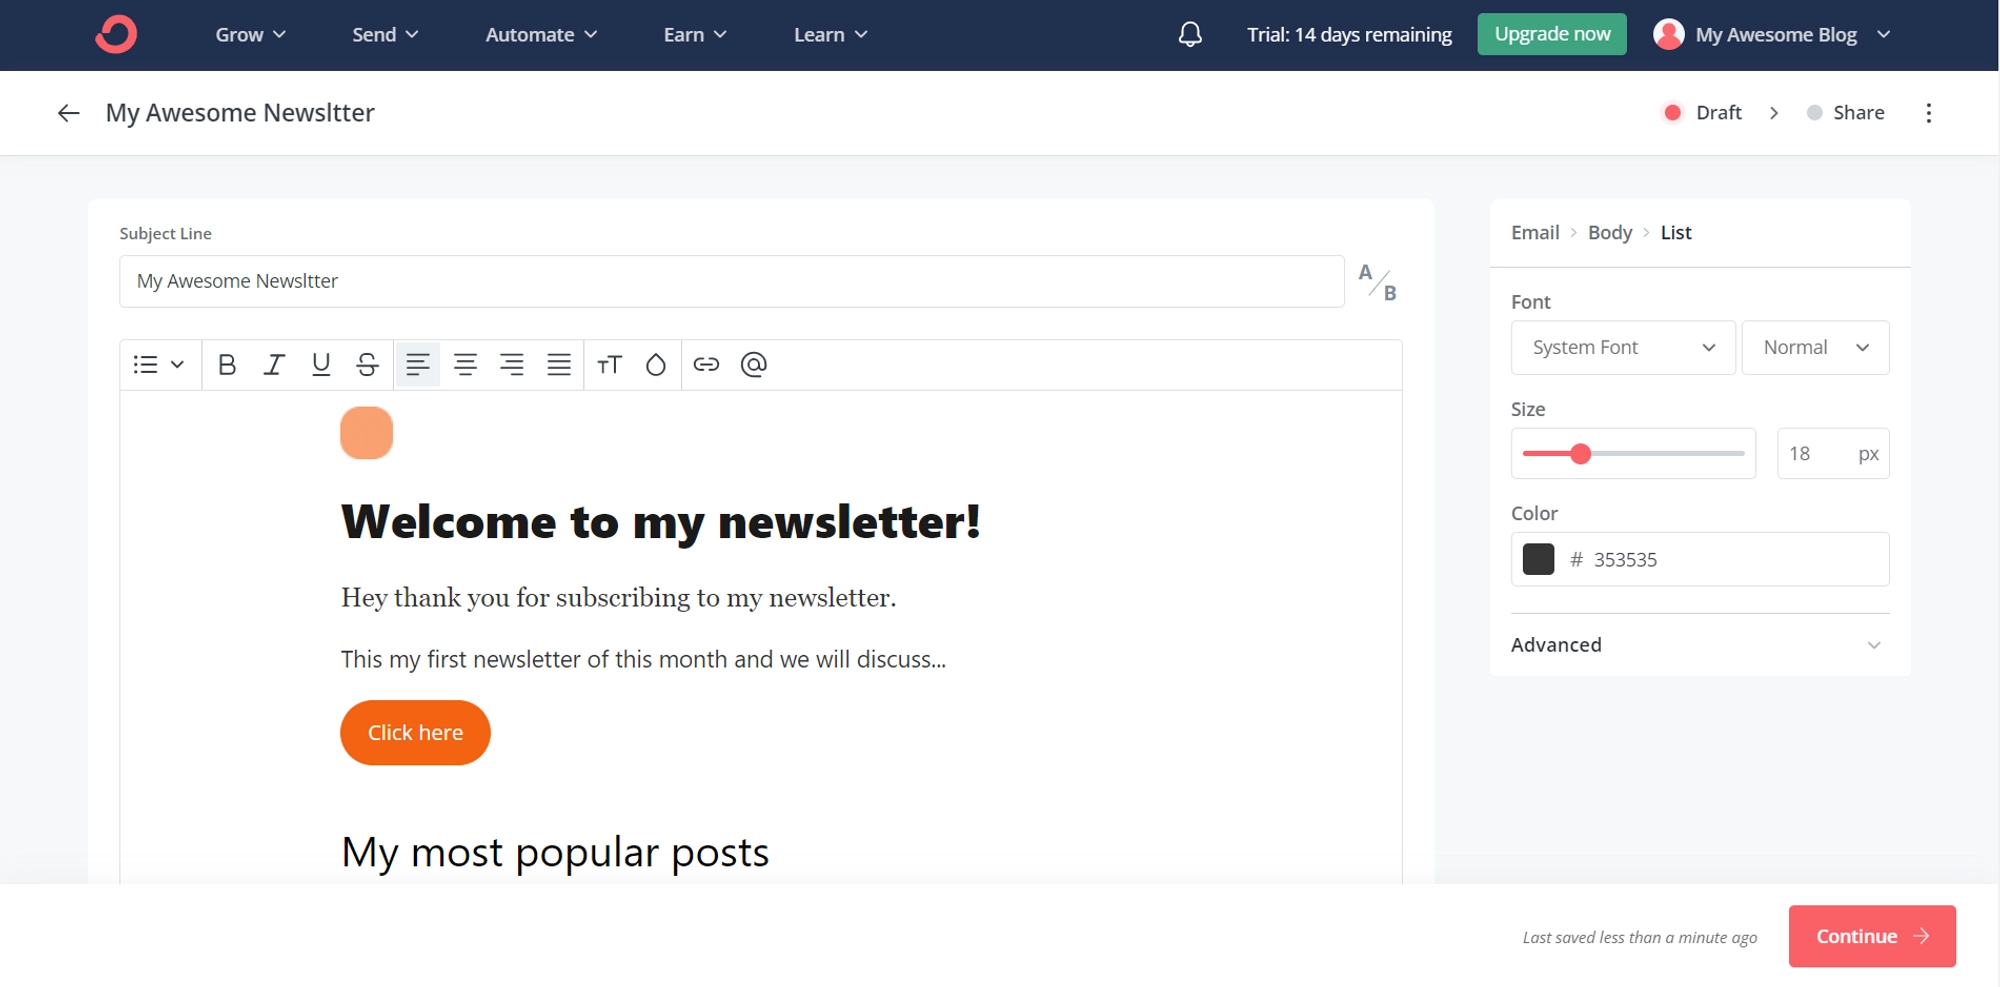
Click on Continue.
Choose the audience who will receive the newsletter.
Click on Continue.
Review your newsletter before sending it.
Click on Send Broadcast to send it to your subscribers.
In conclusion, integrating ConvertKit into your Hyvor blog can be a game-changer for your email marketing strategy. With its advanced automation features and user-friendly interface, ConvertKit can help you manage your email list more efficiently and deliver targeted, personalized messages to your subscribers. By following the steps outlined in this blog post, you can easily add ConvertKit to your blog and start growing your email list today.

Comments