I am going to write about blogging with custom domains in detail. I hope this will help you get a clear idea of what it’s like to blog with a custom domain and how Hyvor Blogs makes it easy for you.
Before going further, let me explain to you what a custom domain is.
What’s a custom domain?🤔
A custom domain is a unique and personalized web address that you can register and use for your blogs. It replaces the generic domain name provided by a hosting platform or service with a domain name of your choice, typically reflecting your brand, business, or personal identity.
Hyvor Blogs by default gives your blog a subdomain. For example, ishini-s-blog.hyvorblogs.io (Assuming my blog at the start is “ishini-s-blog”). So, what we are doing is replacing that subdomain with a purchased unique custom domain to run the blog.
What is it like blogging with a custom domain?
Blogging with a custom domain can significantly enhance your online presence and brand identity. So that your blog is unique and independent. When blogging with a custom domain, you "own" your content completely without locking it into any CMS provider or blogging platform.
In simple words, you can your blog independent when blogging with a custom domain.
If you are using Hyvor Blogs, blogging with custom domain is just a piece of cake.
Choosing a Custom Domain
Choosing the right custom domain for your blog is an important step in creating your online presence and creating a memorable brand.
Basically, you can buy a custom domain from anywhere that sells domains. But it is important to buy your domain from reputed domain registrars. I’m listing down a few reputed domain registrars from whom you can buy your domain without issues.
Google Domains
As you have chosen a reputed domain registrar to buy a custom domain, here are my tips for you that will help you select a suitable custom domain:
1. Reflect Your Brand: Your custom domain should align with your blog's topic or niche. It should be descriptive and give visitors an idea of what your blog is about. Consider incorporating relevant keywords in your domain if it helps convey the purpose of your blog; otherwise, you will end up with legal matters.
2. Keep it Simple: Aim for a domain name that is easy to remember and type. Avoid using complex or lengthy words that may confuse visitors. Shorter domain names are generally more memorable and user-friendly.
3. Use Your Blog's Name: If your blog already has a unique name, consider using it as your custom domain. This will help build consistency and reinforce your brand identity.
4. Avoid Numbers and Hyphens: Using numbers or hyphens in your domain can make it harder for users to remember and type correctly. If similar domains use different variations of numbers or hyphens, this may also lead to confusion.
5. Check Availability: Before finalizing your custom domain, I suggest you ensure that it is available for registration. You can use the chosen domain registrar platforms to search for domain availability. If your desired domain is already taken, consider alternative options or variations that are still relevant to your blog. Otherwise, you will end up with legal issues. Trust me, those legal issues are going to give you headaches. I’ve been there.
6. Protect Your Brand: This tip also saves you from legal issues as I mentioned earlier. Thus, consider registering multiple extensions of your domain (e.g., .com, .net, .org) to prevent others from registering similar domains that could potentially confuse your audience. This helps protect your brand identity and ensures that visitors find your blog easily.
But remember, your custom domain will be the face of your blog on the internet. Therefore I suggest you take your time, brainstorm ideas, and choose a domain that represents your blog's purpose and resonates with your target audience.
Once you've selected the perfect custom domain, you can proceed with registering it through a trusted domain registrar and start building your online presence with confidence. Let me know how it goes by commenting down below, I’m all ears!
It’s time…
As you have a custom domain purchased, it’s time to use it on your blog make it more unique, and improve its online presence.
Now, in Hyvor Blogs, you can set up your purchased custom domain easily without any additional cost. Here are the steps.
Setting up Custom Domain
Before setting up your custom domain, you have to set up DNS.
Let’s set up DNS!
Once you have chosen the domain or subdomain, you have to set up an A record in the DNS settings of the domain.
You can add A records using any DNS editor. You can contact your hosting provider or domain registrar for assistance. In this example we use Cloudflare. According to your provider, there will be slight changes. Thus, you will have to follow their relevant documentation. If you are not sure how to do that, check the documentation of the DNS host by searching "How to set up A record in {your provider}".
Select the domain for which you want to add the A records from the dashboard.
In the top menu, click on the "DNS" tab.
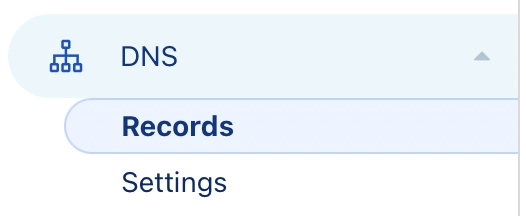
Scroll down to the "A" section where you can manage your domain's A records.
To add a new A record, click on the "Add Record" button.

In the "Name" field, enter the subdomain or root domain for which you want to create the A record (e.g., "www" for www.myblog.com or "@" for myblog.com)

In the "IPv4 address" field, enter the IP address or destination server where you want the domain or subdomain to point

Set the TTL (Time to Live) value. This determines how long the record is cached by DNS servers before checking for updates. The default value is usually fine, but you can adjust it if needed.
Click Save.
Once you have set up DNS, you have to update your blog settings.
Go to Console → Settings → Hosting
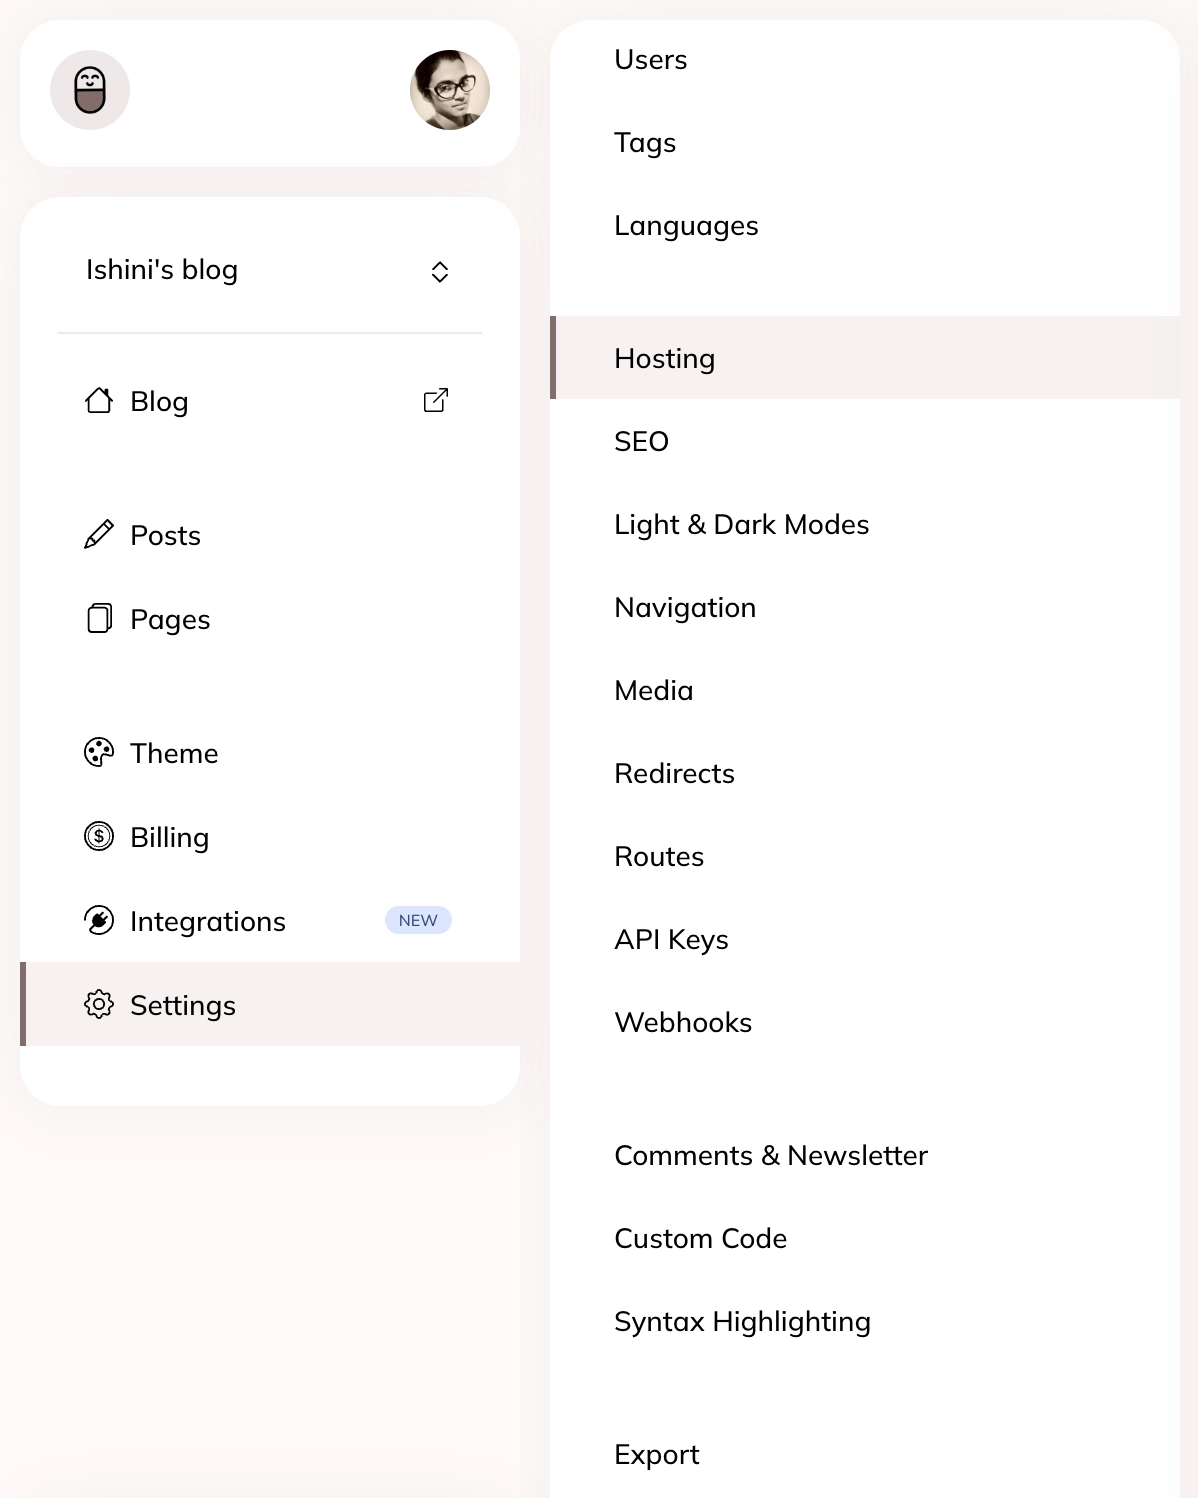
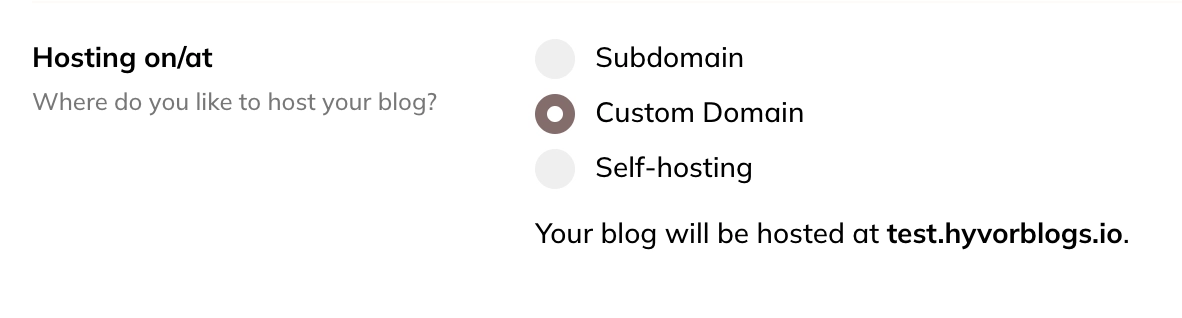
Change Hosting on/at setting to Custom Domain.
Type the full domain name (
myblog.comorblog.mywebsite.com) in the custom domain field, and save. Do not addhttps://or anything else than the domain name.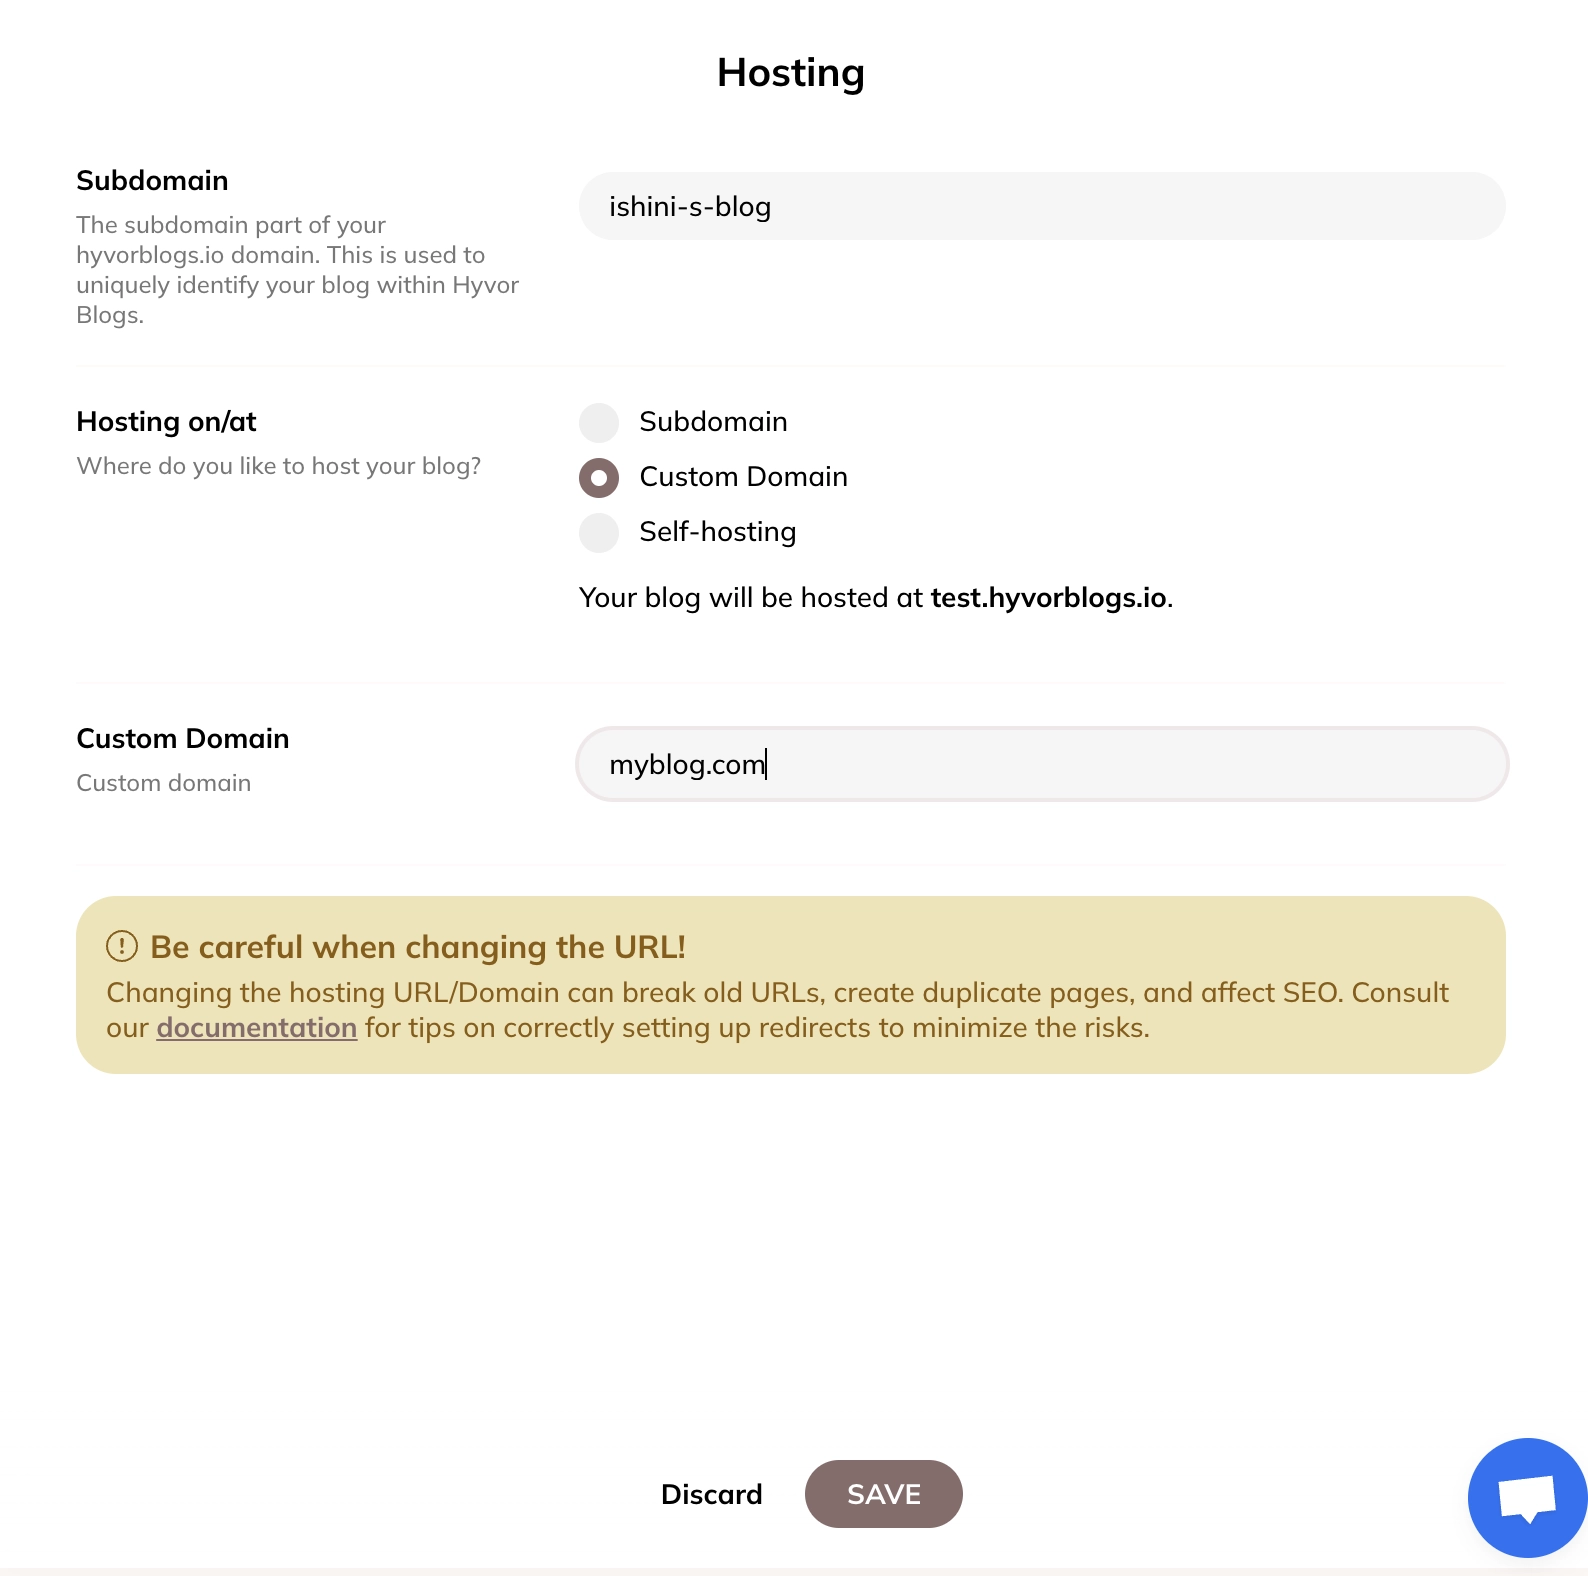
Click Save.
Just simply as that!
Now you can visit the custom domain and see if everything is working correctly. HB will auto-generate an SSL certificate for your domain.
If you have any questions, suggestions, or clarification, don’t hesitate to ask me by commenting below or directly emailing me at [email protected].

Comments