There are plenty of CMS options around; and in this particular blog post, read on to understand how you can embed Hyvor Talk to Pixpa. Pixpa is a web application for creative professionals and photographers that lets them create their own websites from the ground up effortlessly. While it primarily caters to artists and photographers, the software has become an ideal web-building solution for creative agencies, enabling them to showcase their work online. Pixpa is now used by thousands of professionals in the creative industry from all over the world, powering thousands of websites, blogs, and online galleries among others.
As Pixpa was initially built as a builder for online photography portfolios, it comes with a robust set of gallery and image-uploading features. You can select from its vast selection of professionally designed gallery styles plus you can protect your images with password functionality. The latter is quite useful for photographers who want to provide clients with exclusive access to select pictures.

Yet, at this particular point, let's go through the simple process of Signing Up and creating a site on Pixpa.
How To Create A Site On Pixpa
So, we know that Pixpa is a DIY website builder designed for creative professionals to easily build and maintain their online presence without any coding knowledge. The platform provides DIY tools to create a portfolio website with unlimited media storage, unlimited bandwidth, integrated blogging functionality, and deep social media integration features. The process of figuring out to embed Hyvor Talk to Pixpa is rather easy.
1. Sign Up
Head on over to the Pixpa site and Sign Up using either Google, Facebook, or Email.

2. Choose Your Industry
There are plenty of industries available, and choosing your industry is easy, to say the least.

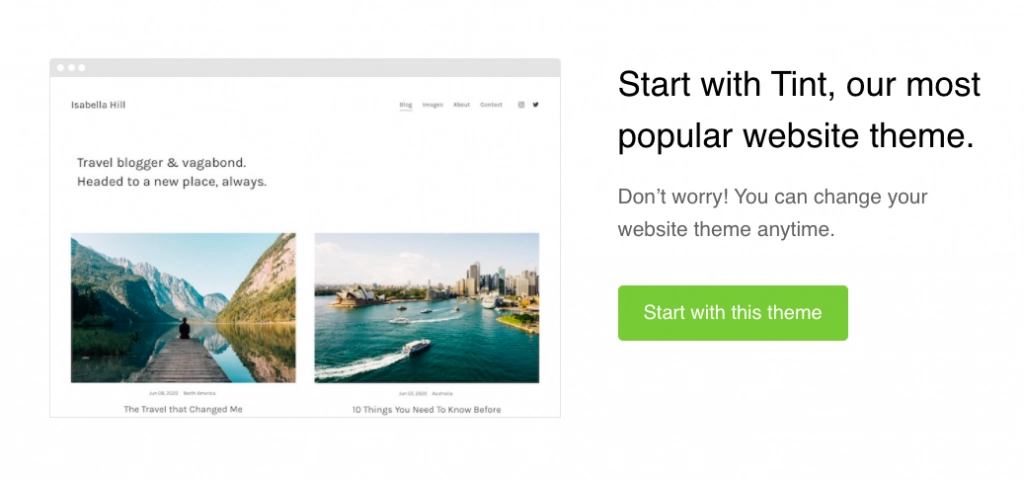
3. Choose Your Theme
Pixpa is renowned to be an easy and simple website builder, and choosing your website theme is just a click away.
4. Tinker With The Dashboard
Head on over to the Dashboard and choose your site Title & Logo.
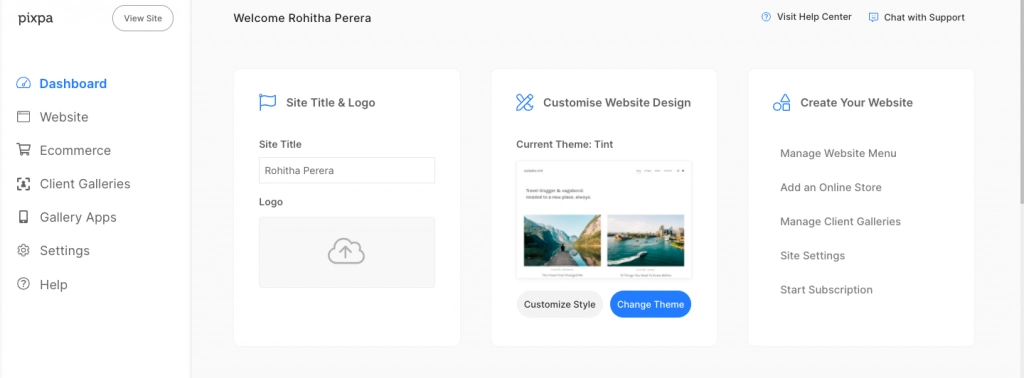
That pretty much is it.
How To Embed Comments To Pixpa
The process is very simple when it comes to installing Hyvor Talk on your Pixpa site. Just follow the steps accordingly.
1. Sign Up
Visit Hyvor Talk and sign up.
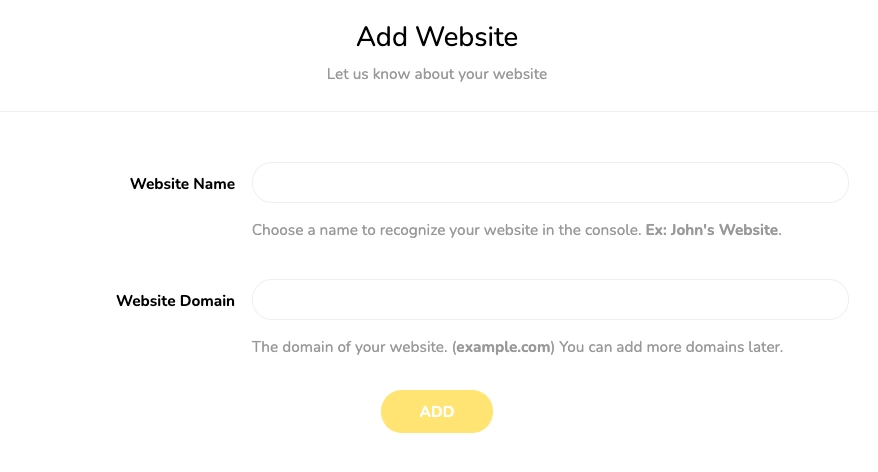
2. Register Your Website
Next, visit the console. Make sure you are in the "Account -> Add Website" Section.
3. Carry On With Installation
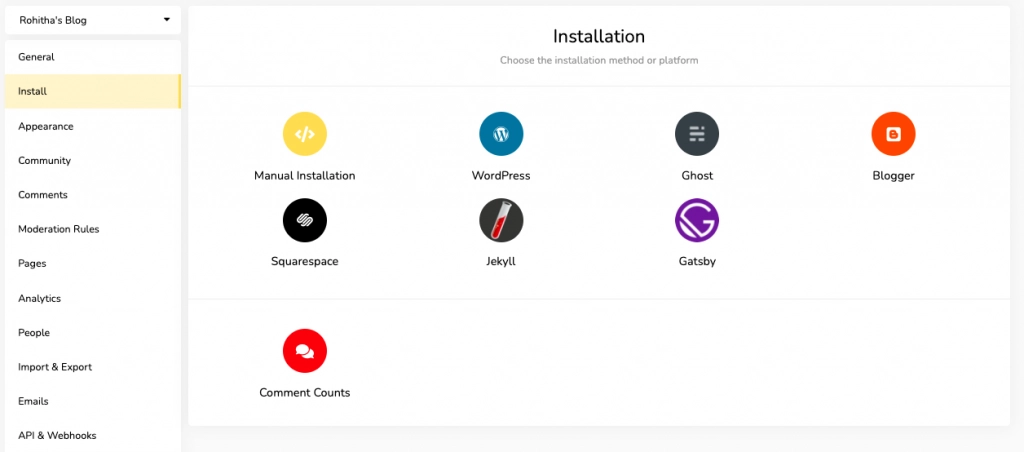
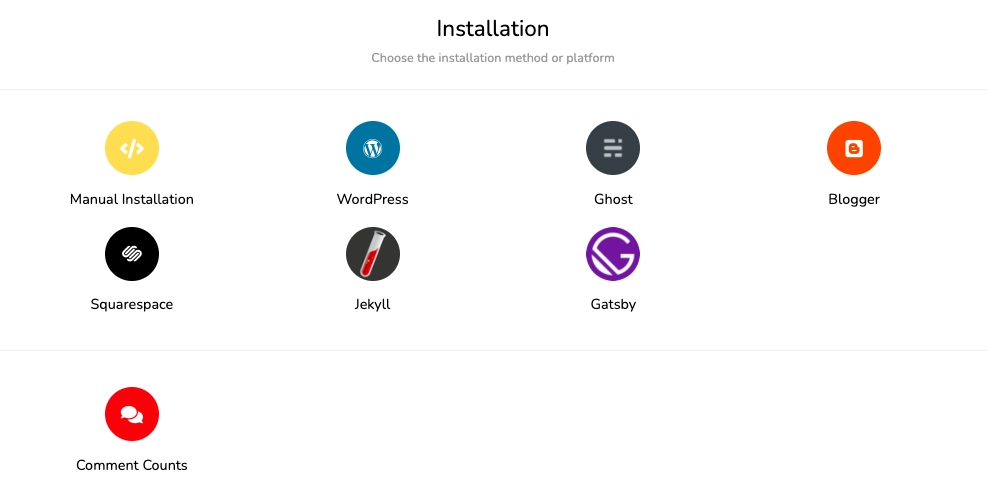
Move on to Install. Choose Manual Installation.
4. Copy The Code
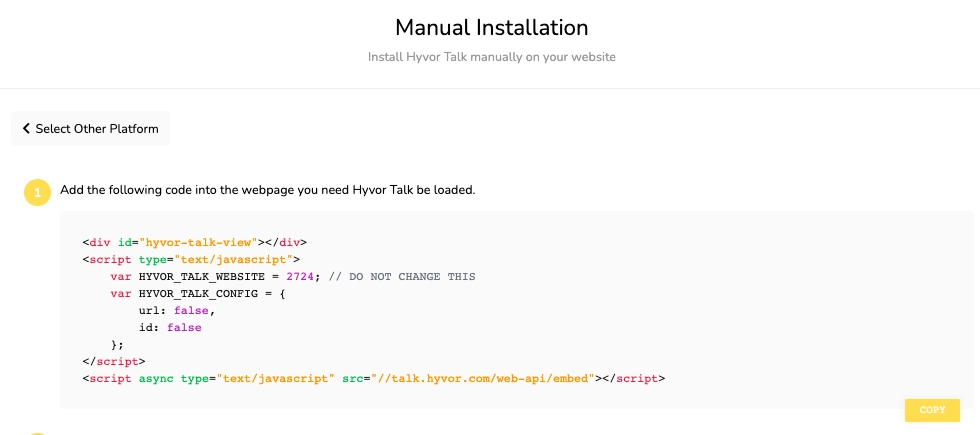
Copy the Code that is generated.
5. Choose A Name For Your Page
Choose a Name for your Site on Pixpa.

6. Paste The Code
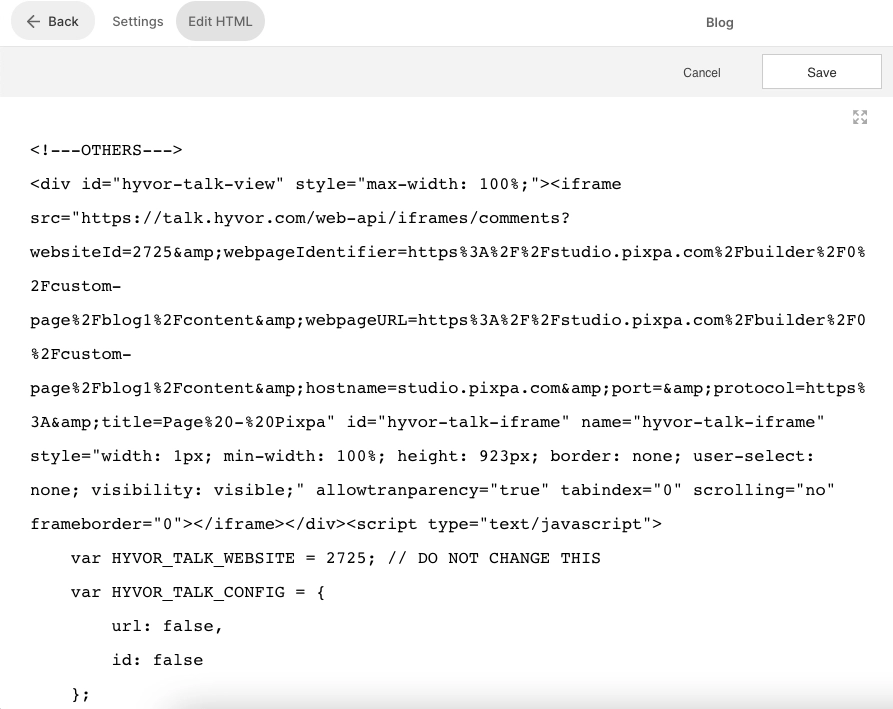
Paste the Code.
7. We Are In Business!
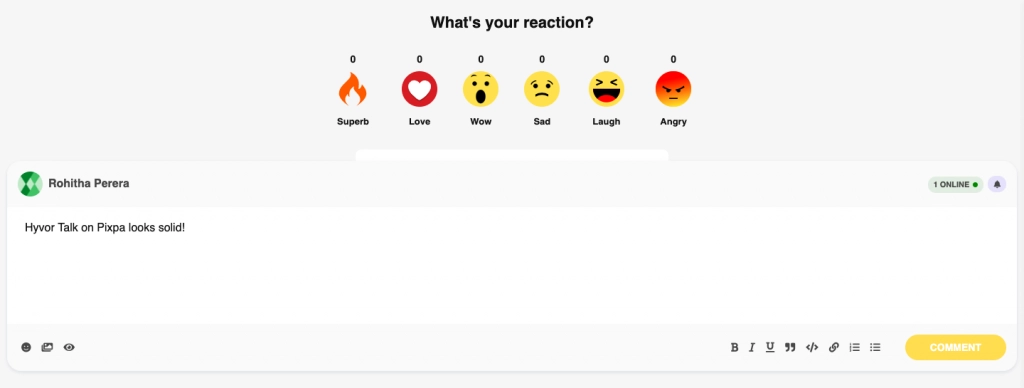
Hyvor Talk in action!
In Conclusion
There we go! We just showed you how to embed Hyvor Talk to Pixpa. Congratulations, you are now the proud owner of a fresh and simpler blog! After all, it is a surefire way to build your brand and make a mark in the world. Remember that content marketing costs 62% less than traditional marketing and generates about three times as many leads. Managing your content marketing instantly becomes more efficient with the right content management system (CMS) in place. A CMS platform lets users publish, edit, and modify content on their website, with little experience required. A content marketing platform gives marketers the tools to produce and publish content that breaks through the noise.

Comments