Email marketing can effectively engage with your readers, promote your content, and drive traffic to your website. And when it comes to email marketing, Mailchimp is one of the most popular platforms out there. Integrating Mailchimp with your blog can help you grow your email list, automate your marketing campaigns, and track your performance metrics. In this article, we'll show you how to add Mailchimp to your blog step-by-step, so you can start reaping the benefits of email marketing for your blog.
Step 1 - Mailchimp account setup
Register for a Mailchimp account at https://login.mailchimp.com/signup/.
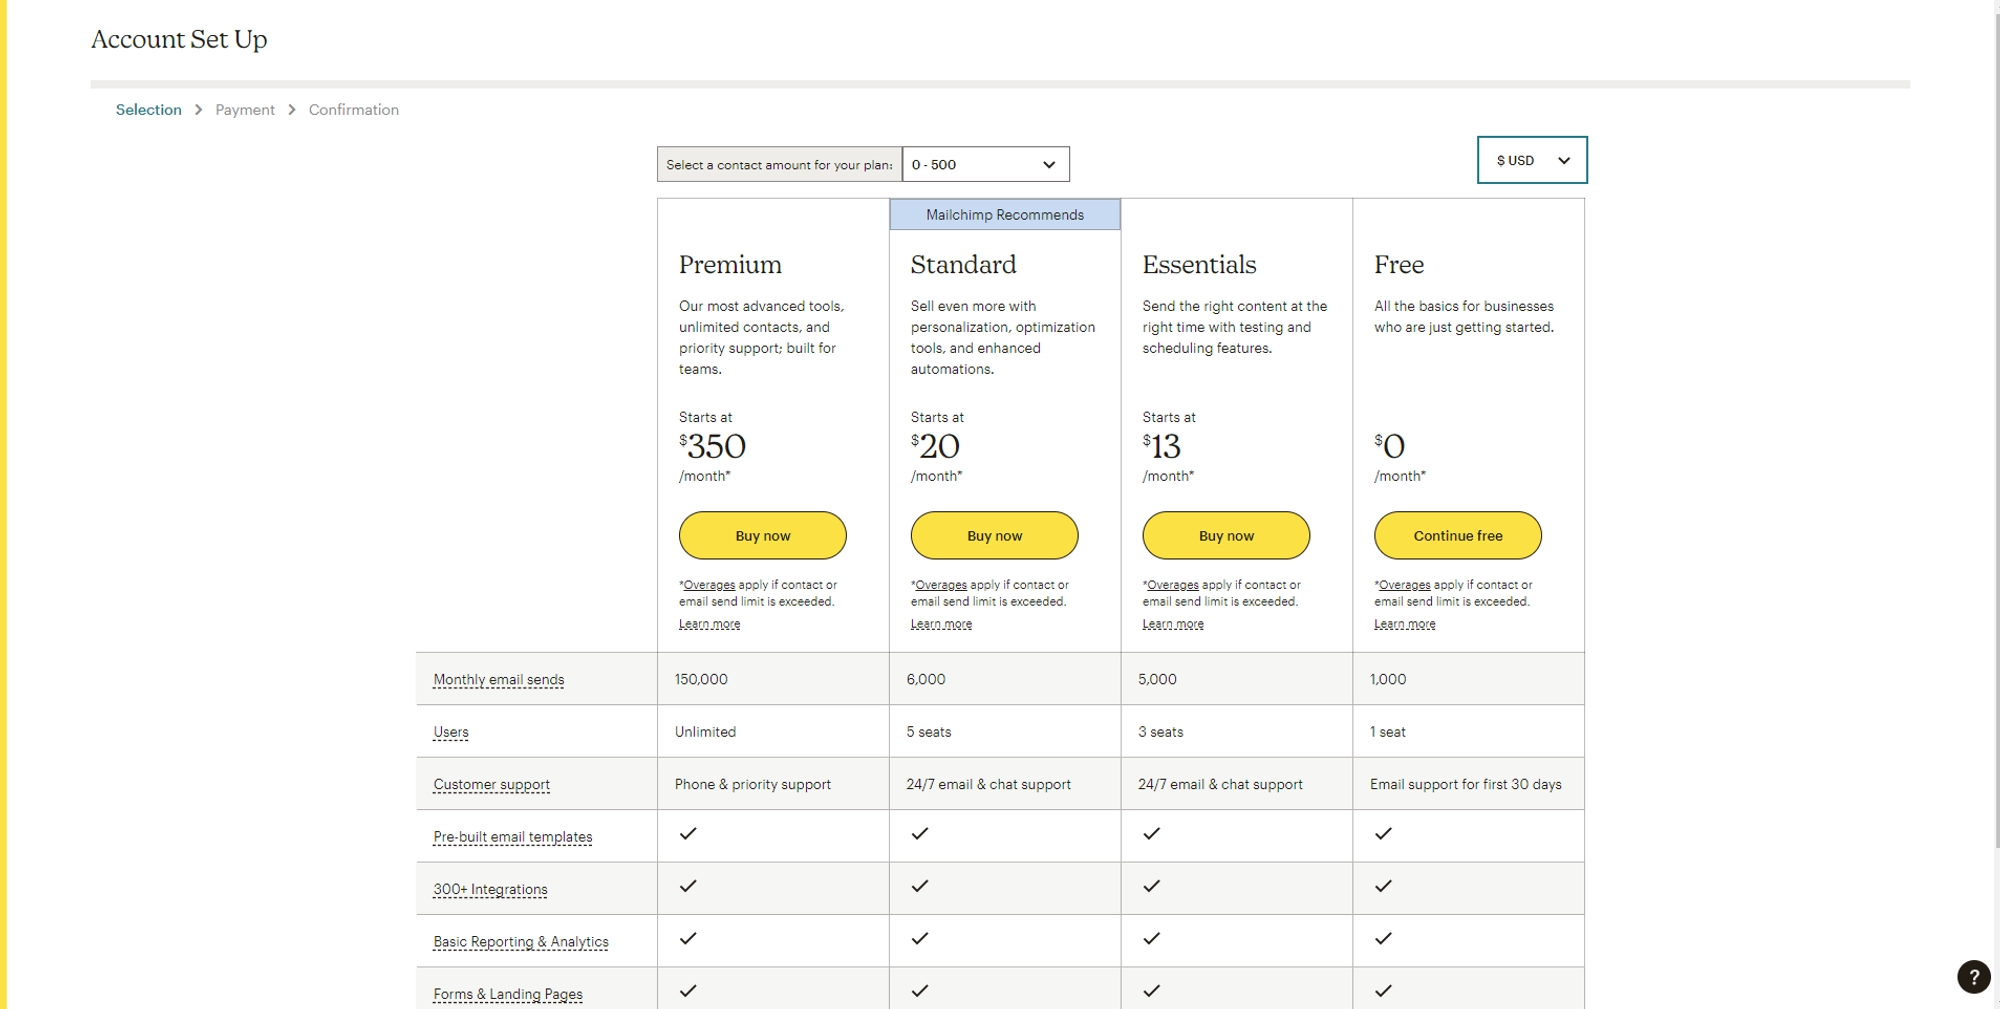
Choose a plan for your account (For example, we will use the Free Plan, you can use a paid plan on your needs).
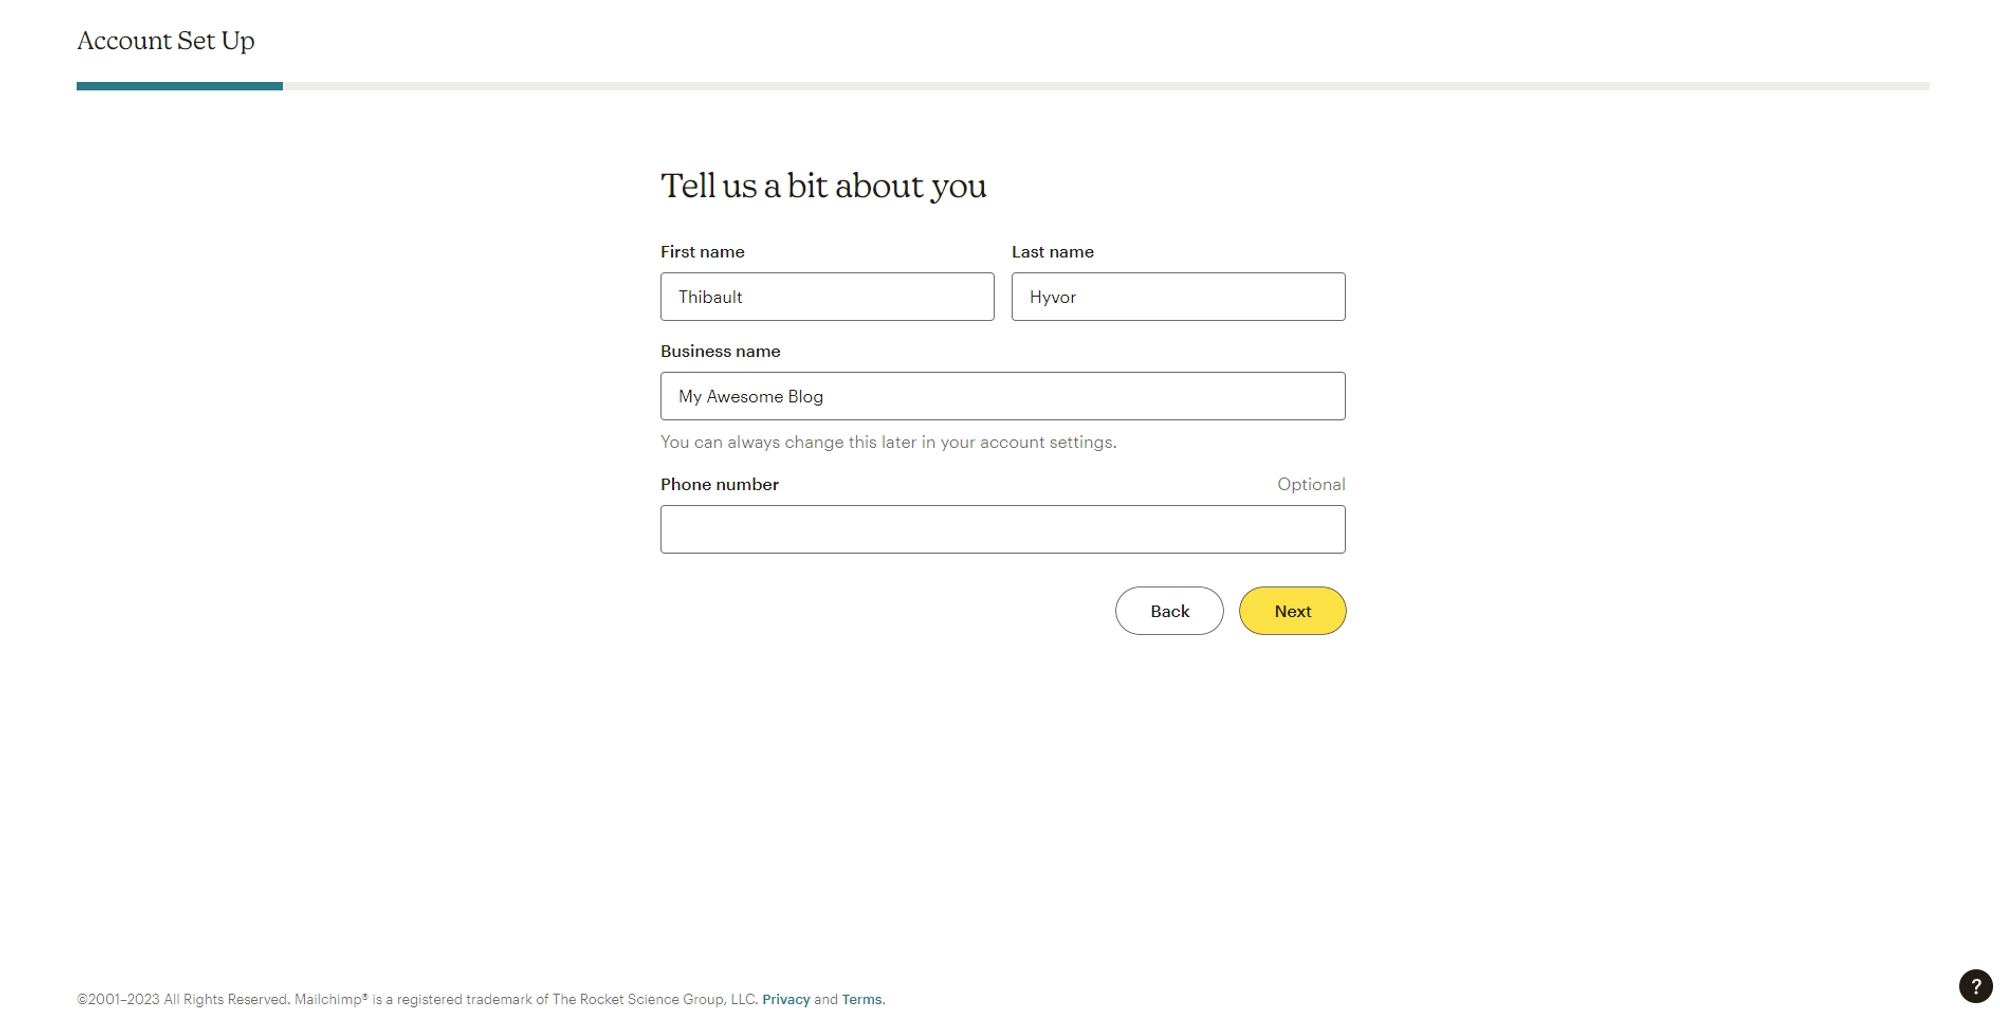
Enter your information, and you can use the name of your blog as the business name.
You now have access to the Mailchimp Dashboard.
Step 2 - Mailchimp audience customization
It is possible to customize several parameters to your email campaigns, such as the sender's address, the sender's name, and the email subject.
Go to Audience → Signup forms → Settings → Audience name and defaults.
On this page, you can customize your campaigns.
You can set up the Default Form name which represents the name your email will come from.
We recommend using the following format: YOUR NAME | YOUR COMPANY.
You can customize the Form email address.
We recommend customizing this address if you have a custom domain for your emails.
You can set up a Default Email subject.

How to add Mailchimp to Hyvor Blogs - Audience customization
Click on Save Audience And Campaign Defaults.
Step 3 - Create a signup form
We now intend to create a signup form to collect emails and expand our audience. You may opt for an embedded form or a popup form as your preference. However, in this tutorial, we will use an embedded form.
Go to Create → Signup Form → Embedded Form.
You can customize the Fields and the title of your form (For this tutorial, we will keep a basic form with an only email address).
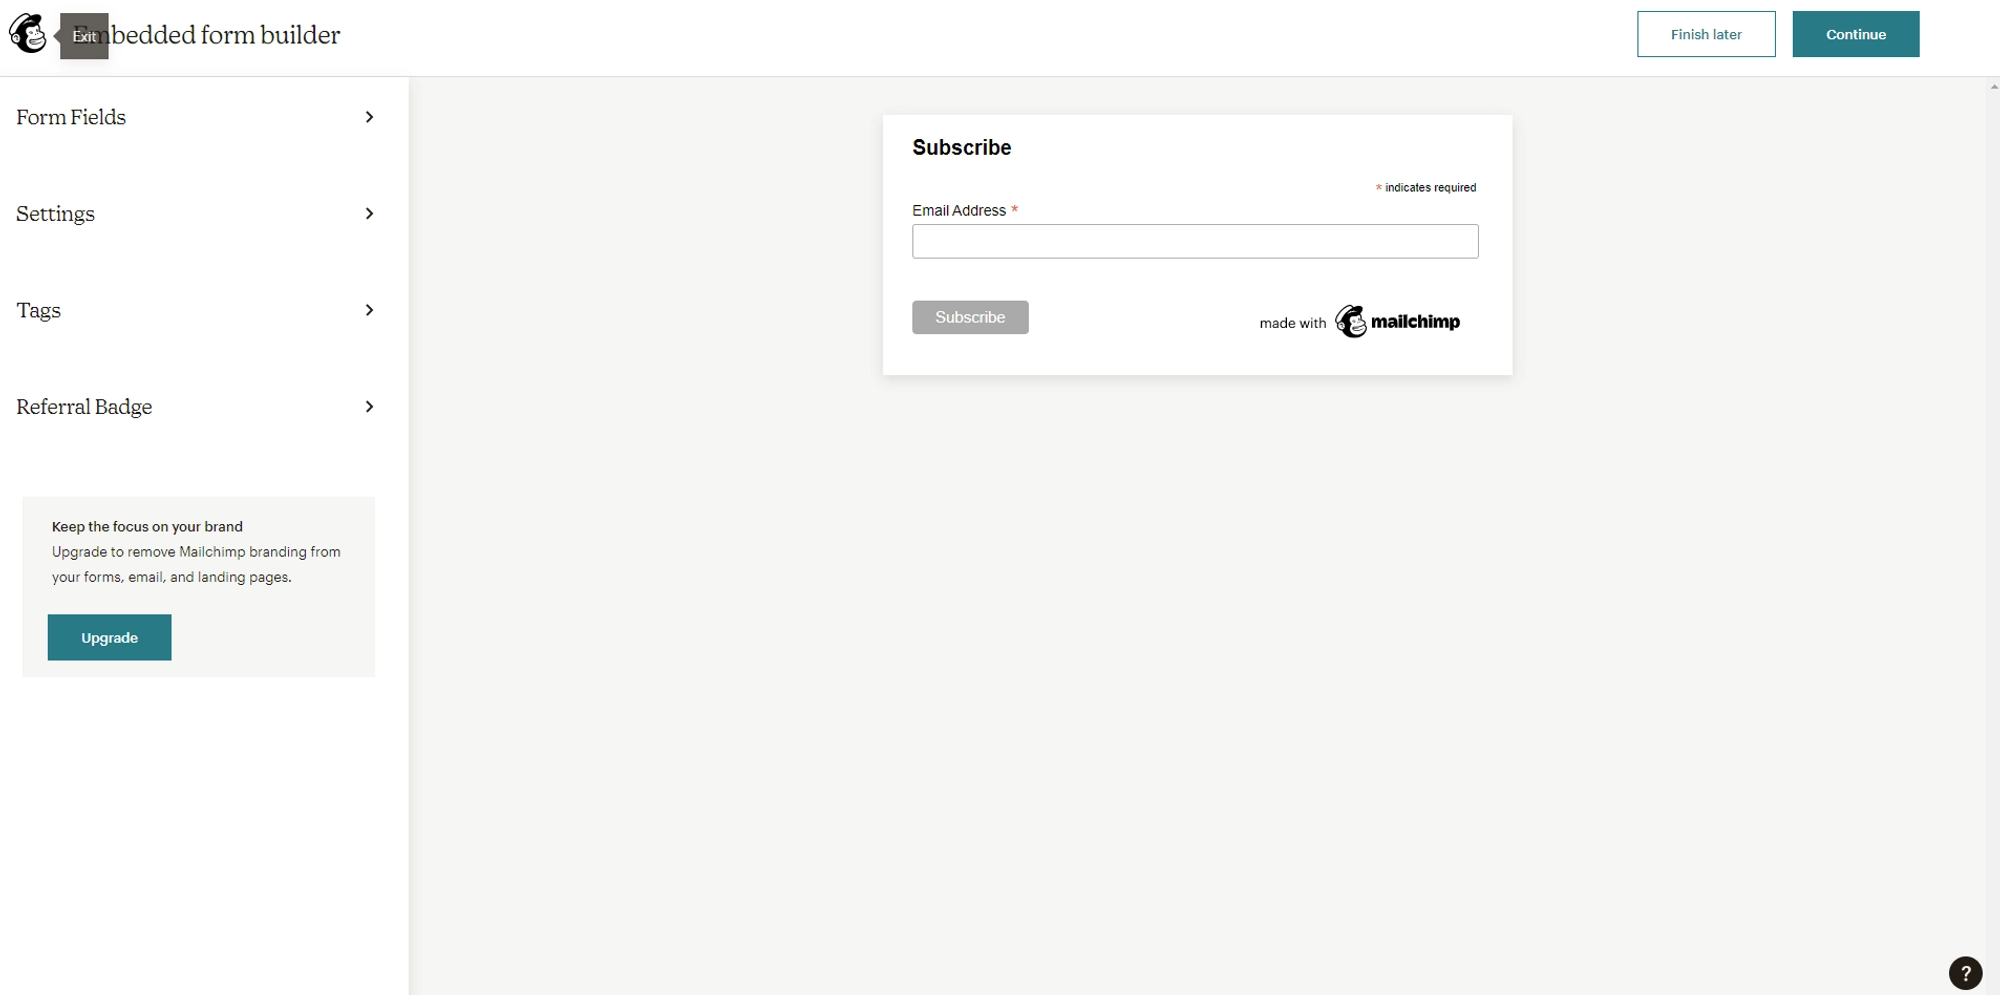
Click on Continue.
A code snippet is generated, copy it by clicking on Copy Code.
Take your time to create a form that matches the theme used by your blog.
Step 4 - Add the form to your blog
Go to your blog’s settings in Settings → Comments & Newsletter
Paste the previously copied code in the Newsletter Signup Form Code.
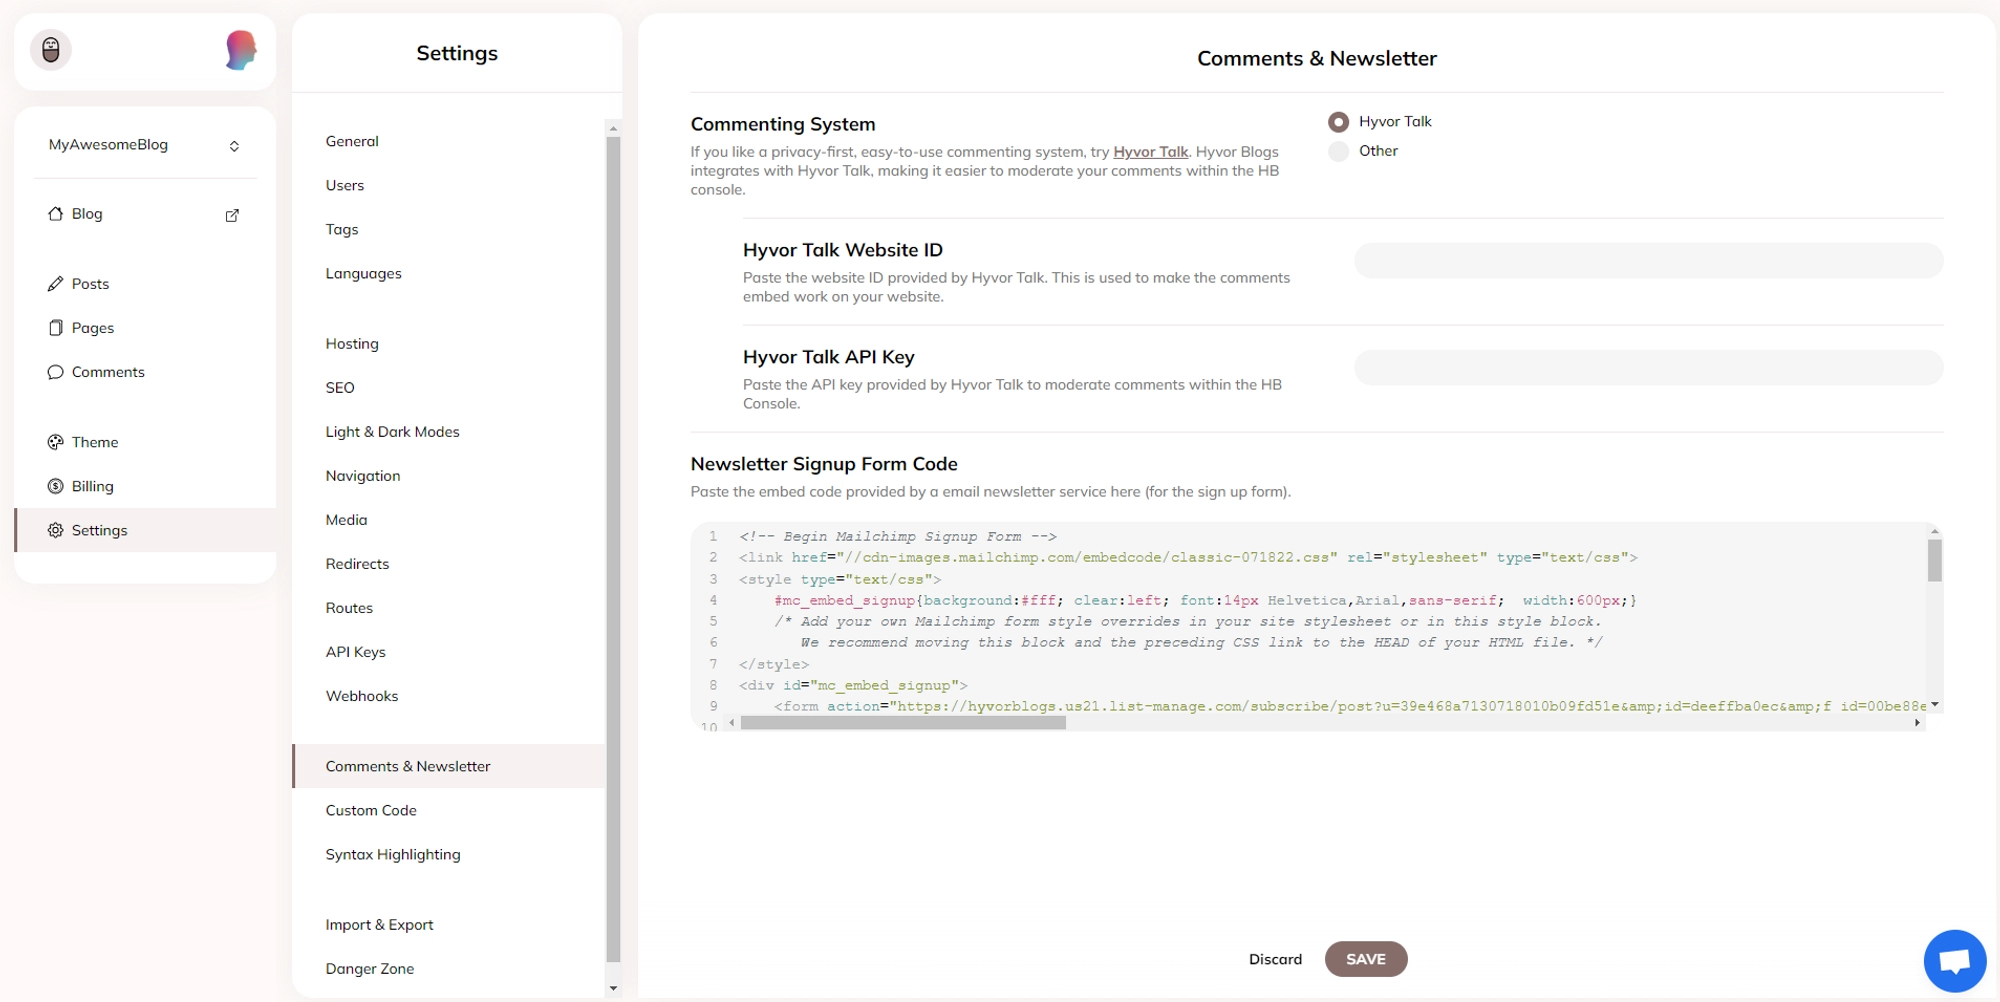
Click SAVE.
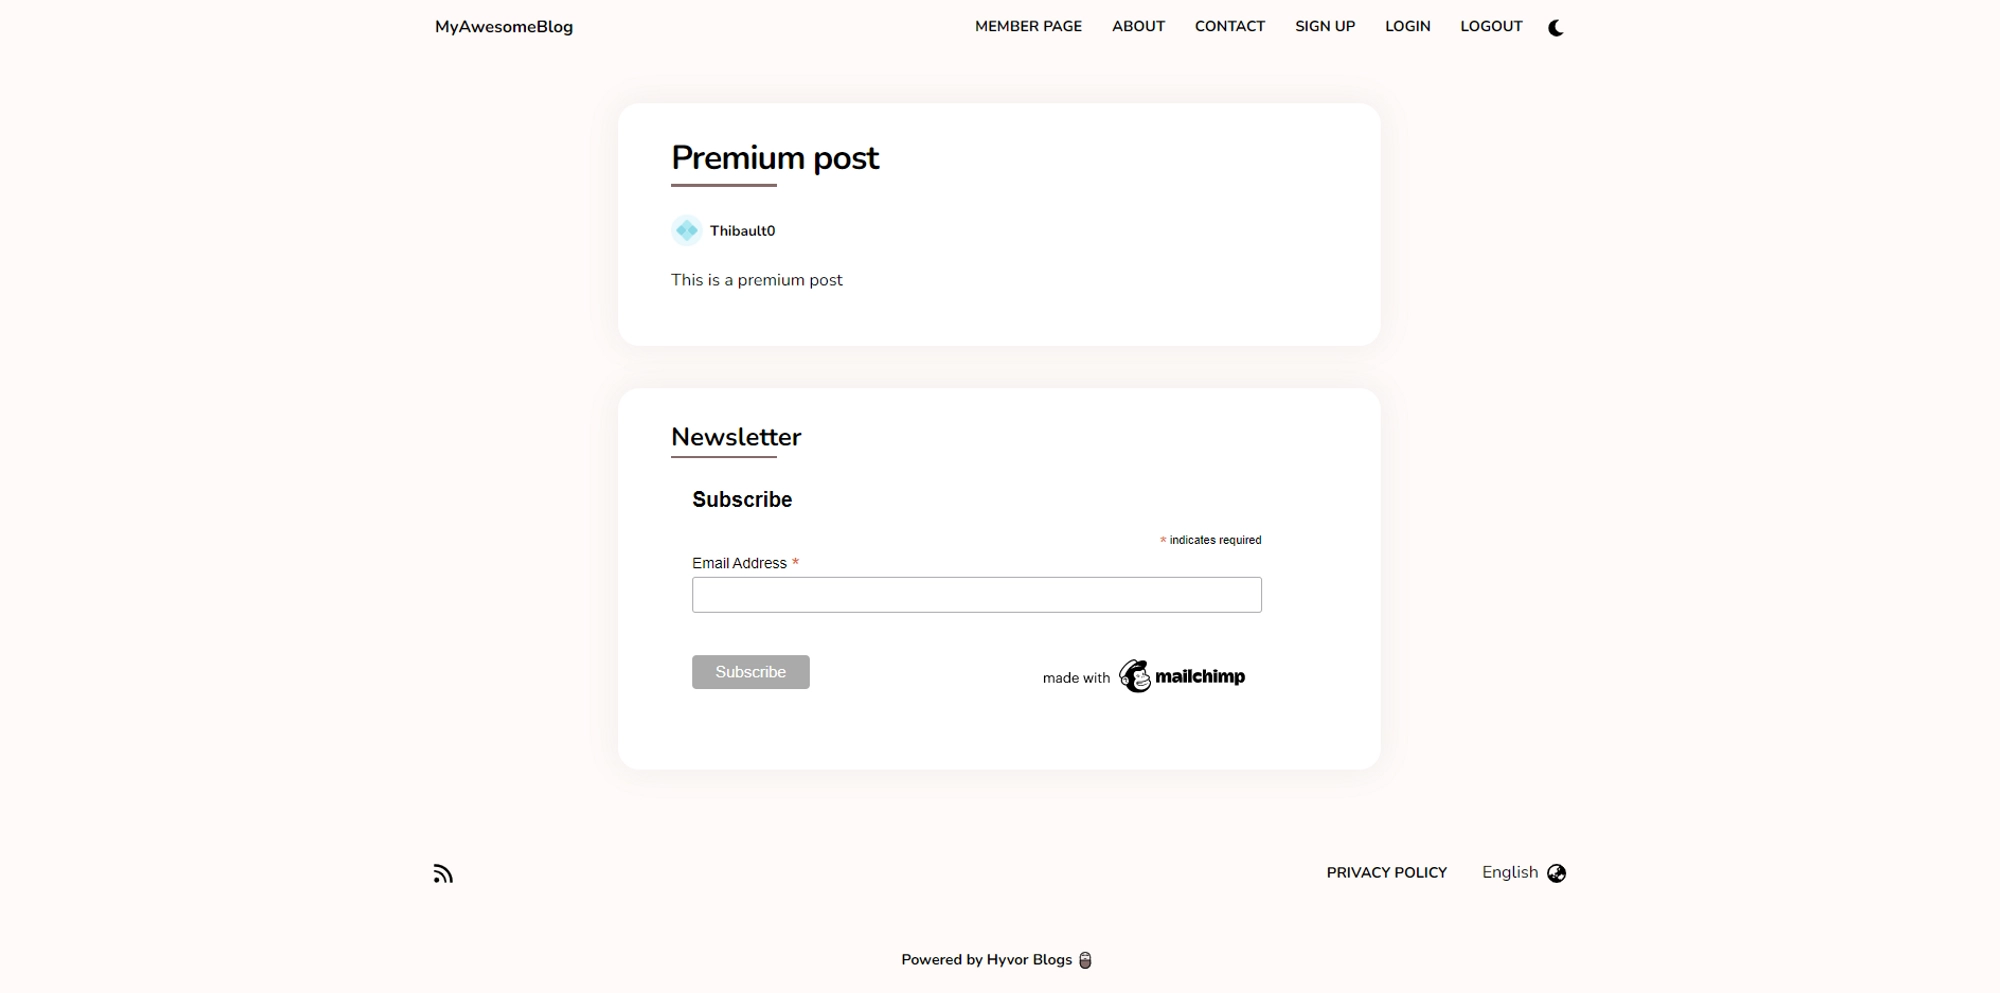
Your form is now available on your blog.
Step 4.5 (optional) - Editing the blog’s theme to add the subscription form
If the signup form location used by your blog’s template does not fit your need, you can edit the theme to customize the location.
Go to the Theme → templates section.
Choose the file where you want to display the form, for example
index.twig: The form will be displayed on the home page._footer.twig: The form will be displayed in the footers of all pages.
Copy the following code snippet in your chosen file
MAILCHIMP_CODE_SNIPPETwith the code snipped provided by Mailchimp when editing your form.
1<center>2 MAILCHIMP_CODE_SNIPPET3</center>This way, you can customize where to put the subscription form. Note that you can put it in multiple places.
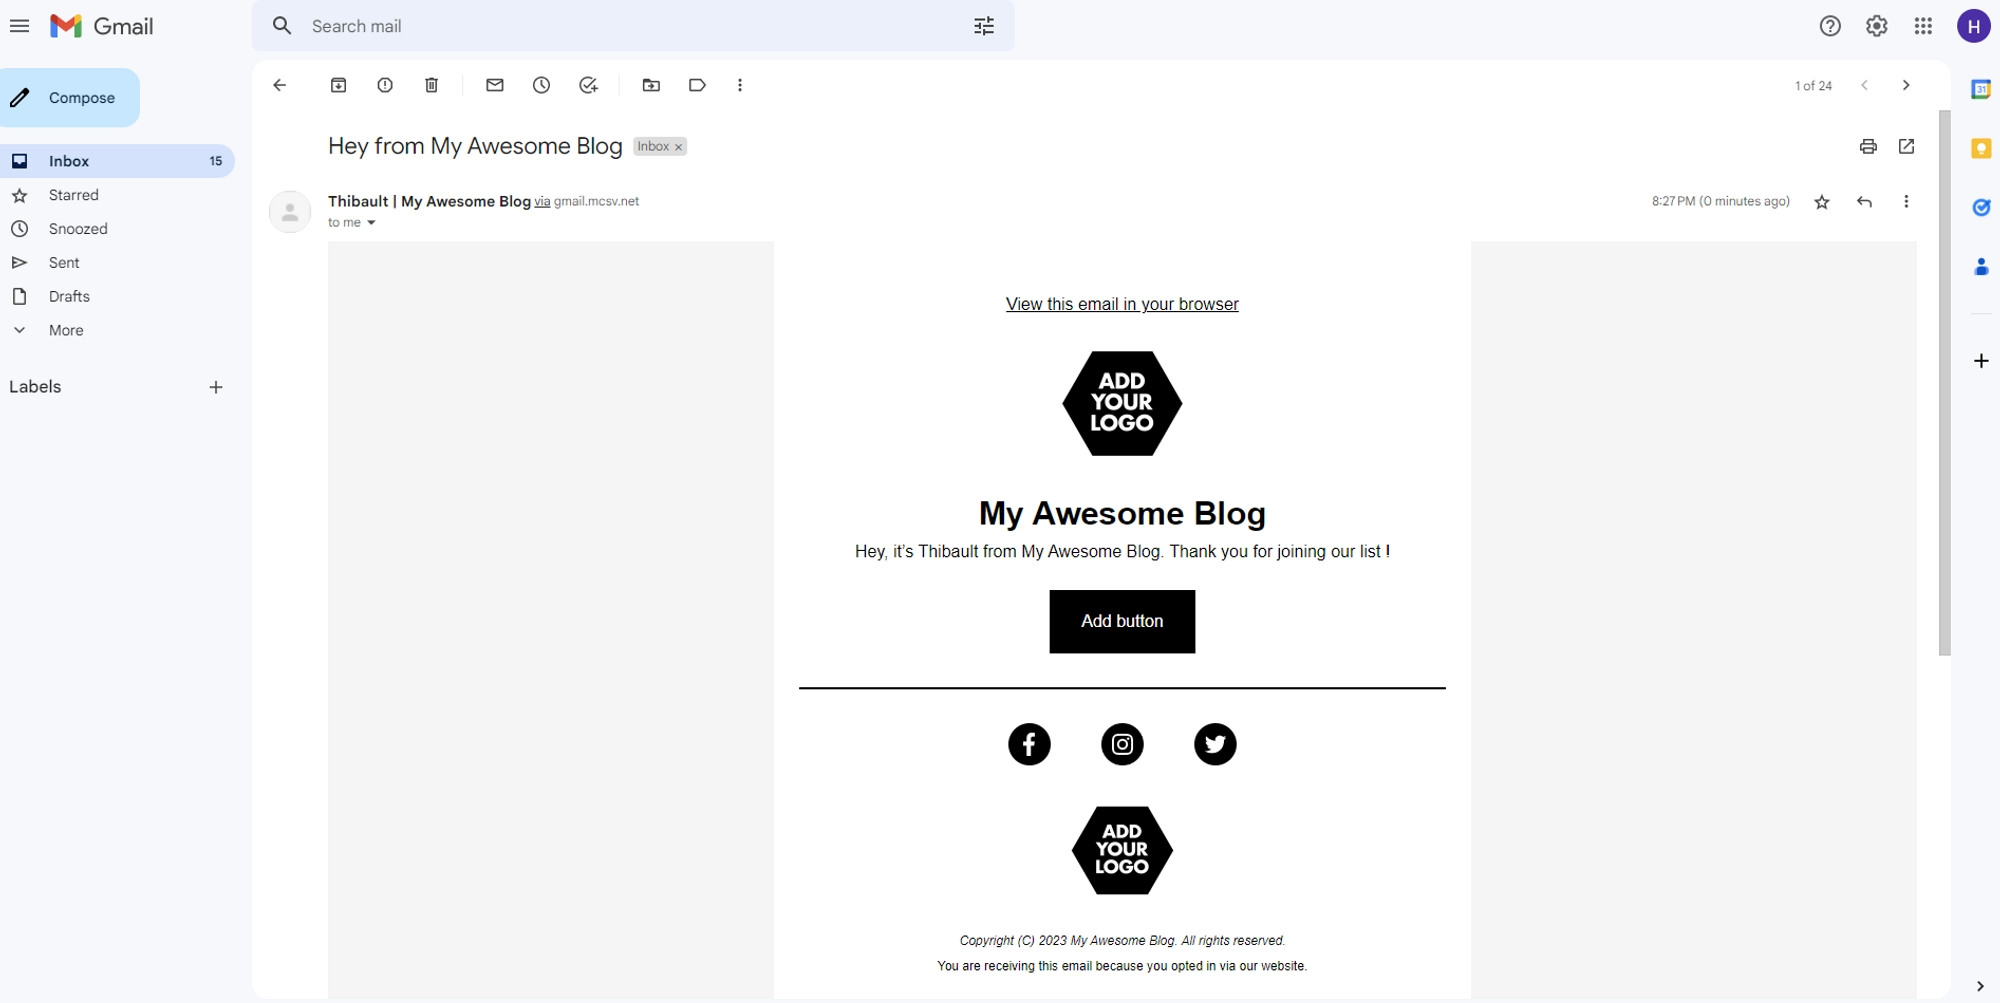
Step 5 - Setup final welcome mail
Upon a user's sign-up through your form, sending a final welcome email can be dispatched. This serves as an excellent approach to express gratitude towards your new member and foster a positive relationship with your audience.
Go to Audience → Signup form → Form builder.
Select Final welcome mail.
Check to Send a final welcome email checkbox.

Customize your final welcome mail.
Step 6 - Setup an Email campaign
Go to Create → Email → Regular.
Chose a name for your campaign (For this tutorial, we will use “Campaign #1”)
Click Begin.
Customize your email
You can customize titles, texts, …
You can add images, texts, …
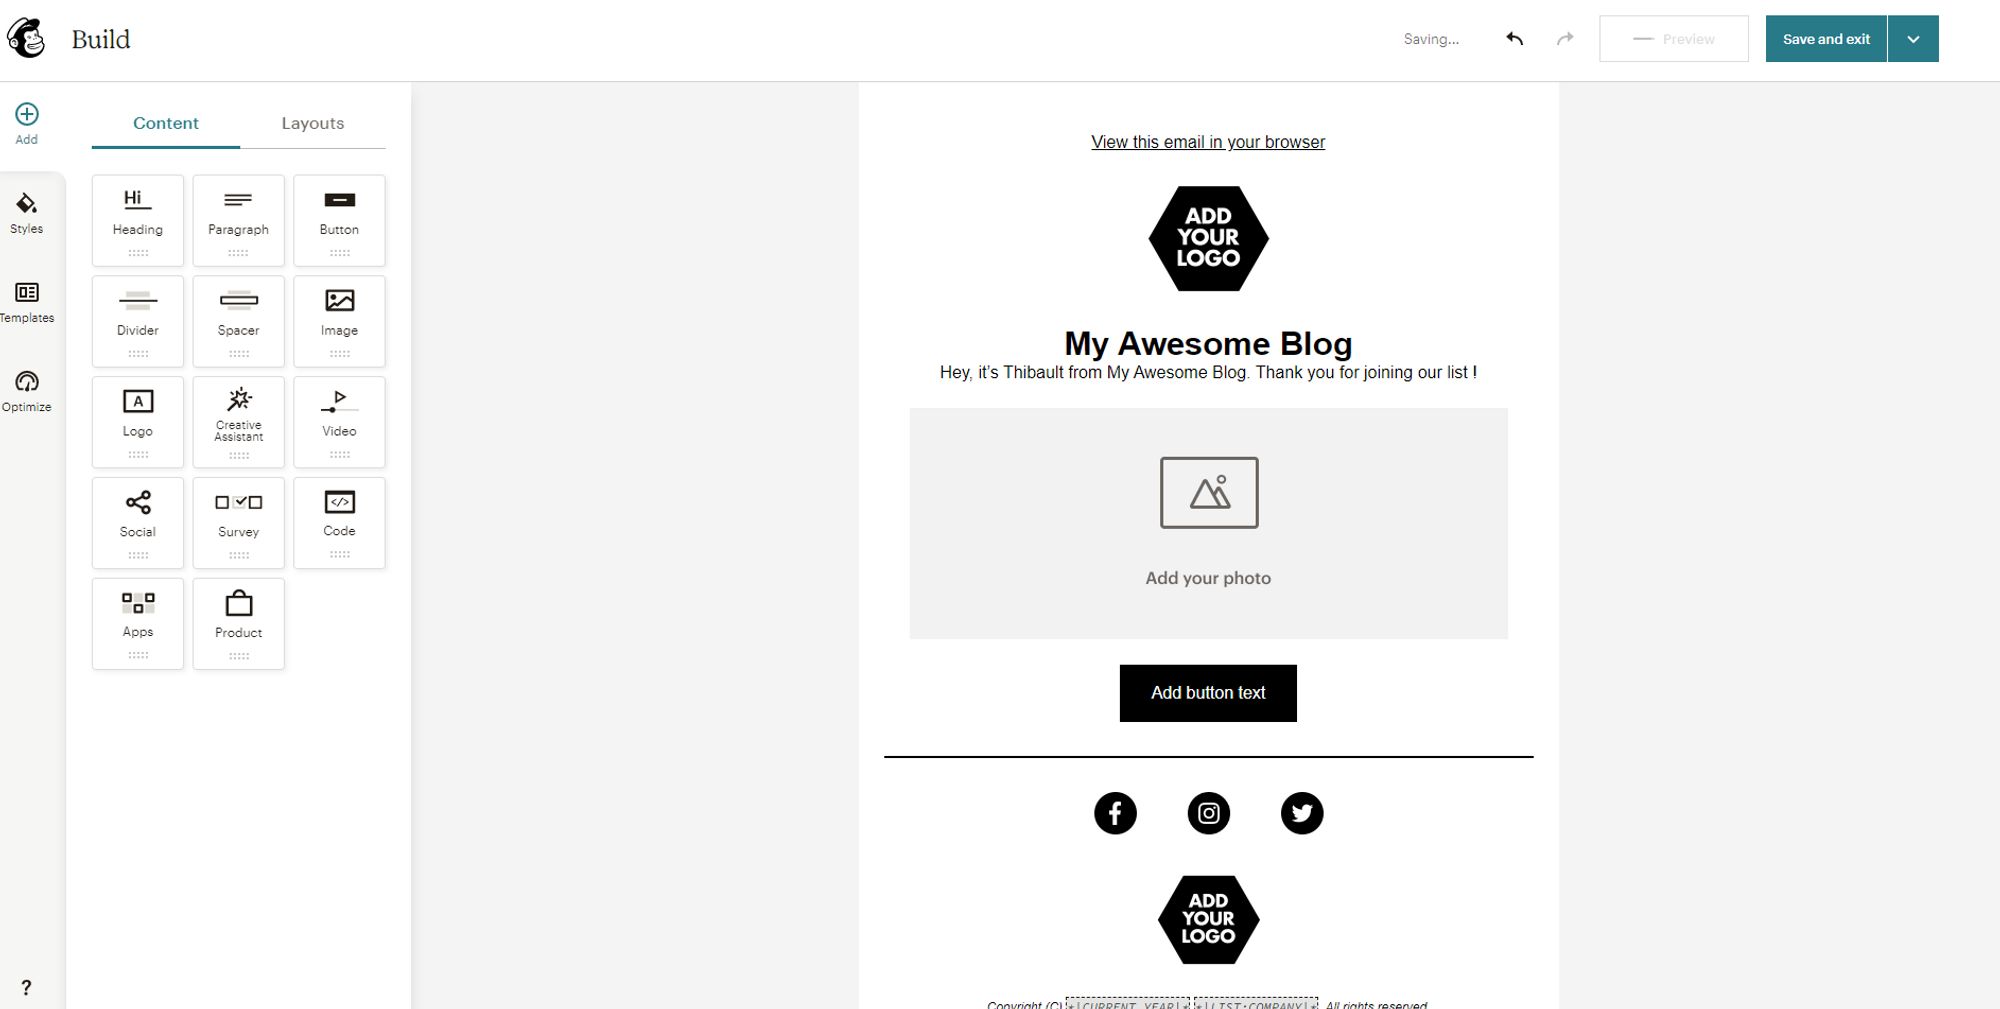
How to add Mailchimp to Hyvor Blogs - Setup an email campaign
Click Save and exit.
Add a subject to your email.
Click Send.
Please ensure to allocate an ample amount of time to compose an email that aligns with the subject matter of your blog. By doing so, your email marketing initiative will likely garner increased audience engagement.
In conclusion, adding Mailchimp to your blog can be an effective way to build and engage with your audience through email marketing. While this article has covered the basics of setting up Mailchimp, note that there are many more features available in the premium plans that could take your email marketing to the next level. These include advanced segmentation and personalization options, A/B testing, automation workflows, and much more. Depending on your needs and budget, upgrading to a premium plan may be a worthwhile investment for your business. We hope this article has helped get you started with Mailchimp, and wish you the best of luck in your email marketing campaigns!

Comments