Personally, when it came to creating my own personal blog, the battle was between WordPress and Wix. I didn't consider Ghost, and Blogger just seemed archaic in comparison. This blog post is all about how to create a blog on Wix.
I've originally worked with WordPress, but, being human, I was looking for something else which was new and fresh. Wix, as you know, has an ensemble cast of globally famous actors to promote it. Whether it was Gal Gadot or Jason Statham, they really did get their marketing on point.
While I honestly wanted to create a blog with Wix, I took the decision to stick with WordPress. The justification was — The known devil is better than the unknown angel. While I have no regrets, I can state that when (Like now!) I do create a new blog or website, it will be with Wix.
Today, I will show you how to create a blog on Wix, and then, move onto why you should choose Wix as a legitimate option to create your blog. Firstly, why create another blog? Well, I decided to go knee-deep into tech since it really is the future. I'm crazy happy writing on topics regarding privacy and data and learning new things. I wanted to up the ante by learning how to code Python, and I decided to document my learnings via a blog.
There are plenty of reasons why you or your company should have a blog, but, in my case, consider it an online diary of sorts, and the fact that illustrating your learnings can help affect your brain's neuroplasticity, and can lead to neurogenesis.
This step-by-step guide is going to show you how I created my FREE Wix blog site a few hours back.
Create A Blog With Wix (Step-by-Step)
1. Head On Over To Wix
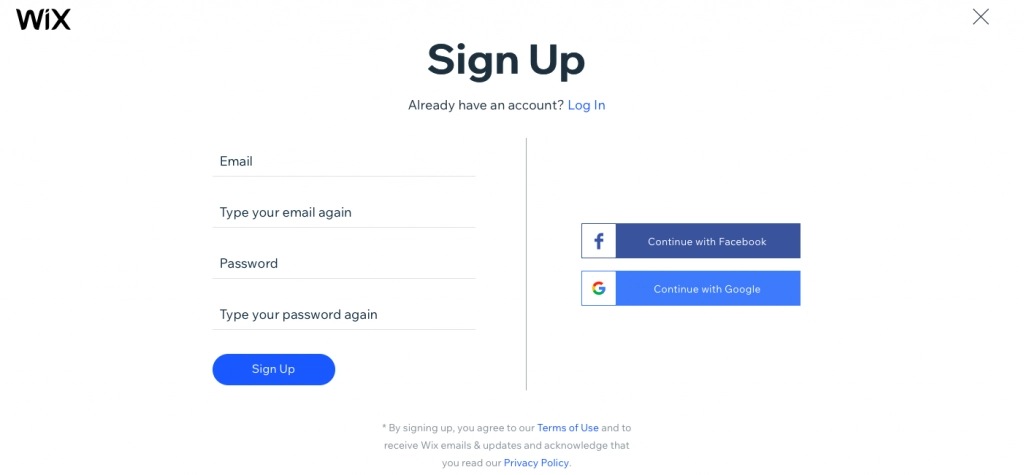
Click here, and just Sign Up.
2. Fill In The Blanks

Wix knows you well, and its crazy simple fill-in-the-blanks UI makes it a cinch for THEM to figure out what YOU want.
3. Choose Your Domain Of Authority
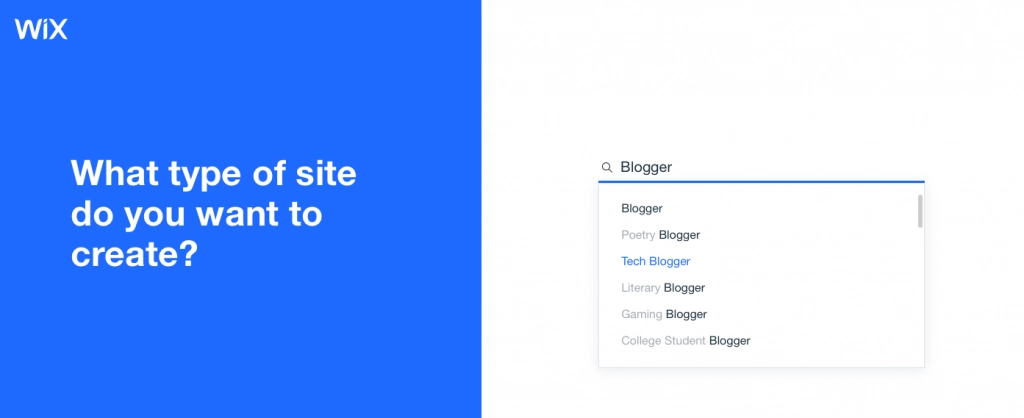
I decided to go with tech because I will be learning and regurgitating all things to do with Python.
4. Get Personal

Get your identity personalized. Make sure you get a logo done. You can even get one done through the Wix logo maker. I got mine created through a professional artist.
5. Choose Your Colors

I gravitate towards minimalist colors at times and chose white. It's clean and clear just like how coding should be.
6. Choose Your Homepage Design
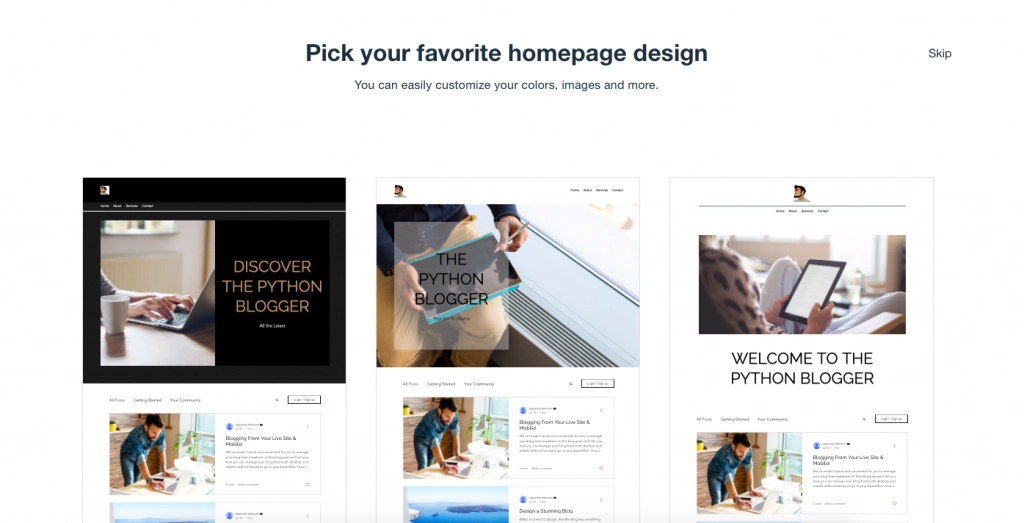
I like the fact that Wix gave me only three choices. Why be spoilt for choice? This is another great UX decision by Wix to choose the best possible options based on your subject matter. Unlike Wordpress, there's more method to the madness here.
7. Choose Your Sitemap
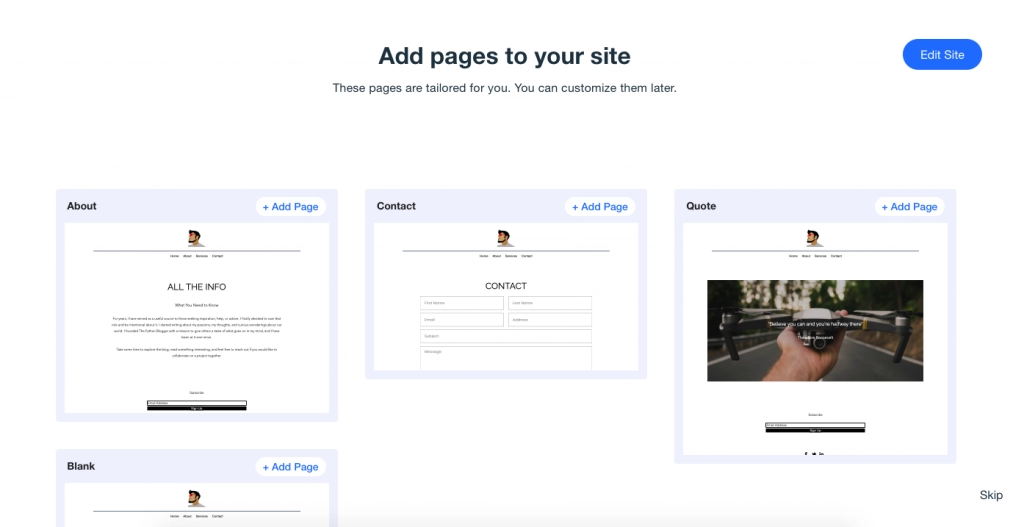
Simple seems to be a Wix theme. I kept the structure flat because Minimalism is my theme.
8. We Are Done?
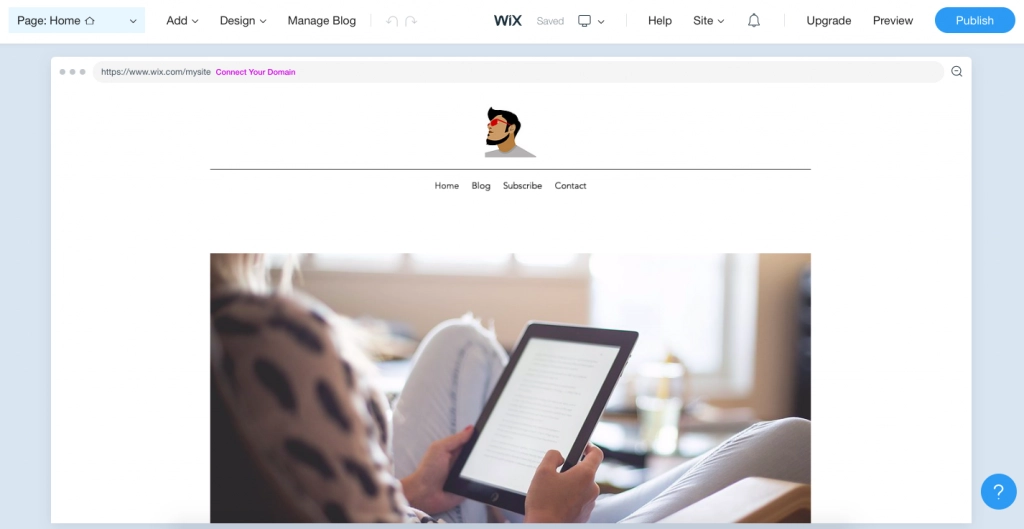
We are almost done. Just didn't want to click Publish yet.
9. Let's Tinker A Bit
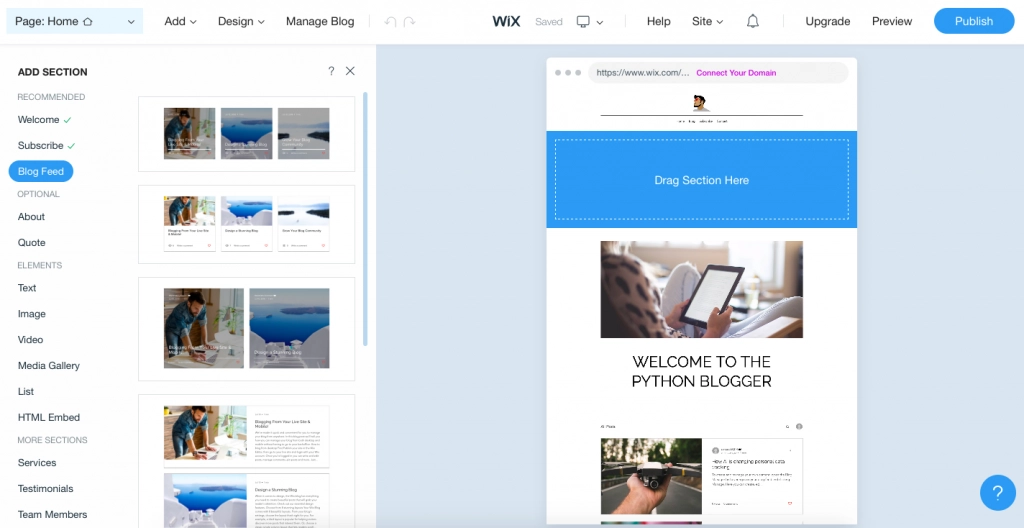
What's the rush? Let's try and tinker around a bit. I headed over to the top left-hand corner and clicked Page: Home. There's some stuff I need to do.
10. Get Rid Of Subscribe
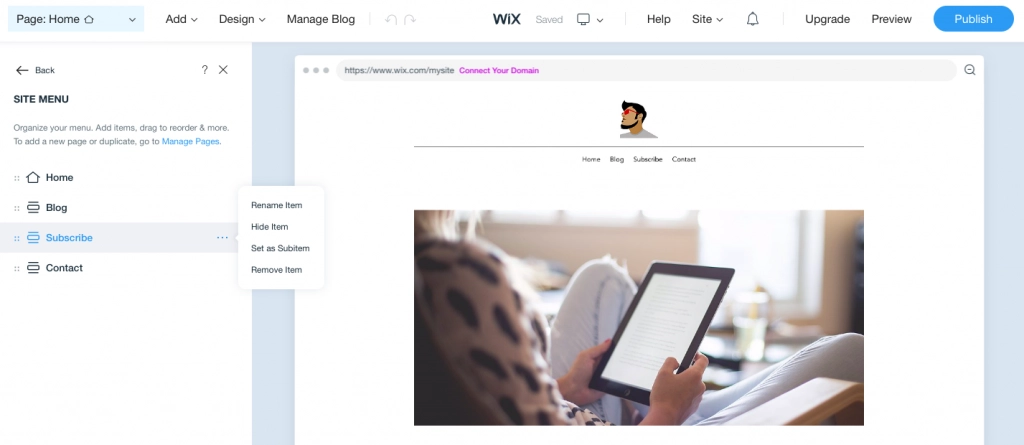
I got rid of Subscribe simply because this blog is only about me posting stuff on Python.
11. More Edits
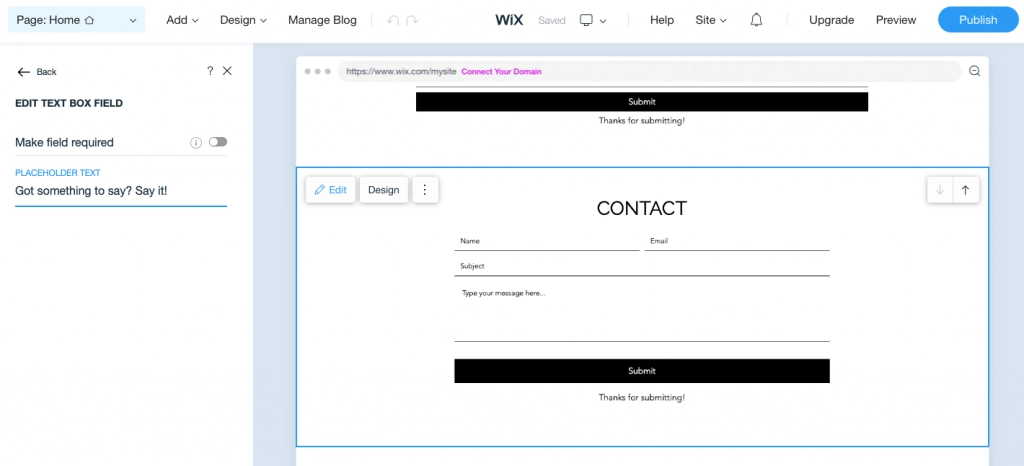
I didn't much care for the Default Text in the Contact Section, so I changed it to Got something to say? Say it!
12. Let's Preview
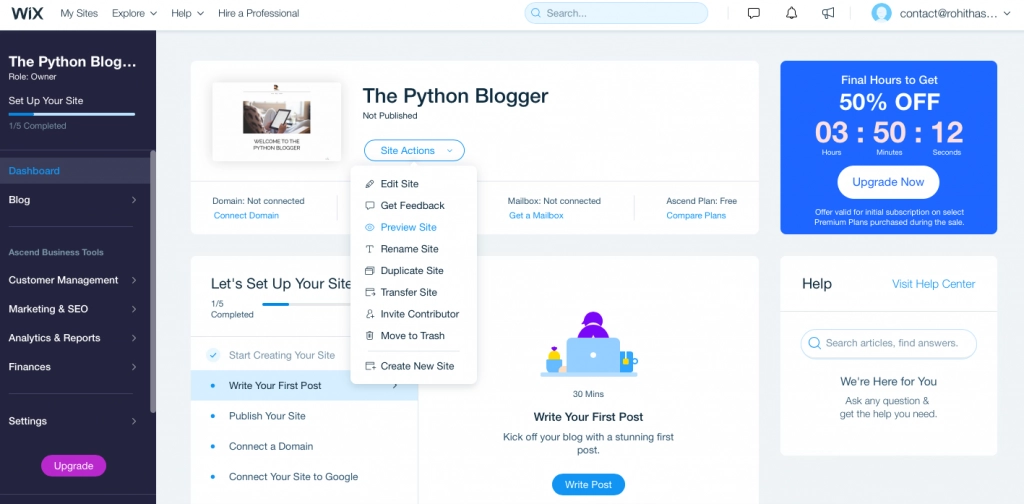
Go to Site Actions and check out a Preview.
13. Preview!

Not too shabby at all!
14. Email Configuration
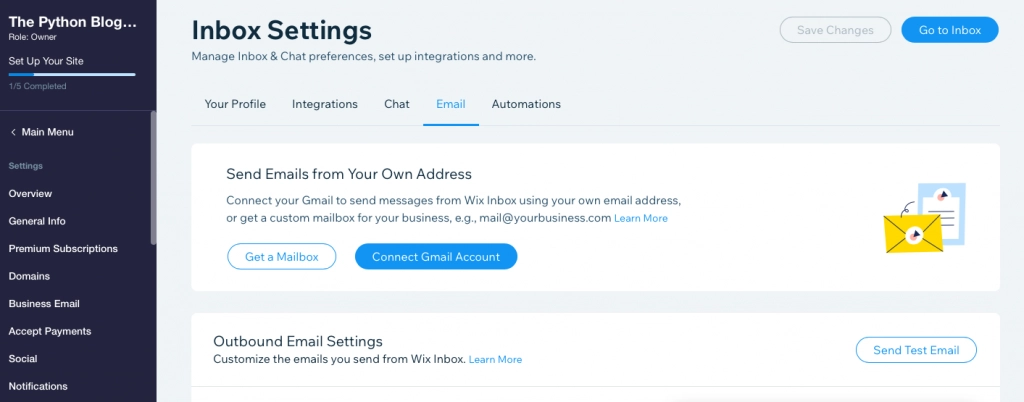
Alright, this is crazy useful. I went to Settings and connected my Gmail account to the Wix Inbox.
15. Let's Publish!
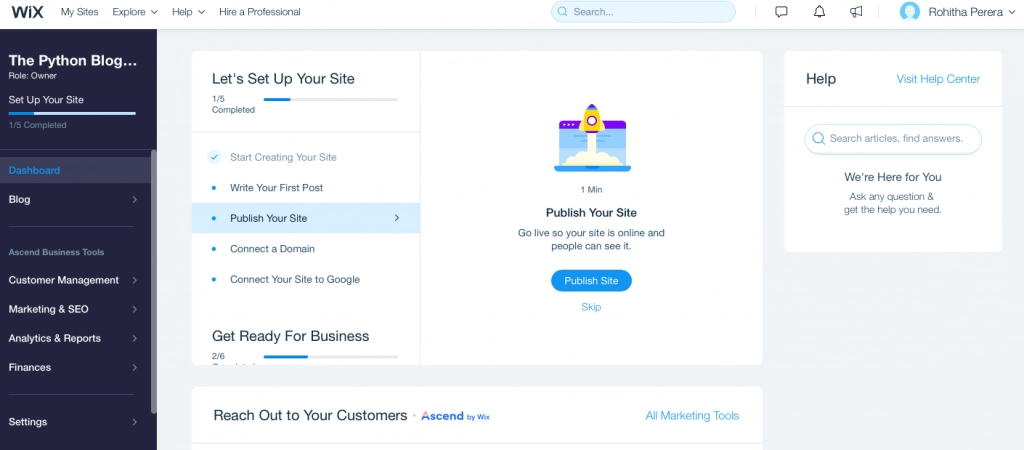
All done! The moment of truth in the world of blogging lies in that one click you just need to make. Publish!
16. Do You Need To Connect A Domain?
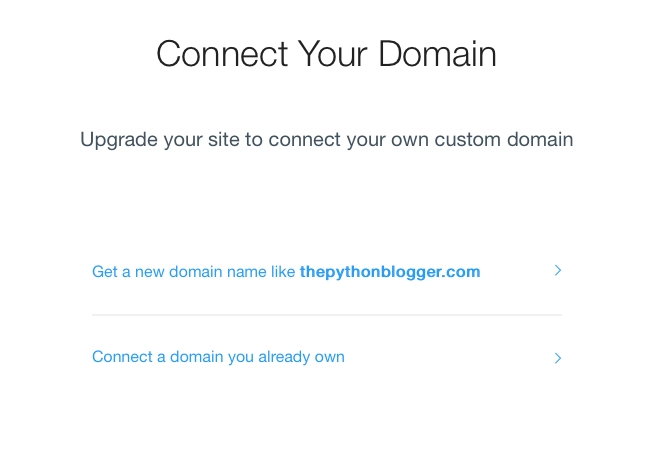
You probably do, but to get started, I just chose to keep it a FREE Wix site.
17. Wix Plans
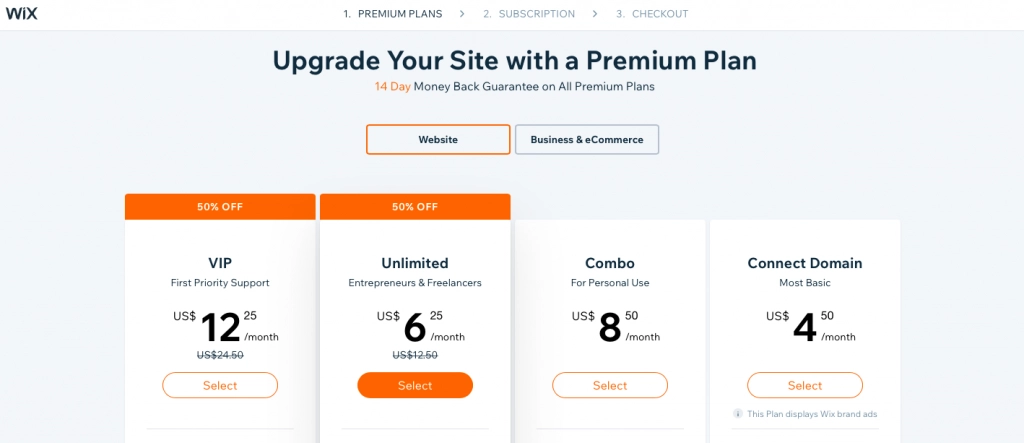
I'm digressing here a bit, but Wix has some great plans and is cheaper than most. I'm sticking with the FREE one.
18. I Chose A Domain
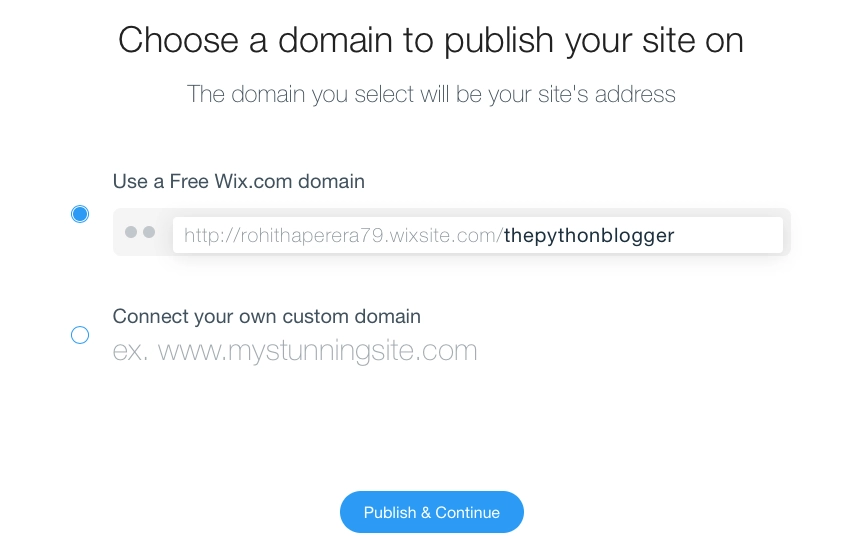
Here we go: https://rohithaperera79.wixsite.com/thepythonblogger
19. The Python Blogger Is Live!
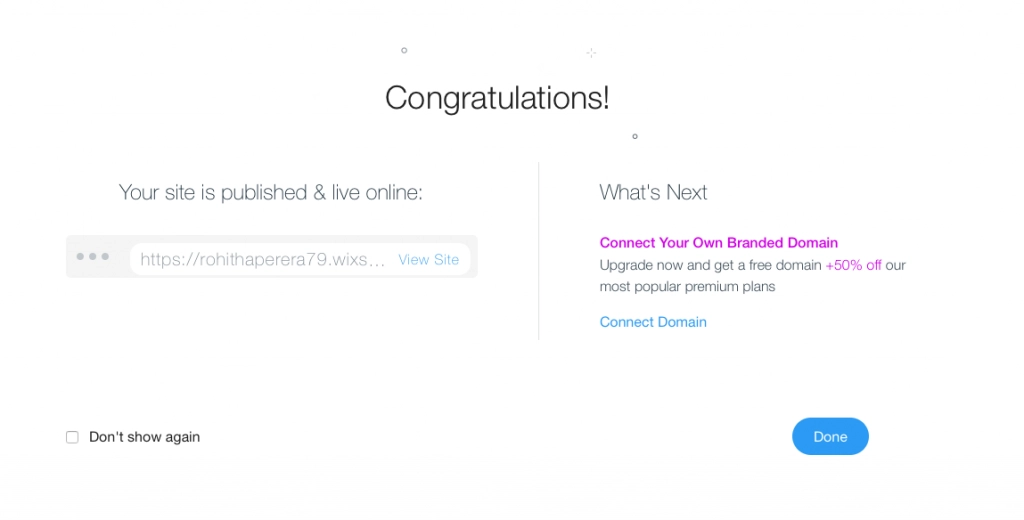
I pressed Publish and went LIVE!
20. A Tiny Edit
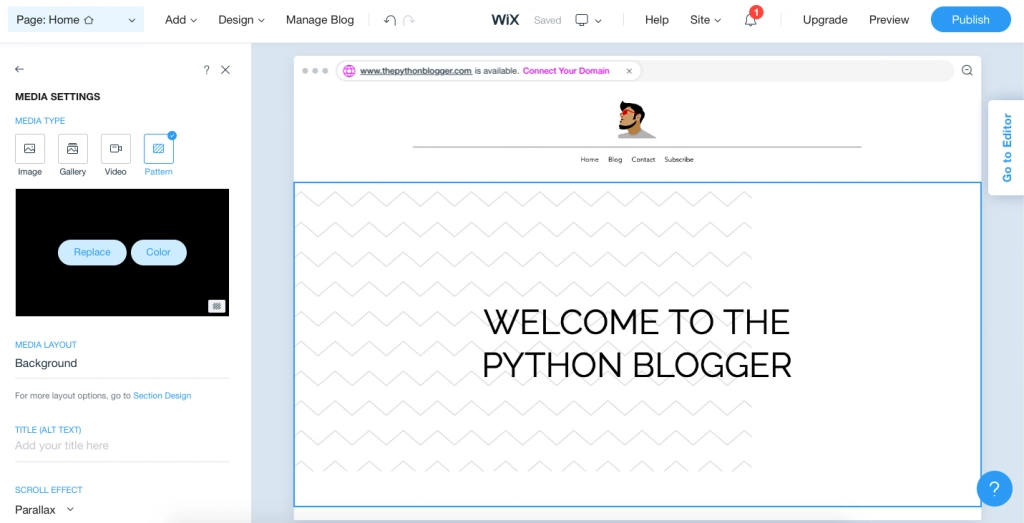
I went back to Page: Home and decided to do a quick edit. I wanted a Pattern instead of an Image and chose the above.
21. Live!
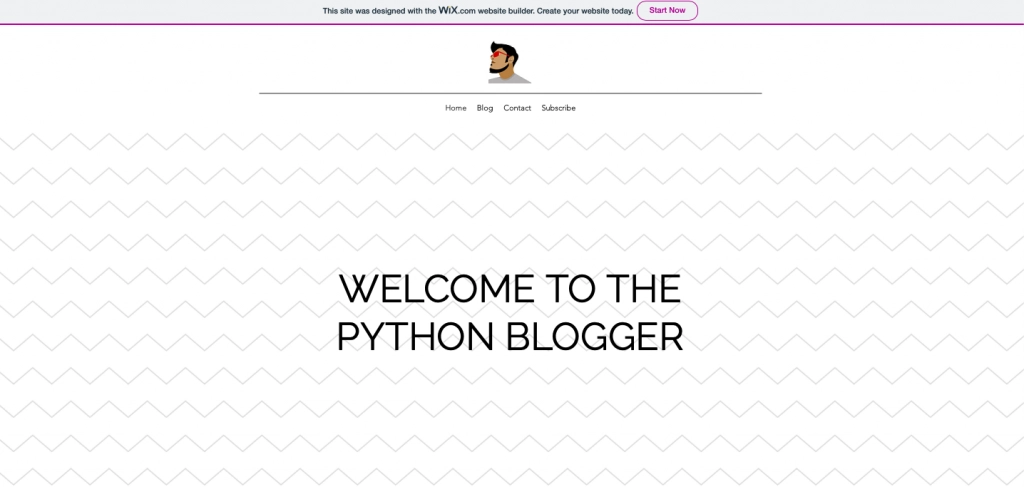
We are now LIVE! See how incredibly simple it is to create a blog with Wix. Now it's a matter of posting my first blog post.
Adding Comments to Wix with Hyvor Talk
Add comments to your Wix blog and increase your engagement drastically. We wrote Reasons Why Comments are Important for a Blog some time back, and if you are a blogger or website owner, this particular article showcases why exactly you need to embed comments.
The whole user experience of embedding content has become easier and a real cinch. Consequently, embedding has become a very easy experience. With Hyvor Talk making the whole process seamless and intuitive, with a platform that is both beautiful and potent, you are assured of getting some serious engagement.
Here's My First Blog Post Via Wix Mobile
I've got a confession to make — I left iOS for Android. Well, that's not completely true. But boredom led me down this path. There are so many tech options out there, and if you are into tech, you probably need to try everything.

Truth be told, I love blogging, reading, and writing. And while I use WordPress almost every day on mobile, I've now got enough reason to use Wix on Android. That said Wix is very much available on the Apple store as well.

I'll be honest — the UI and UX experience is just fantastic. Clean and clear is the order of the day.
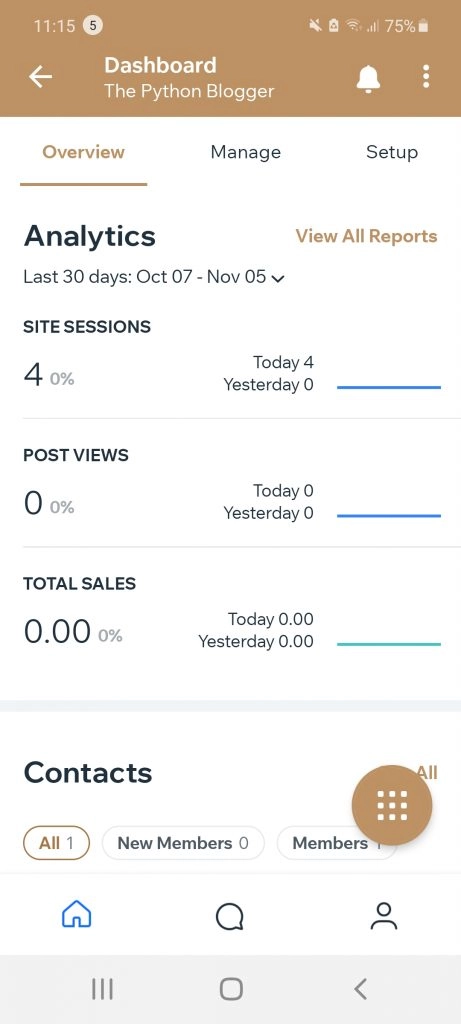
The Analytics dashboard is far better than WordPress.
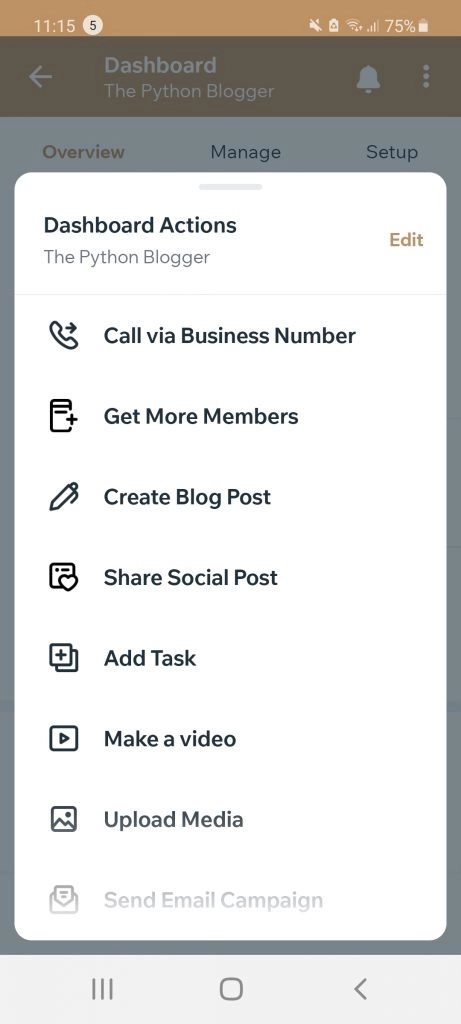
The UX prompts to write a new blog post is seamless and natural.
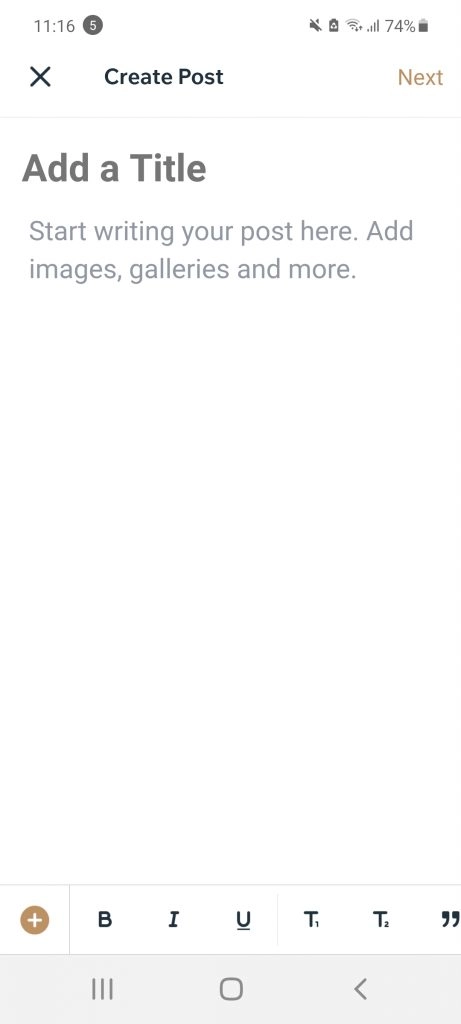
The writing experience on the Wix mobile app is a joy. What's even more of a joy is the use of a stylus on the keyboard.

My first blog post is done.
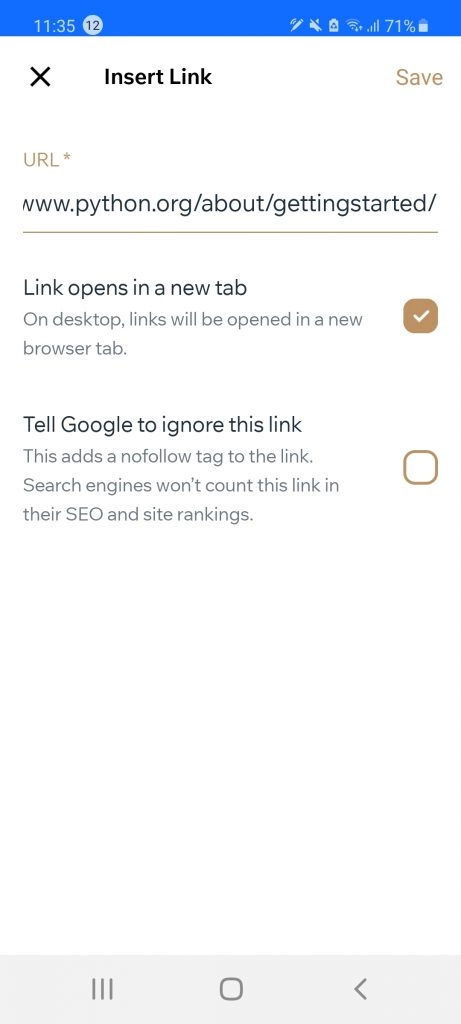
Wordpress on mobile does not have this option of a no follow tag.
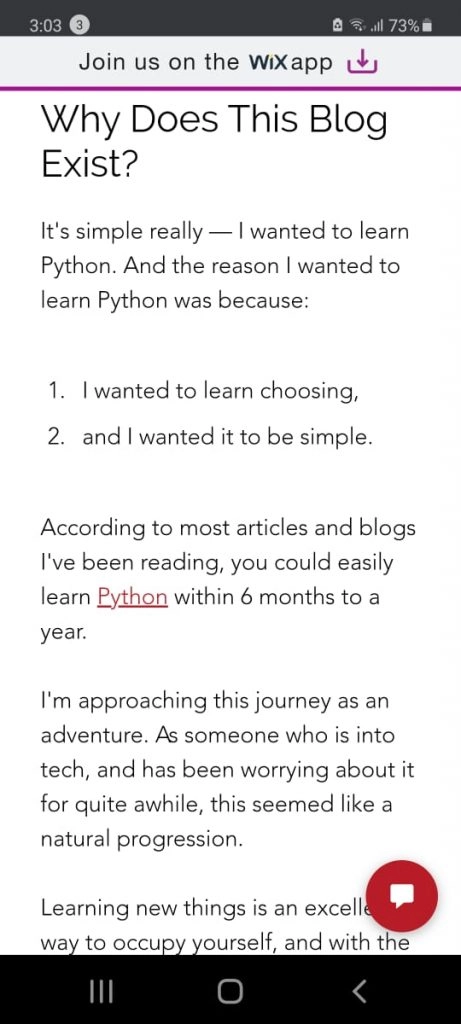
We are live now via Wix on mobile.
Why Wix?
Guess how long it took me to create my first blog on Wix? Less than 45 minutes. Seriously, how cool is that? Wordpress could possibly be the an OG in the CMS world, but Wix knows what's on.
The Wix experience is a great one. I won't lambast WordPress too much since I've used it since the early 2000 era, and it does have a special place in my heart.
But, since I've started this new blog on Wix all in the name of learning new things, I'm quite happy with this excellent option, too. The more I tinker around on Wix, the more new learnings I hope to bring to your screen.
I hope this step-by-step guide helps you out; give us a comment and share — we'd love to hear about your Wix adventures!

Comments