This post aims to provide an easy step-by-step tutorial to connect Google Analytics to your blog to get metrics about your audience. By following the 4 steps outlined in this post, you can set up Google Analytics on your blog and start collecting valuable data on your visitors.
Requirements: You should have a Google account to use the Google Analytics tools.
Step 1 - Google Analytics account setup
If you have a Google Analytics account, skip this step.
Sign up for a Google Analytics account at https://analytics.google.com/analytics if you don’t already have one by clicking Start Measuring.
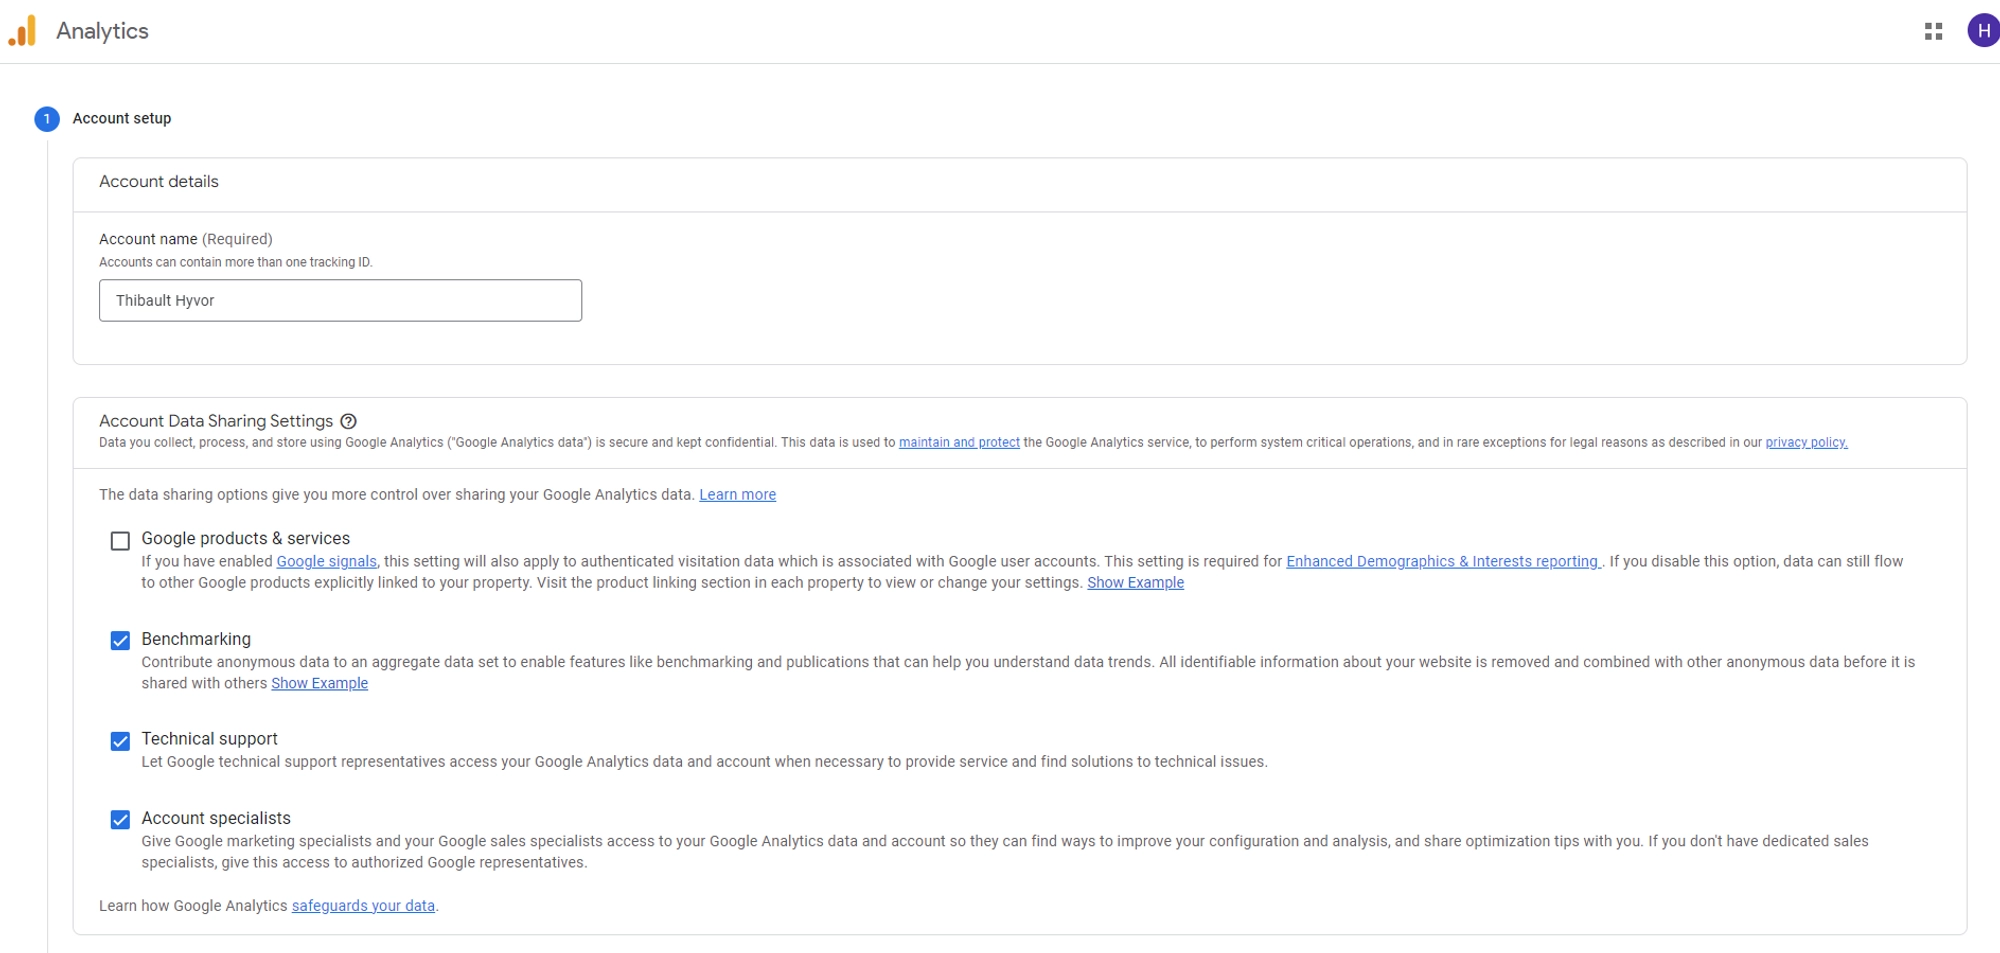
Choose a name for your account, you can use the same one as your Hyvor account.
Select or unselect the data-sharing parameters according to your needs.
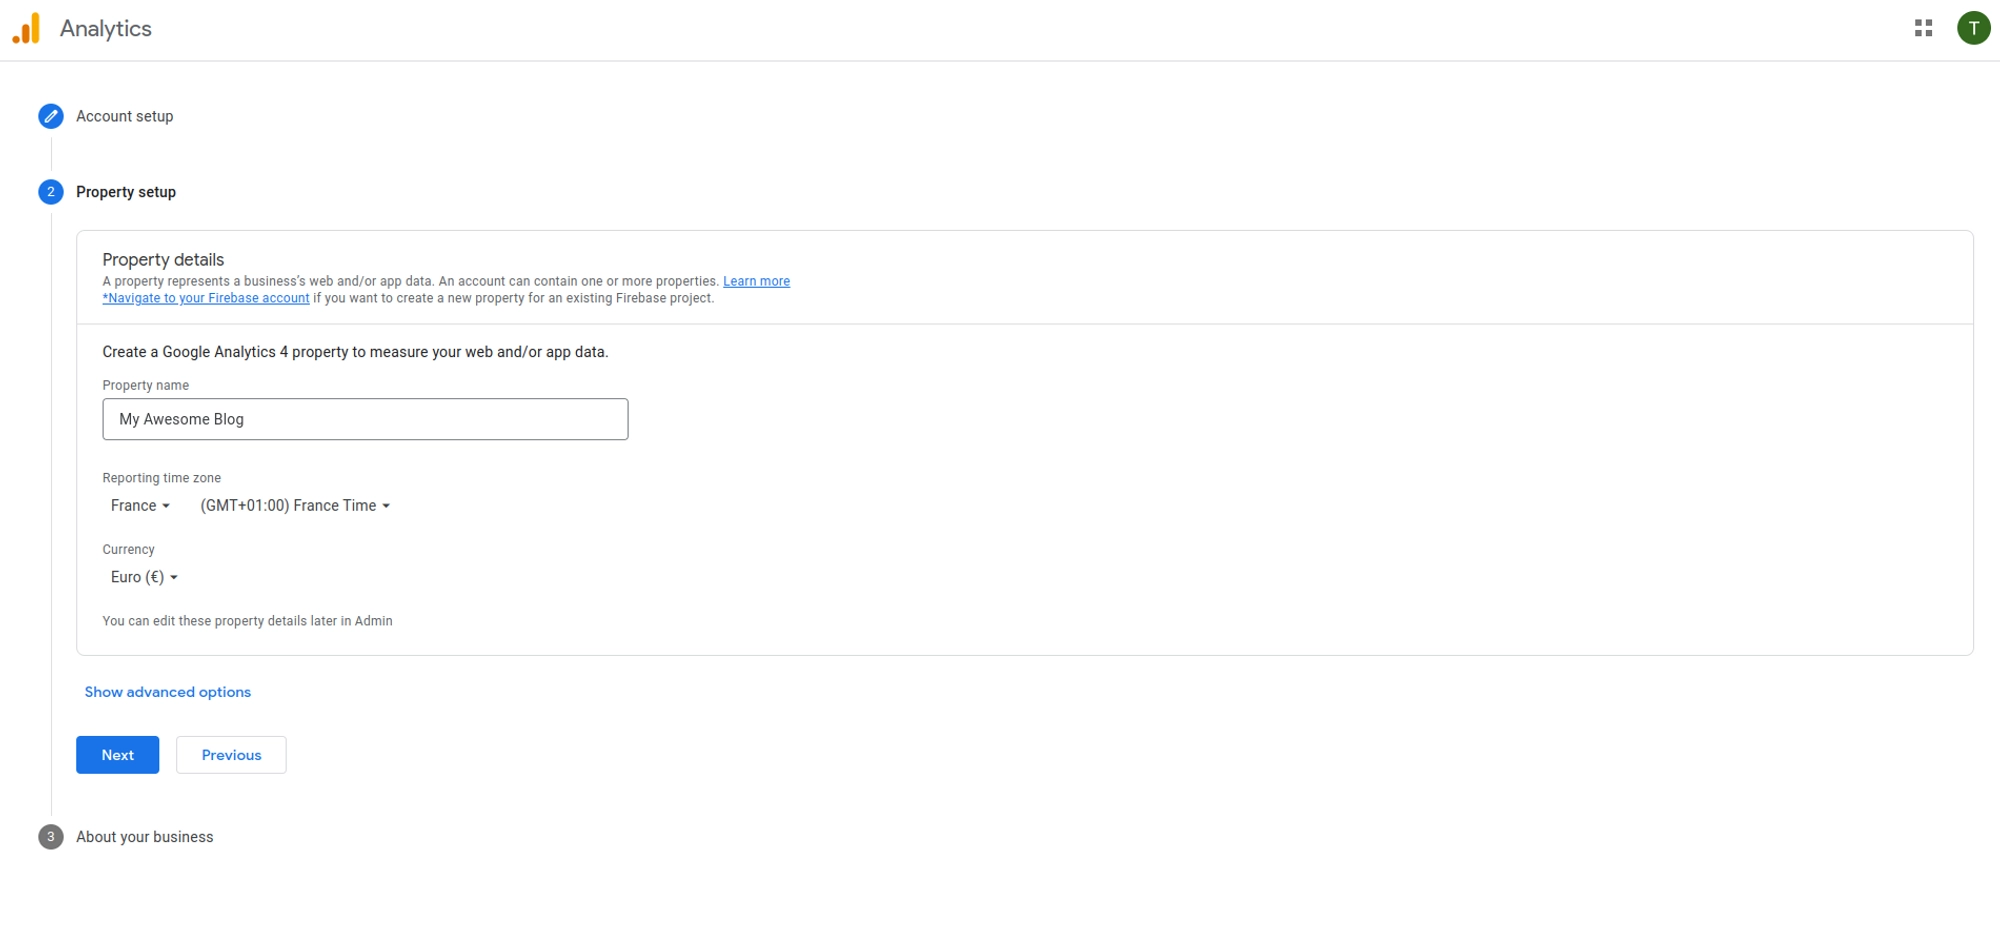
Choose a name for your Google Analytics property. Since a property represents a business’s web and/or app data you can use the name of your blog.
Select the time zone and the currency of your country.
Fill in your business information according to your blog.
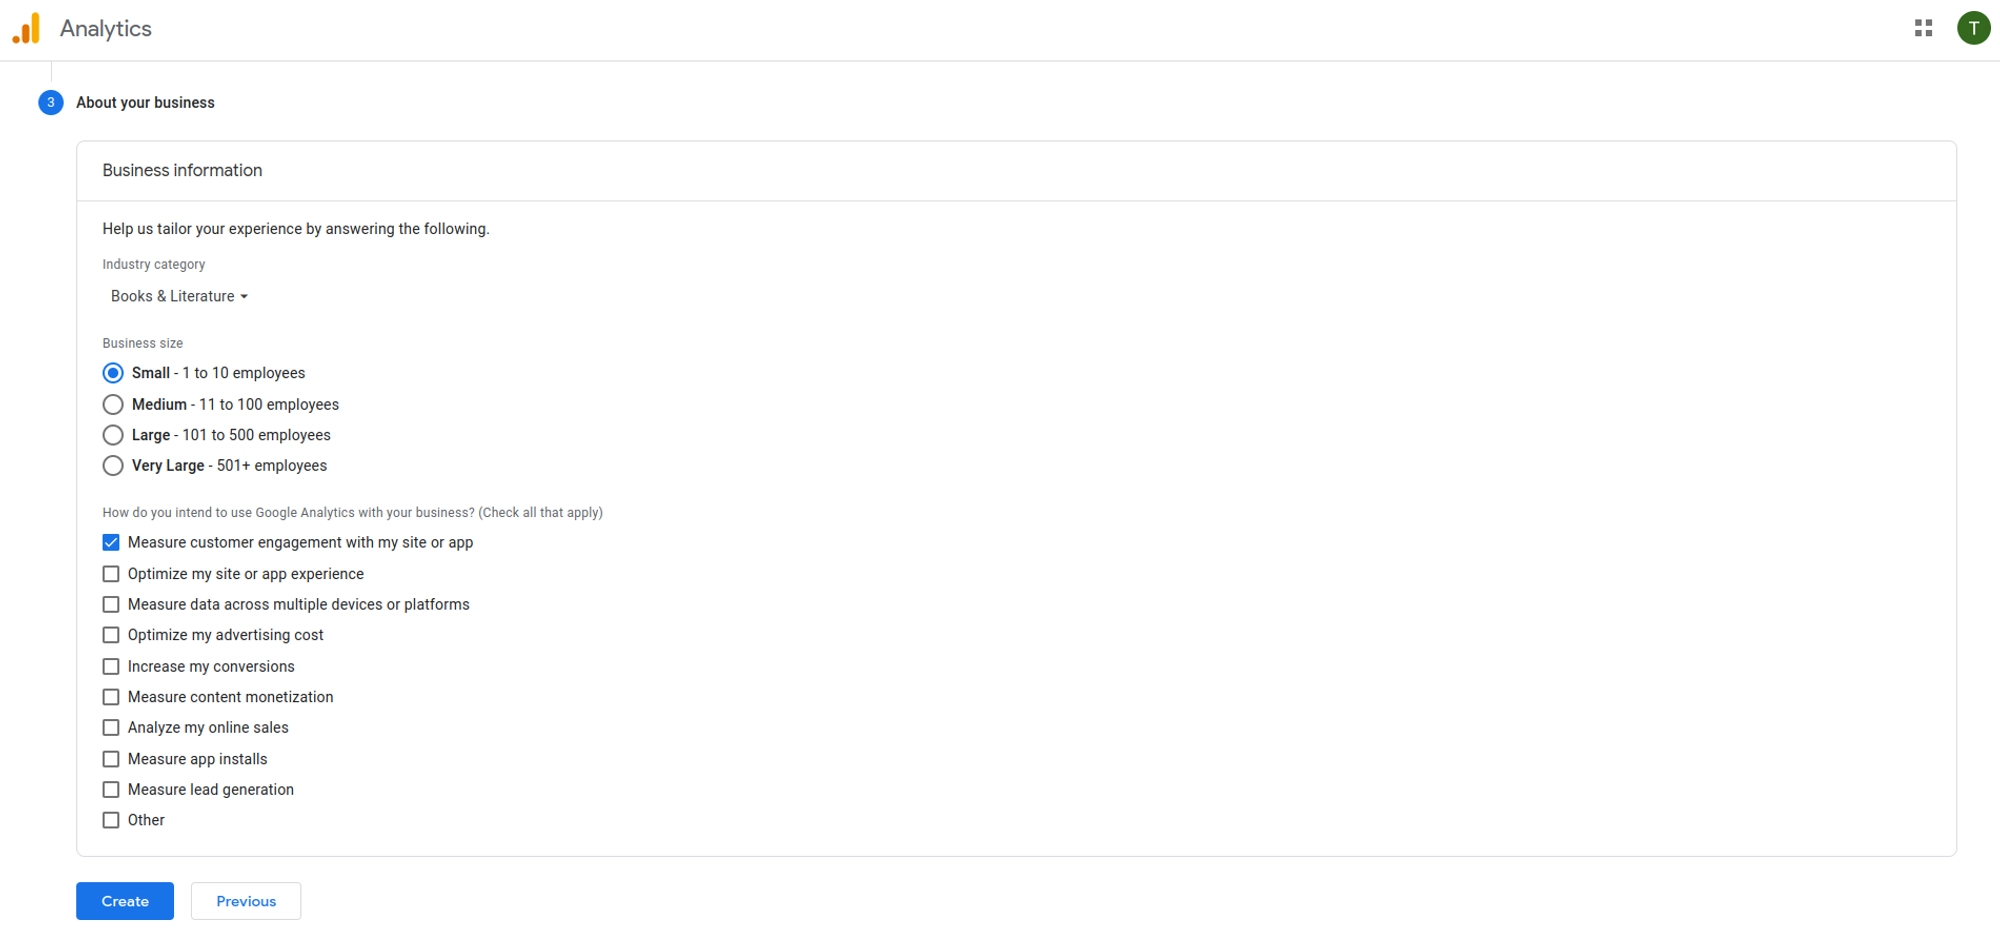
Accept the "Google Analytics Terms of Service Agreement”.
Step 2 - Set up a data stream
A data stream is a way of collecting and analyzing data in real-time to provide valuable insights into your audience.
⚠️ If you already have a Google Analytics account and skipped step 1 - Click on the Admin button in the bottom left corner of the page - In the Property column, click on the dropdown menu and select Create Property if you haven't already created one. If you have an existing property you'd like to add Google Analytics, select that property. - Follow the prompts to create your property. Enter your website name (use the name of your blog), and URL (use the URL of your blog), and select your industry category and reporting time zone
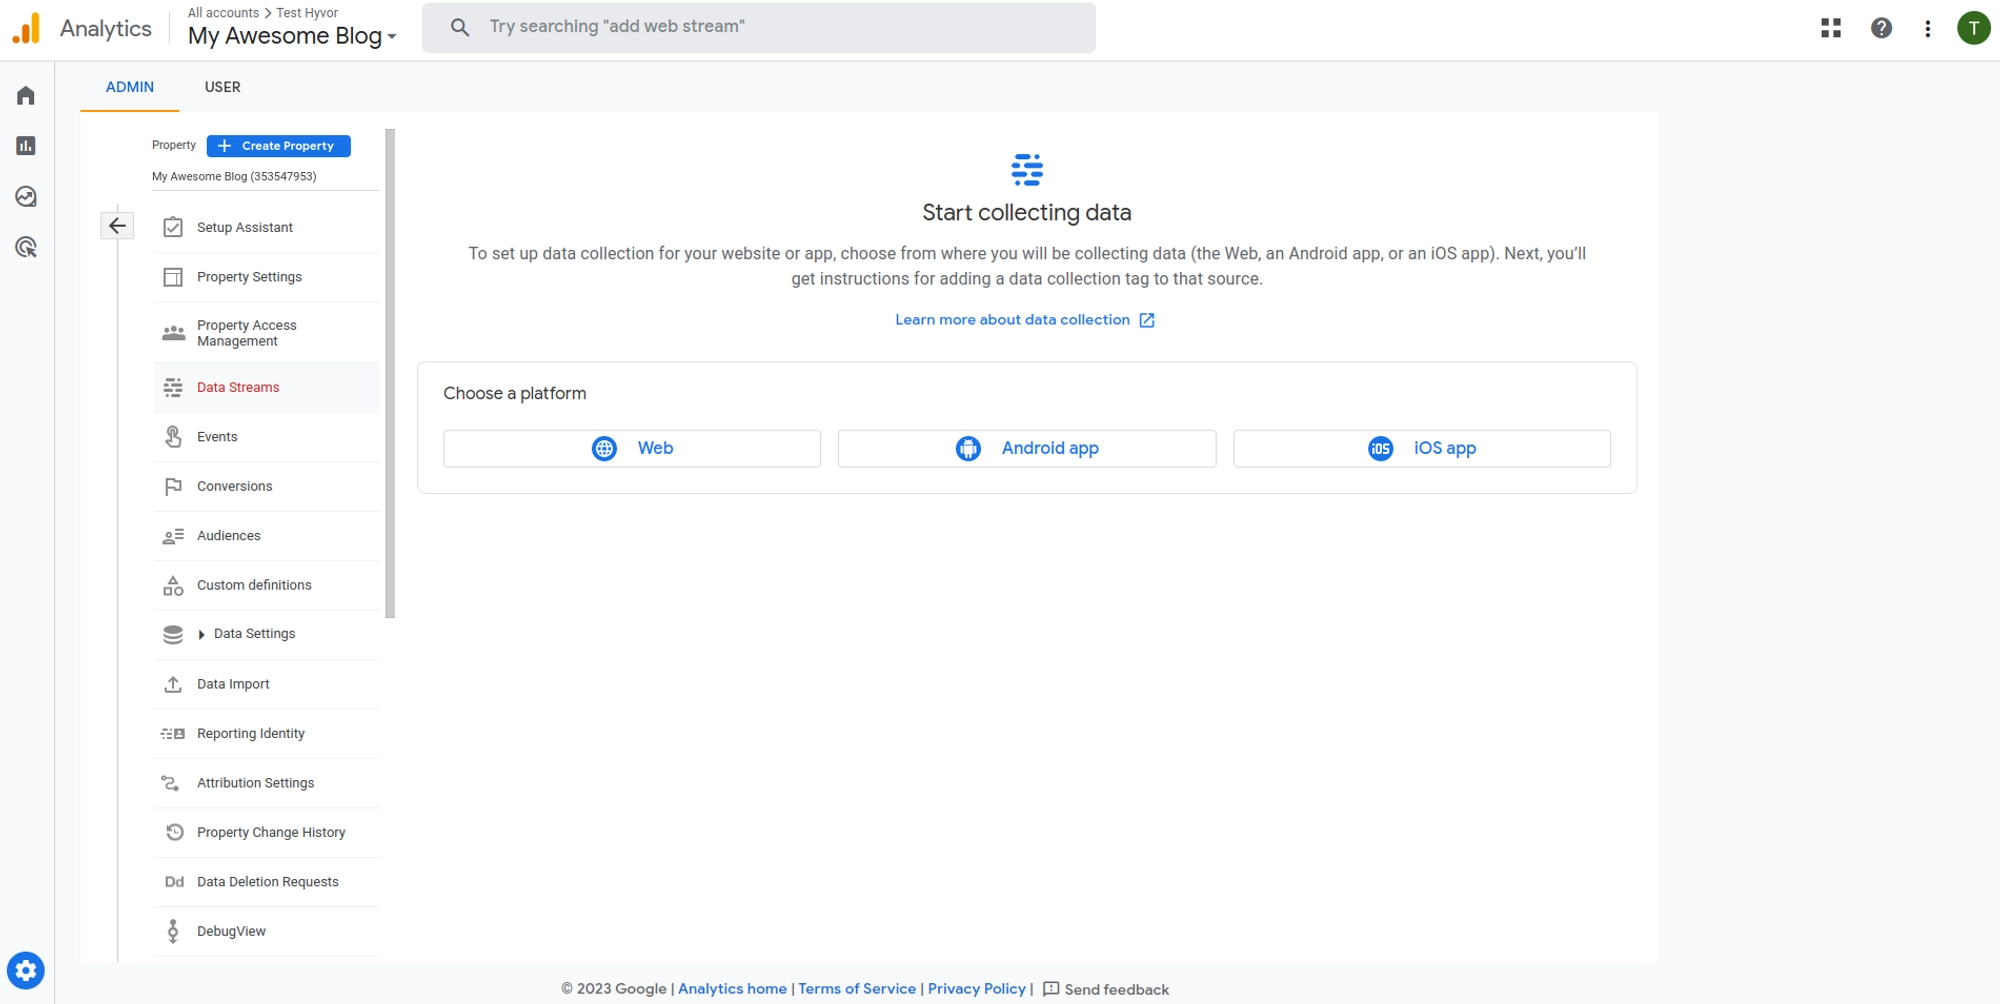
Choose the Web as a platform
Enter the URL of your website, and use your blog URL (ex:
myawesomeblog.hyvorblogs.io)Enter a name for the stream, and use the name of your blog (My Awesome Blog)
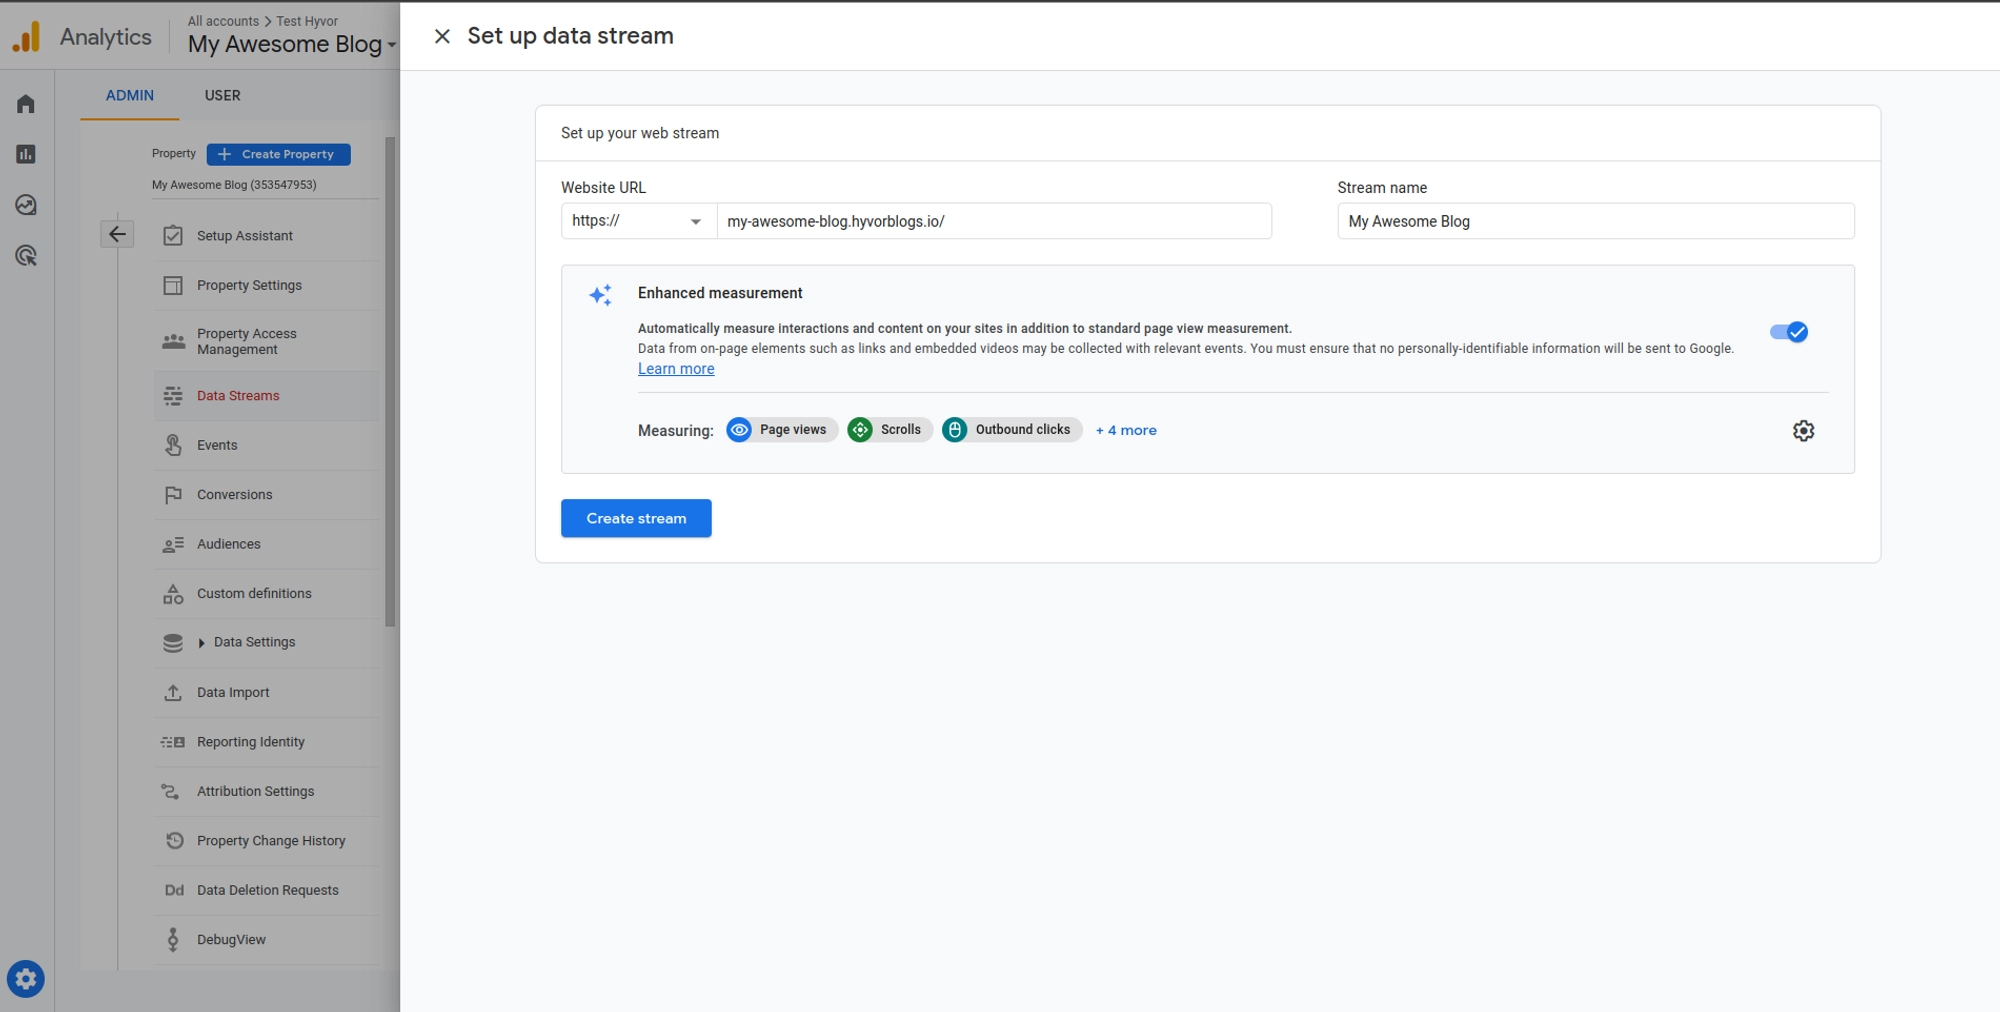
Choose to activate or not the Enhanced measurement which provides additional data on your audience.
Click on Create stream
Step 3 - Linking the Google Analytics data stream with your blog
Now the data stream is created, you’ll need to link it to your blog.
A popup should open with the installation instructions (if not click on View tag instructions).
Since we do not use a website builder or CMS like WordPress or Wix, select Install manually.

Copy the code snippet provided by clicking on the Copy icon in the top right corner.
In your blog console go to Settings → Custom code.
Paste the code snippet in the Head Code section. This way, Google Analytics will be implemented on all the pages of your blog.
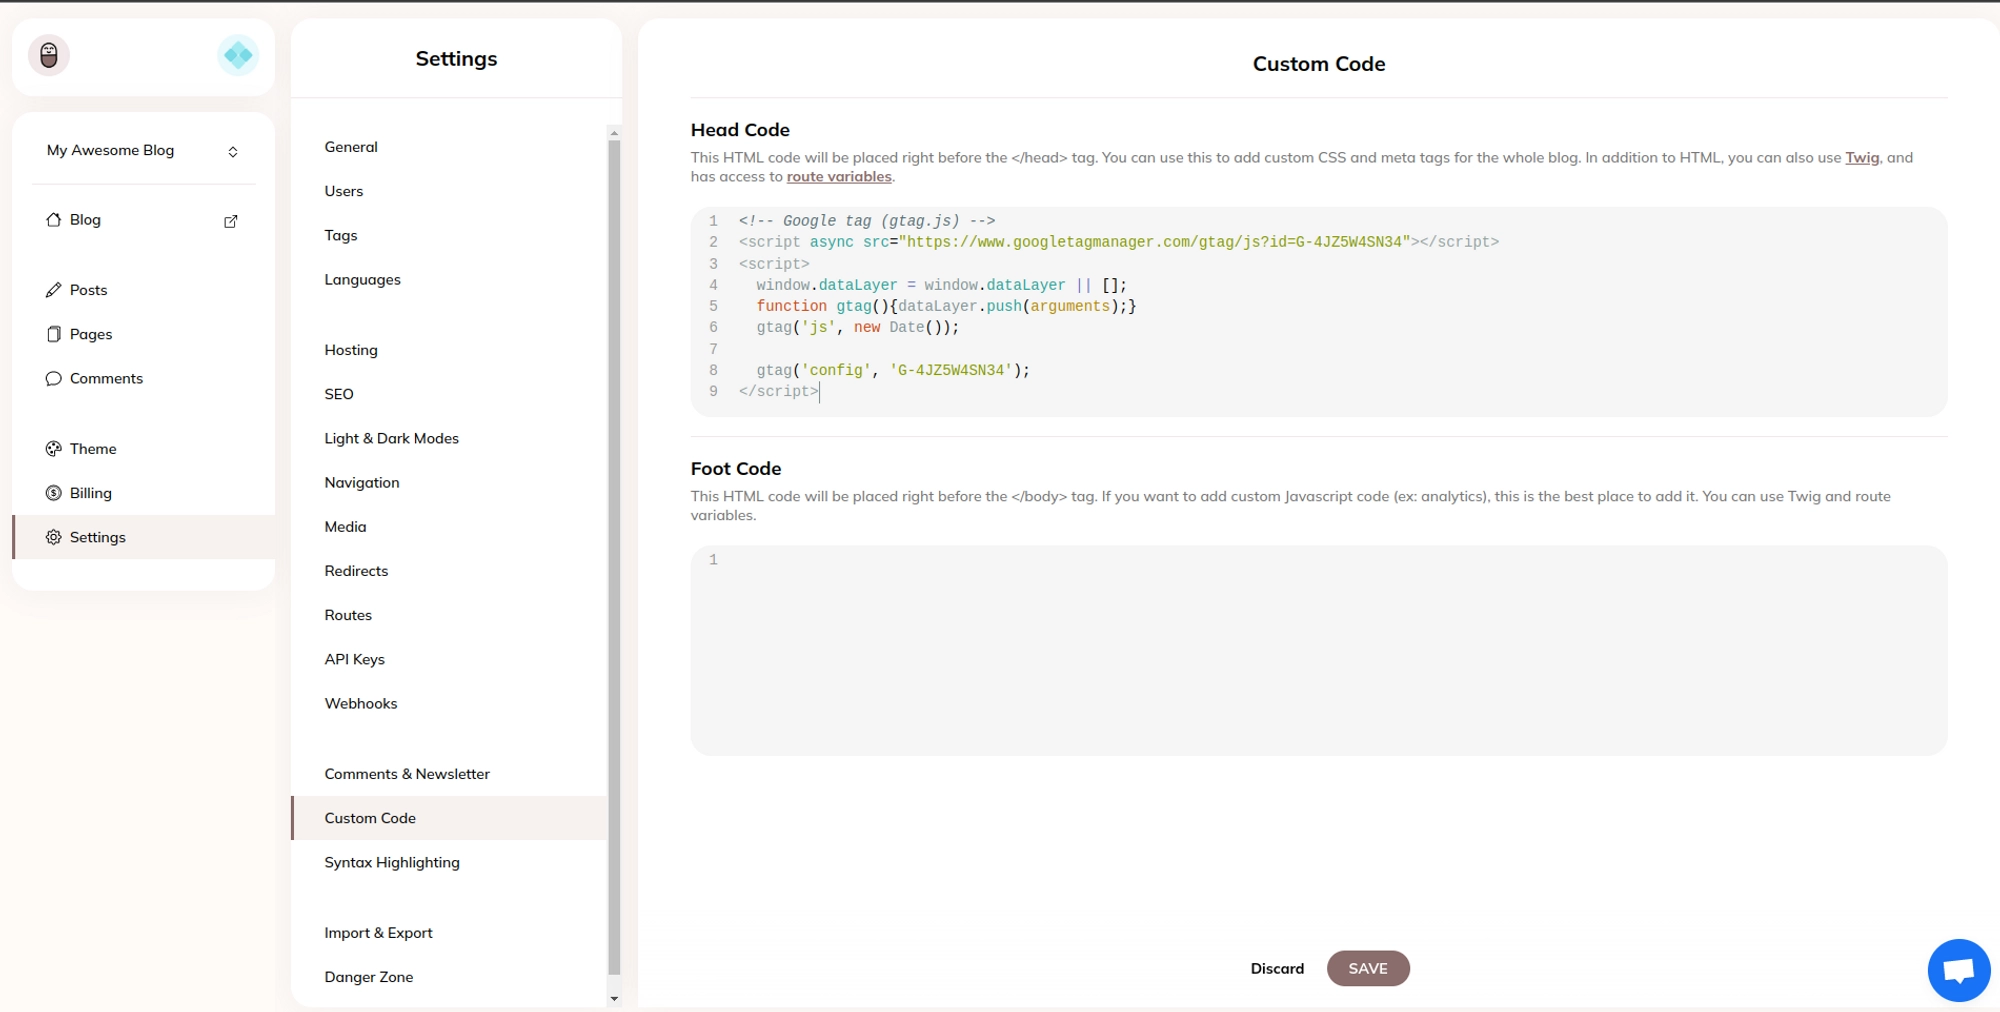
Click SAVE to apply the modifications.
It can take up to 24 hours before seeing your first analytics in the Google Analytics console.
Step 4 - Viewing analytics
Navigate to the Reports section of Google Analytics to see your blog’s traffic and other metrics.
For example, in the real-time view, you have access to advanced analytics such as your user’s location, devices, actions…
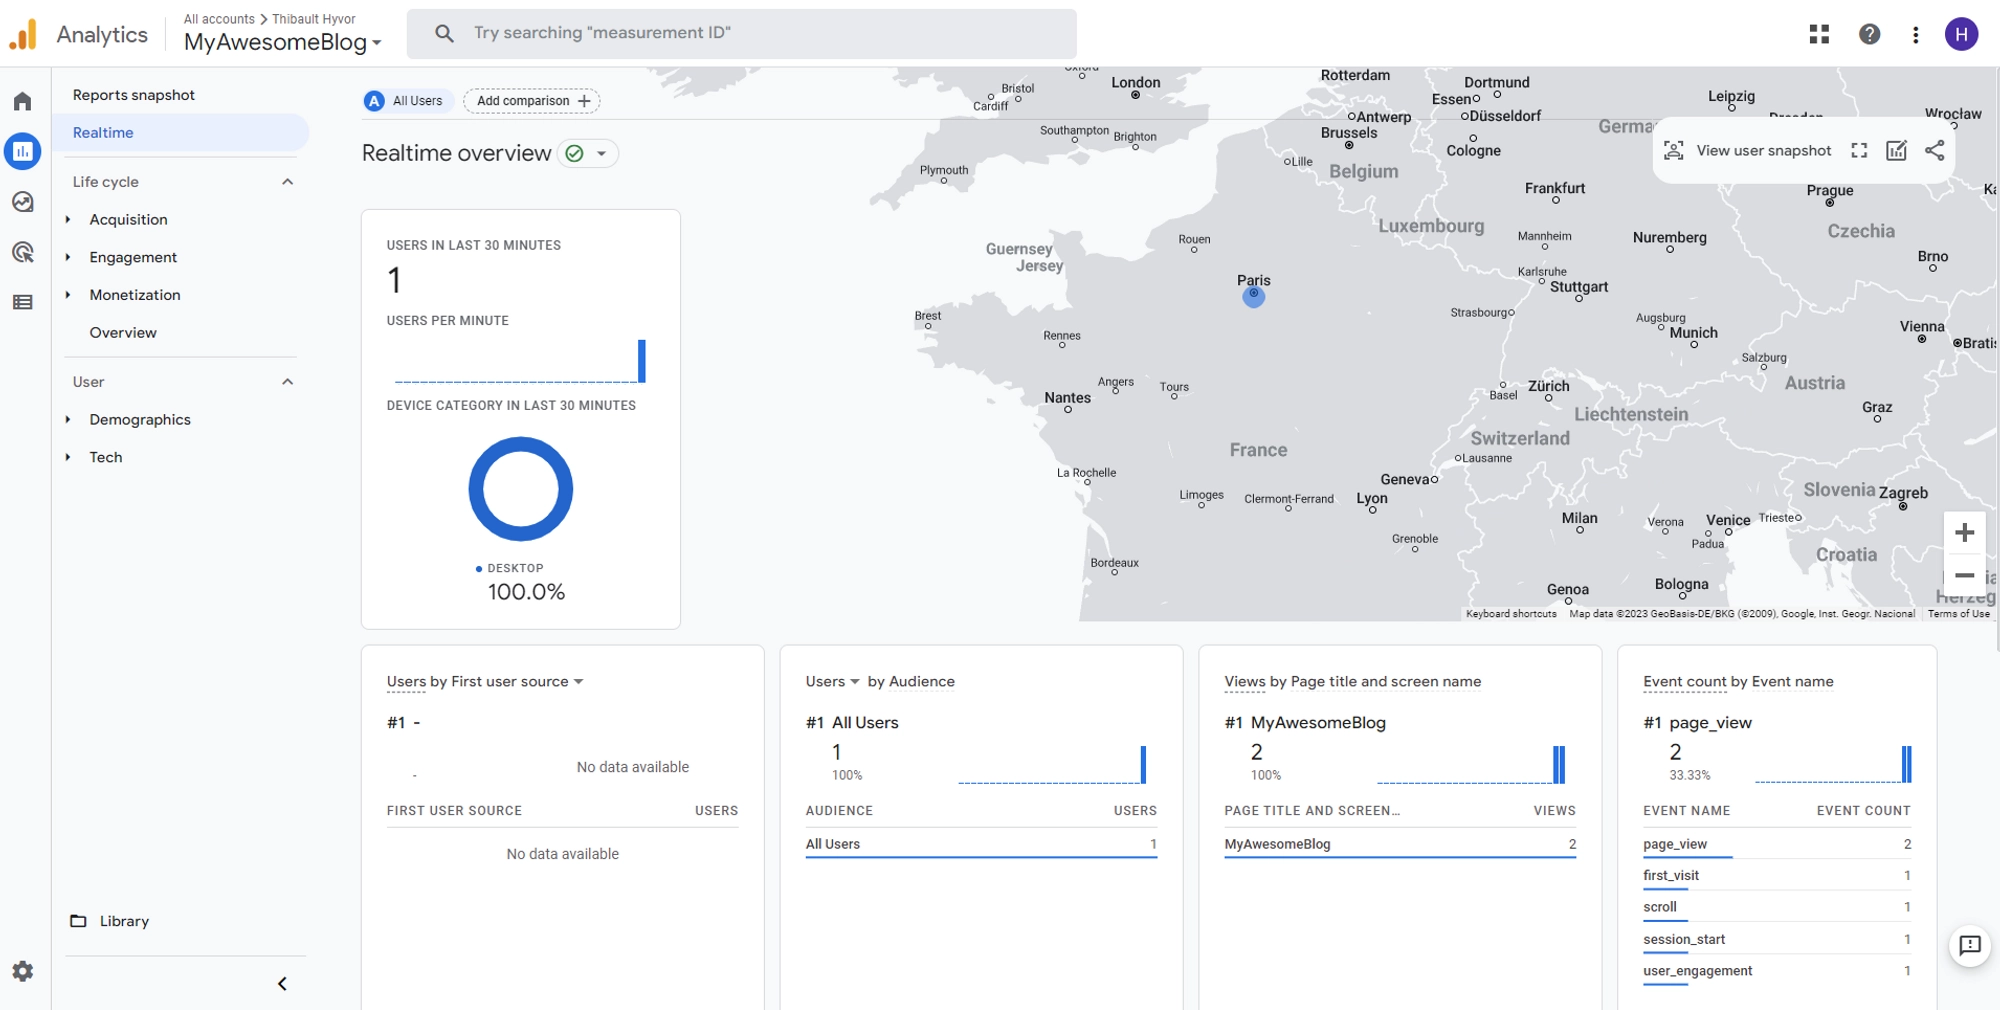
We invite you to explore all the features provided by the Google Analytics console.
In conclusion, adding Google Analytics to your blog is a simple and straightforward process that can provide a wealth of information about your blog’s performance and audience behavior. With this data, you can make informed decisions about how to improve your blog and its user experience.

Comments