This guide shows you how to embed the Hyvor Talk comments system on Bubble.io Apps and connect Hyvor Talk with Bubble login using Single Sign-on.
What is Hyvor Talk?
Hyvor Talk is a privacy-first, fully-featured commenting system for websites. Some features of Hyvor Talk:
Real-time comments
Voting, reactions, and ratings
Email Notifications
Image/GIF uploading
Multi-language support
Single Sign-on (Connecting Bubble Login)
And more...
Just like most things in Bubble, you do not need to know how to code to follow this guide. All is just clicking, copying, and pasting.
This guide has two main sections.
Installing Hyvor Talk Comments on Bubble
Connecting Bubble login with Hyvor Talk (Single Sign-on)
Setting up Hyvor Talk
Step 1: Create your website
Let’s set up your Hyvor Talk website. Go to Hyvor Talk Console and add your website (create a HYVOR account if you haven’t).
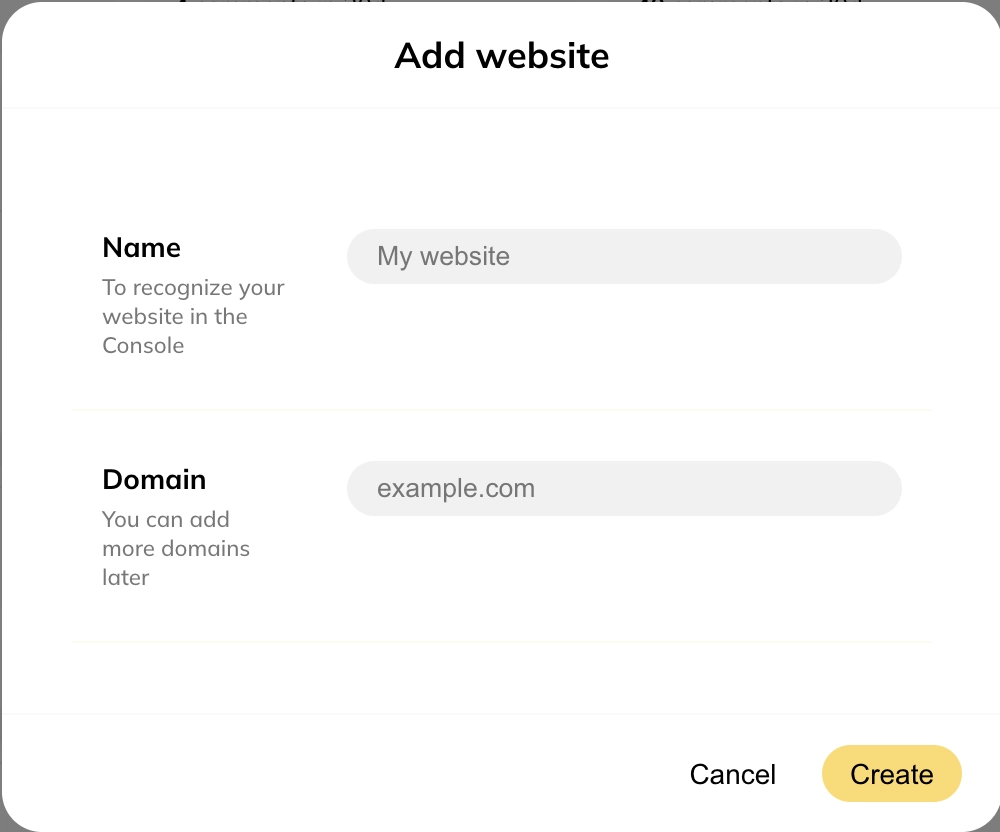
You can add your Bubble app’s domain here. Don’t worry you can add more domains later if needed.
Step 2: Set up SSO
You can skip this step if you are not planning to use Single Sign-on (SSO). SSO allows you to connect Bubble login with Hyvor Talk so that your users can comment without needing a separate HYVOR account.
Also, note that SSO is only available in our Business Plan.
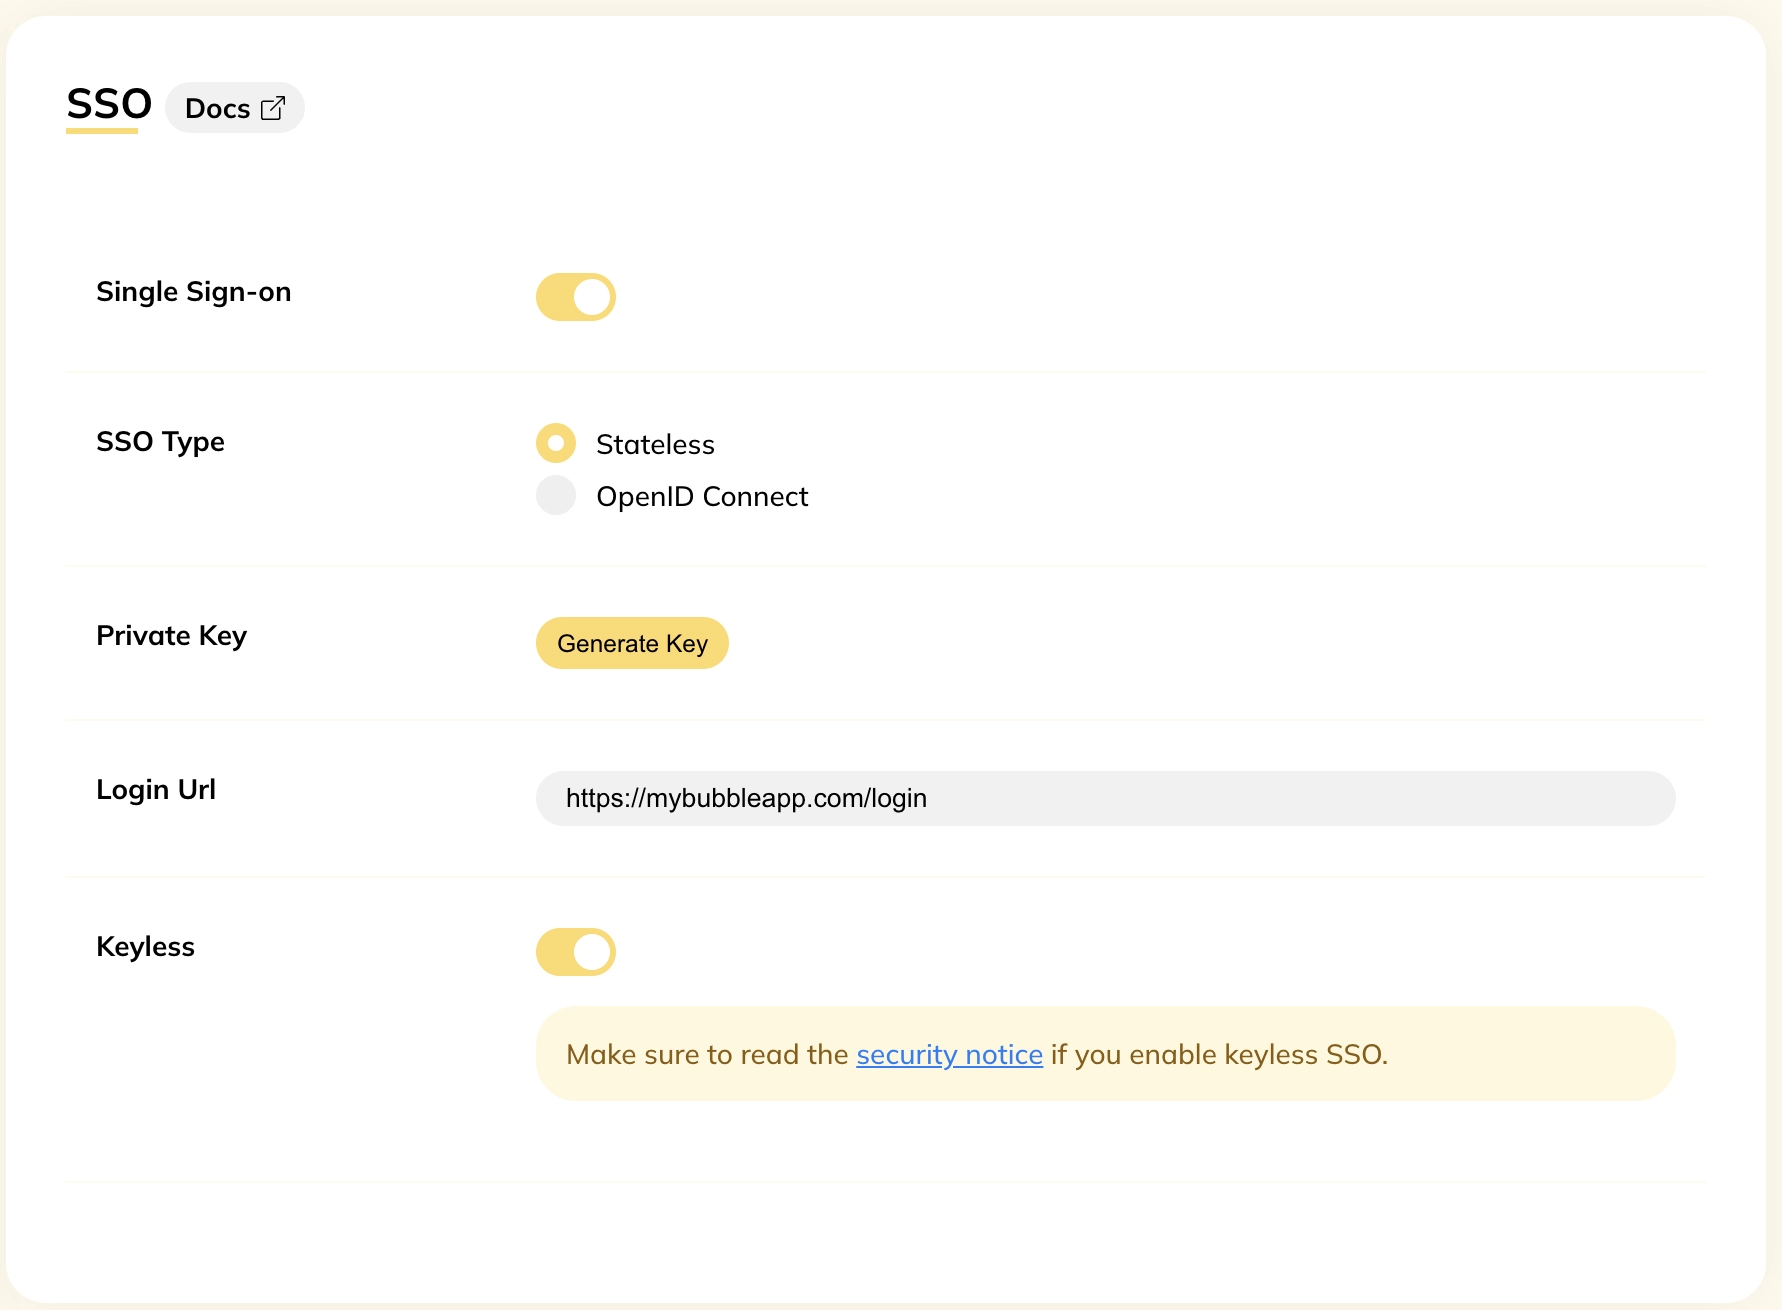
Go to Console -> Settings -> Single Sign-on
Turn on Single Sign-on
Select SSO Type Stateless
Turn on the Keyless option
Set the Login URL to the URL of your login page in your Bubble app. This will be used in the “Login” button in the comments section.
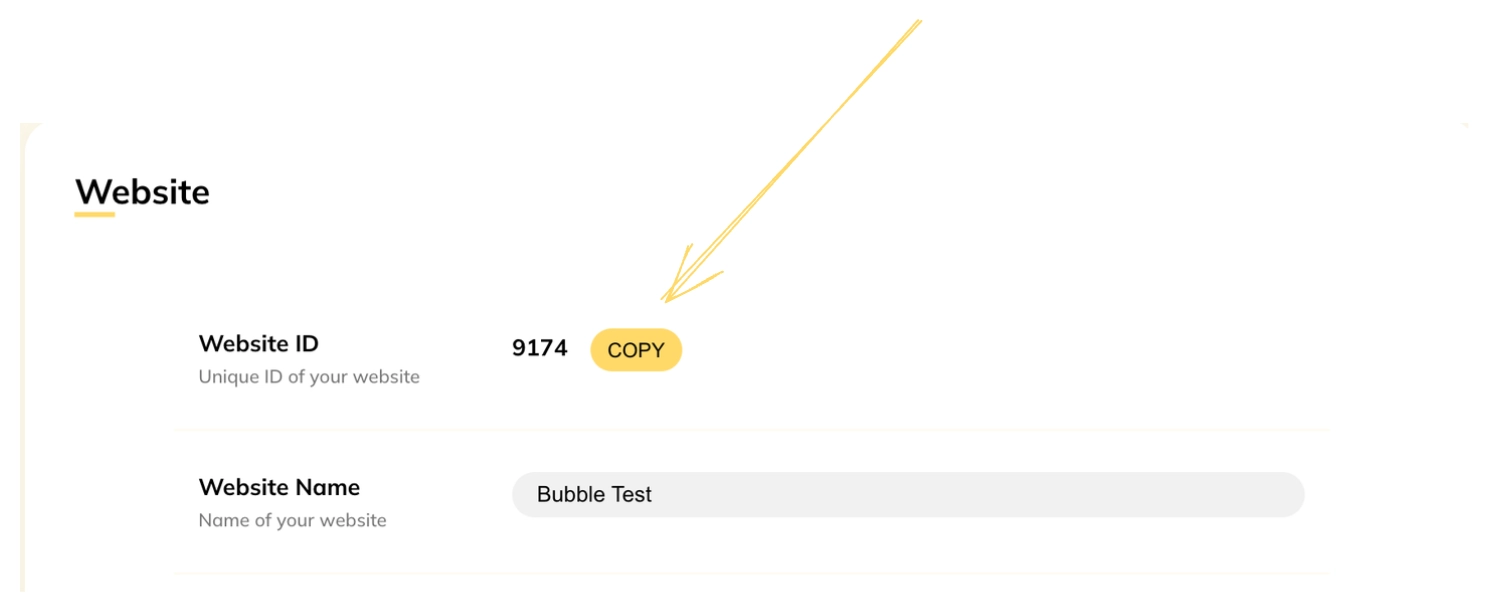
Step 3: Copy the website ID
Next, copy the website ID from Settings -> Website. You will need this in the next step.
Installing Hyvor Talk on Bubble
You can follow our video tutorial or continue following this guide.
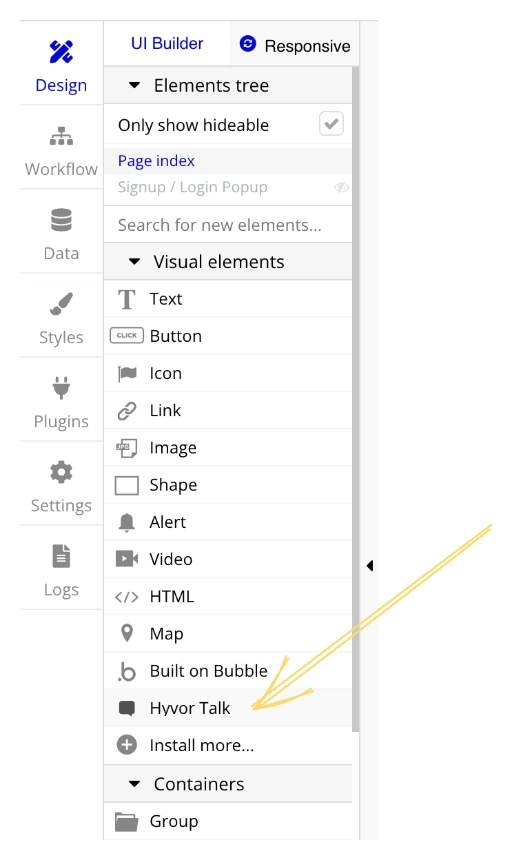
Next, install the Hyvor Talk Comments plugin from your Bubble dashboard.

Then, add the Hyvor Talk element to the place where you need comments to load.
Finally, paste your website ID.
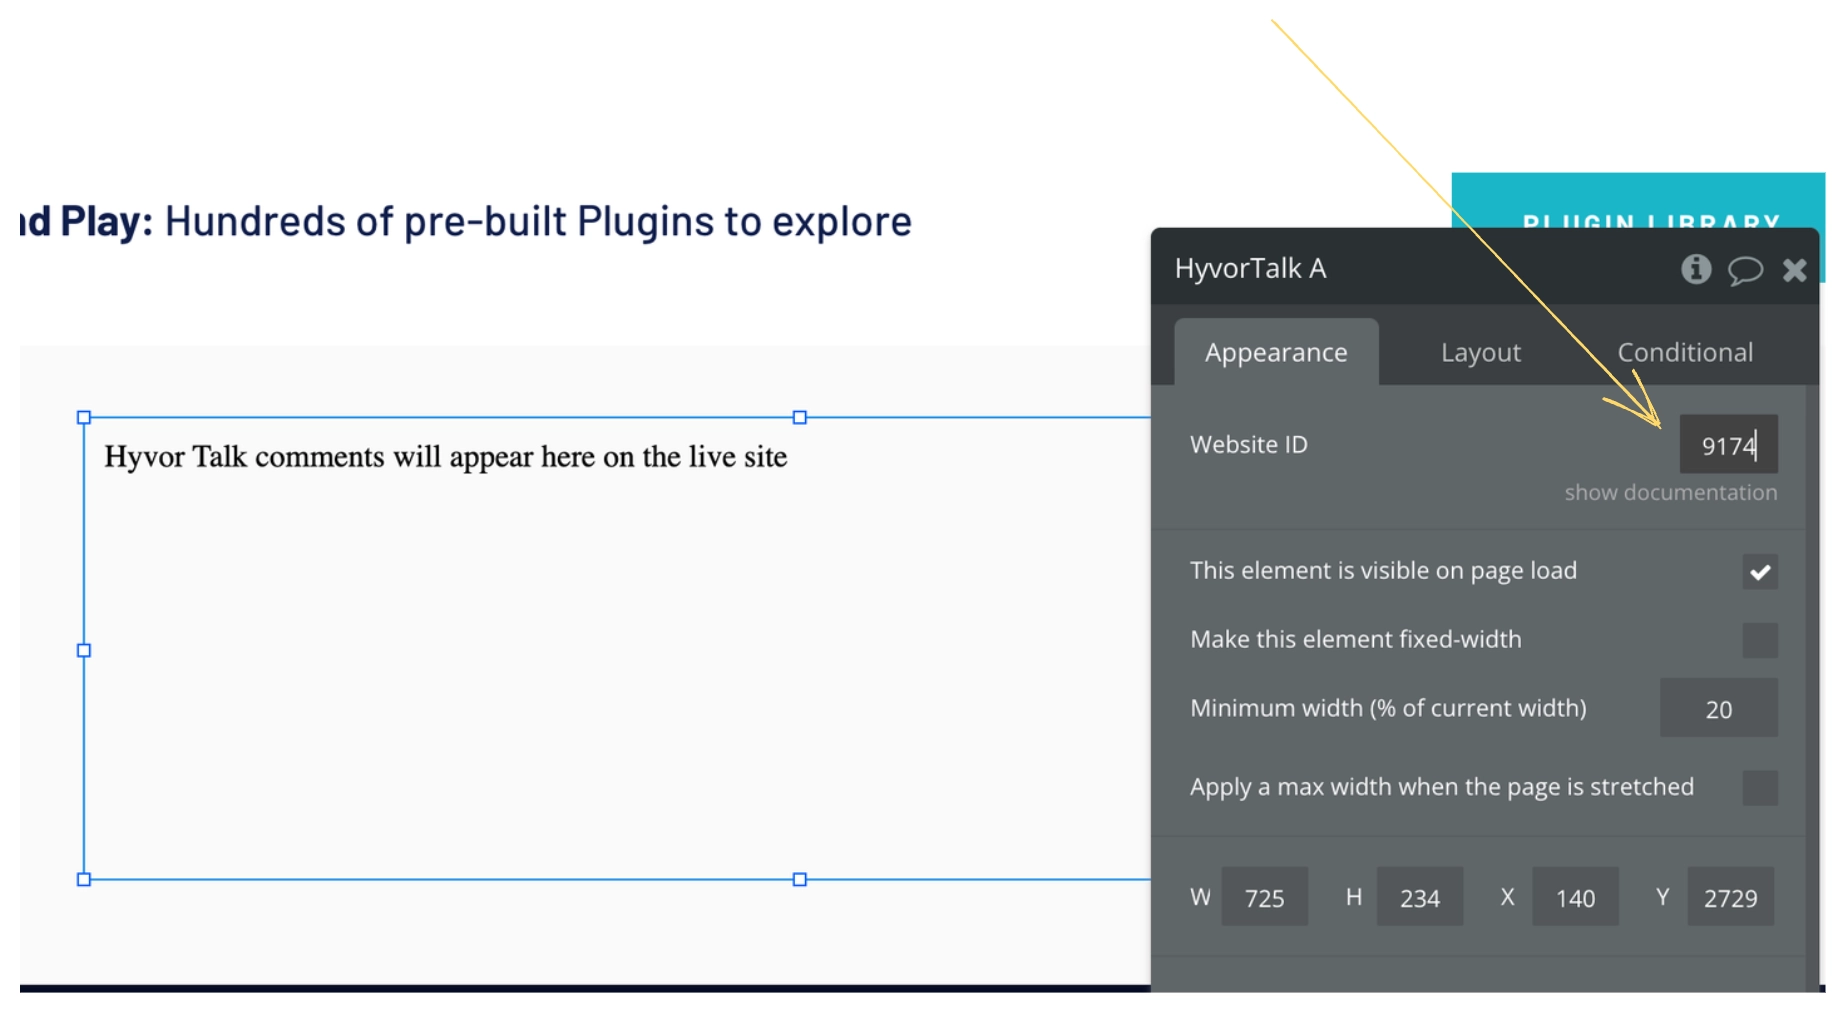
That’s all! Preview your Bubble app, and Hyvor Talk should load.

If you set up SSO in the previous step, you can log in as Bubble users and use the comments section. No extra steps are needed!
Here are some common troubleshooting methods, if you have any issues.
If you see a “This domain is not allowed” error message, add that domain to Console -> Settings -> Website -> Allowed Domains.
If you see nothing at all in the preview, make sure that you have added the website ID correctly, and try hard reloading the page.
Yay! You have just finished setting up Bubble login for Hyvor Talk. Now, users can log into your application and comment without any hassle. Cool, right?
What's Next?
Hyvor Talk is incredibly customizable. I invite you to go through the options in the Console and read our documentation to learn more.
If you have any questions, issues, or suggestions to make the Bubble integration better, feel free to leave a comment below. Also, feel free to share your Bubble apps with Hyvor Talk integrated in the comments.
We are looking forward to seeing how you are integrating Hyvor Talk on Bubble applications.

Comments