If you are looking to add comments to your Ghost blog, Hyvor Talk may be a good option. Hyvor Talk:
is lightweight and fast
has real-time commenting, voting, reactions, and ratings
fully-customizable
provides the best moderation tools
and, trusted by thousands of websites
You can also connect Ghost members with Hyvor Talk to give your members a native commenting experience. Let's see how.
Setting up Hyvor Talk
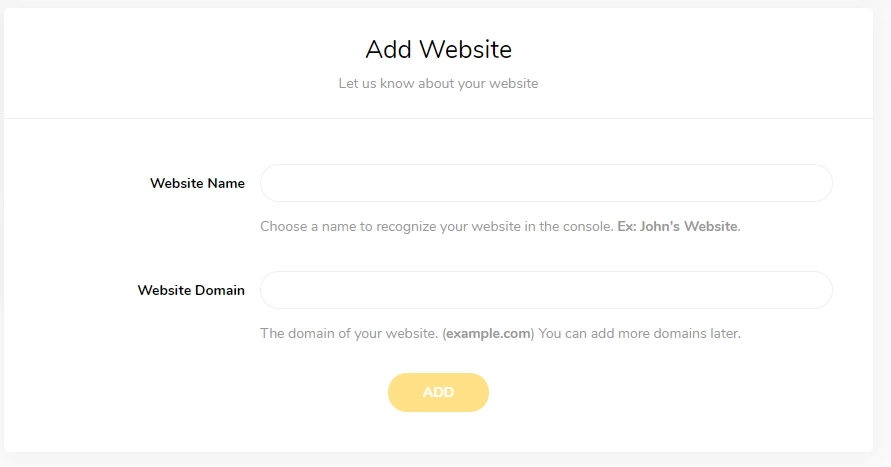
First, go to the Hyvor Talk Console. You will be asked to create a Hyvor account. After that, you will see the Add Website section in the console. Fill in the website name and domain and click Add.

Then, your website will be registered with Hyvor Talk, and you will get a website ID and the embed code. Next, you have to add this embed code to your template file in Ghost.
Changing Ghost Theme Files
To install Hyvor Talk, you have to change theme files in Ghost. If you are on Ghost (Pro), you will need to download your current theme and make changes.
The process of installation changes based on whether you are going to connect Ghost members or not. Jump on to the correct section:
1. Hyvor Login
This process is fairly easy. And, it is the same as we have explained in our documentation.
Open the template file of your Ghost theme, which is usually
post.hbsin your theme folder.Then, copy and paste the following code:
1<script async src="https://talk.hyvor.com/embed/embed.js" type="module"></script>2<hyvor-talk-comments website-id="YOUR_WEBSITE_ID" page-id="{{comment_id}}"></hyvor-talk-comments>Replace
YOUR_WEBSITE_IDwith your website, which you got in the previous step.
2. Ghost Members Login
To set up Hyvor Talk with Ghost Members login, follow these steps.
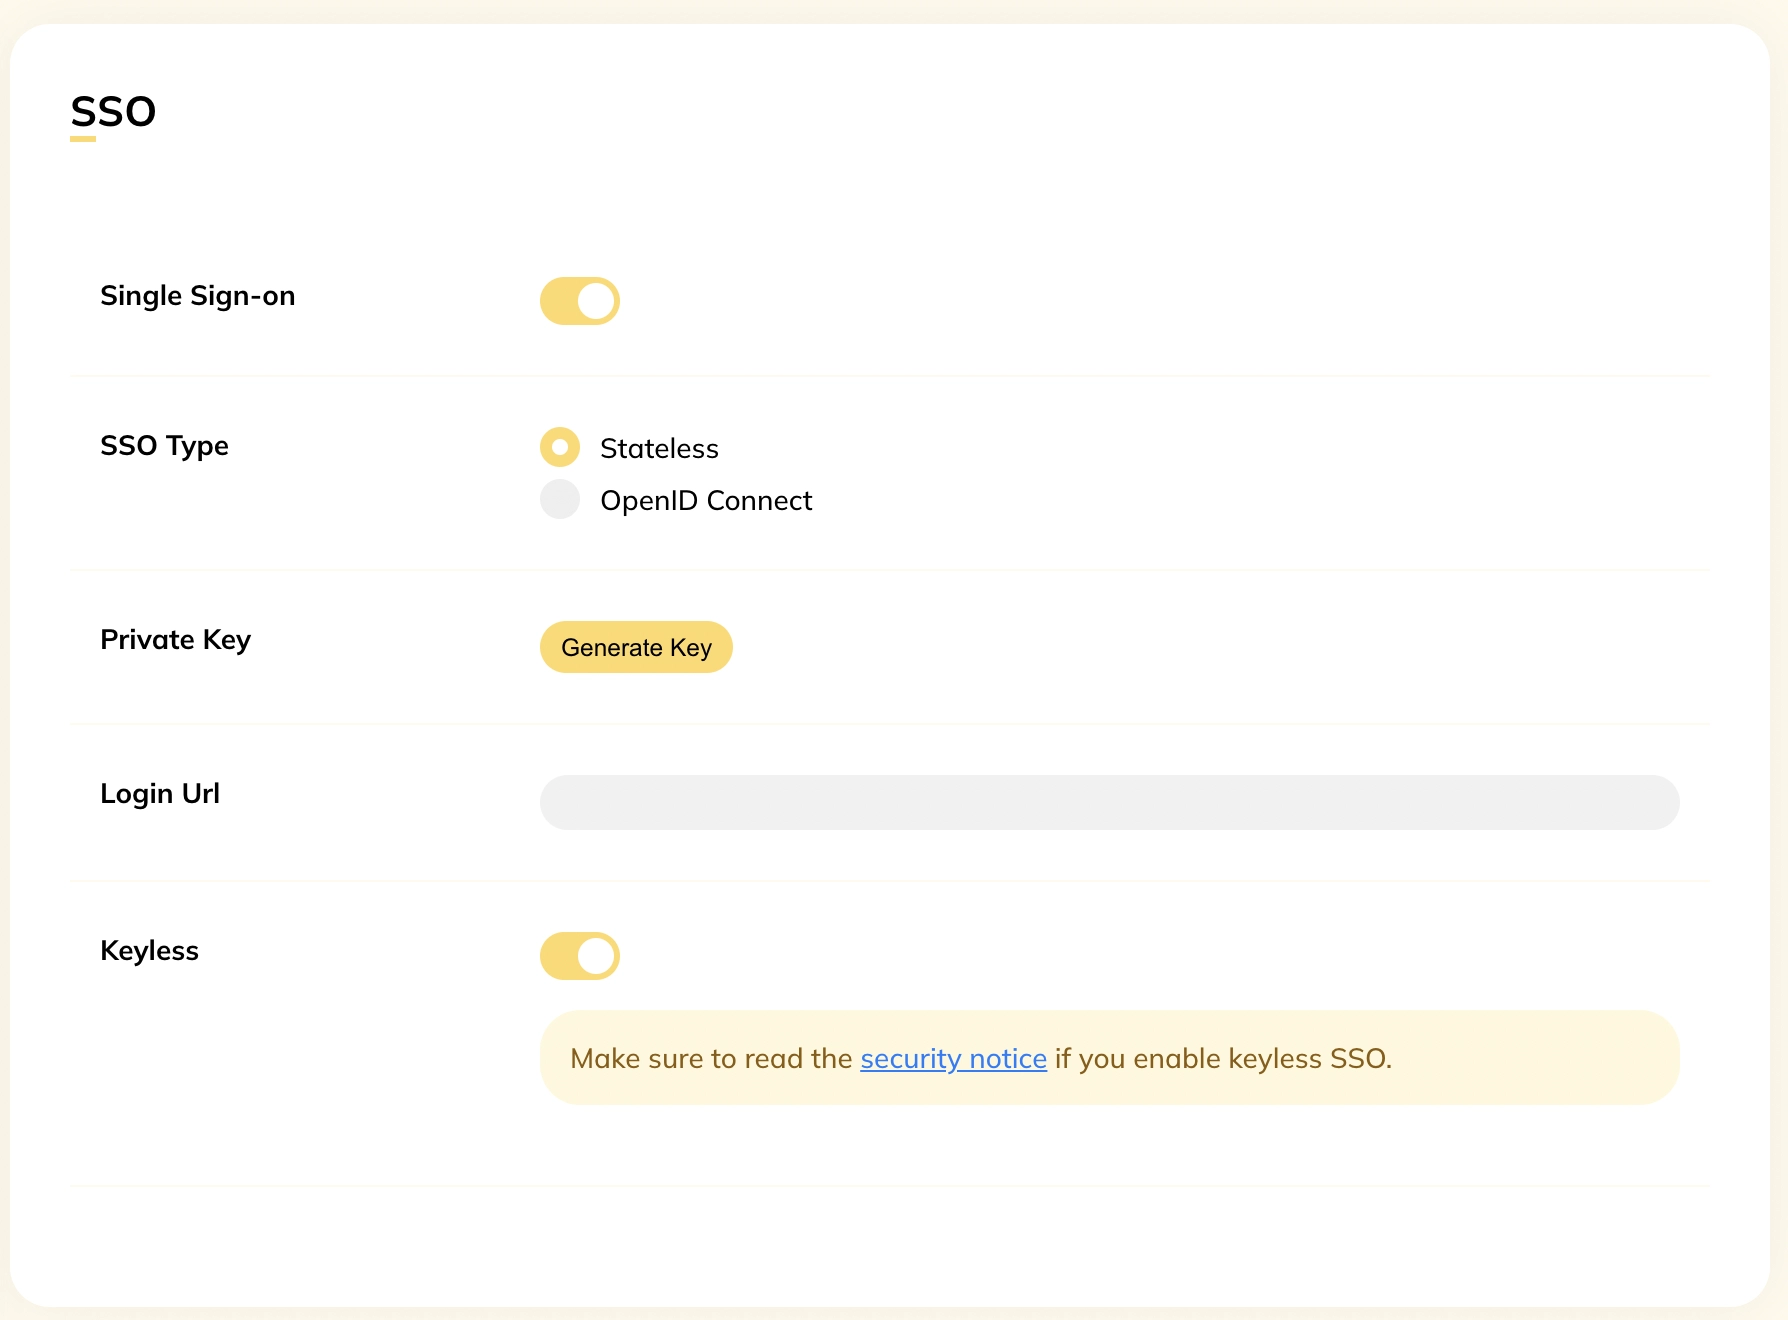
First, let’s set up Single Sign-on:
Visit Console -> Settings -> Single Sign-on
Turn on Single Sign-on
Set SSO Type to Stateless
Set login URL to
#/portal/loginTurn on Keyless
Please note that Single Sign-on is a business plan feature, and you can test it out in the trial period.

Open the template file of your Ghost theme, which is usually post.hbs in your theme folder. Then, paste the following code in the place where you need to load comments.
1<div id="comments"></div> 2<script async src="https://talk.hyvor.com/embed/embed.js" type="module"></script> 3Replace
YOUR_WEBSITE_ID(line 7) with your website ID (number) from the Console.
Re-upload Theme Files
Now, you have changed the theme files. Zip them and re-upload them via the Ghost portal. You should see the comments section on your pages.
If you set up SSO, you should be able to log into the comments section by logging into a Ghost member account.
Final Things...
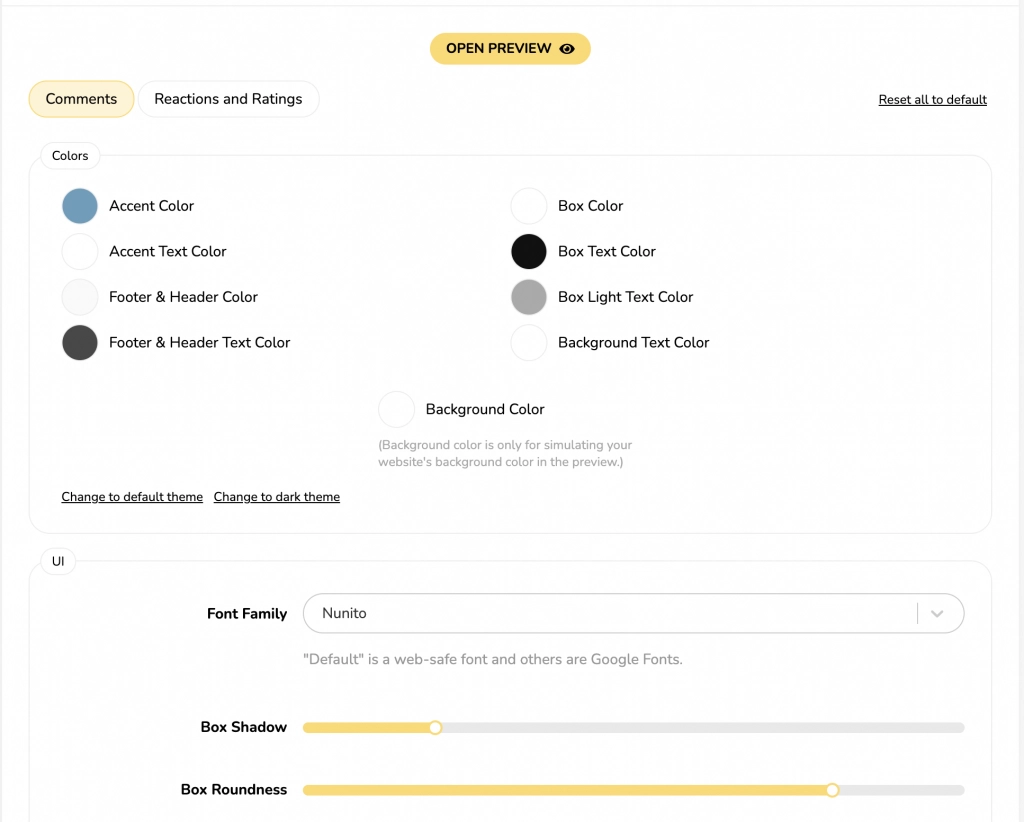
You have now installed Hyvor Talk on your Ghost blog. You can now continue adjusting the settings of Hyvor Talk. First, head over to the Appearance section of the console and change some colors to make the commenting section blend with your website.

Next, change some community settings such as guest commenting options, voting options, etc. Finally, if you need you can also change the language (We support more than 25 languages).
If you have any questions, issues, or suggestions, you can leave a comment below or contact us via live chat.

Comments