Hexo is a simple and fast blogging static site generator. If you like to work with files rather than UIs (Ex: WordPress), Hexo will be a great option for you. When working with Hexo, you'll need to use the command line and work with HTML, and CSS files. So, I can say Hexo is mostly for developers who love to create their own blogs easily. Hexo has a lot of themes you can select from. And, everything remains inside a GIT repository in markdown files. Hexo provides the framework to generate static HTML files combining your theme and markdown files. This is the ultimate guide to creating a blog with Hexo.
Setting up a Hexo blog on your local machine
Writing your first Hexo blog post
Changing Permalinks
Changing the theme
Adding comments with Hyvor Talk
Deploying to Netlify
Prerequisites
Before getting started, you'll need these installed on your local machine.
Optionally, it's always easy if you have installed a handy code editor like VSCode.
Setting up a Hexo Blog Locally
Open your terminal and install hexo-cli globally via npm (npm is the package manager of Node.js, which comes by default with it).
1npm install hexo-cliThen, navigate to an empty folder. Then, run the following command to install Hexo.
1hexo initThis will initiate a Hexo blog on the current directory. If you want to initiate Hexo on a subfolder use hexo init <folder_name> and then navigate to that folder using cd <folder_name> for the next steps.
Next, run this command to finalize installing dependencies.
1npm installFinally, run the following command to start serving files.
1hexo server
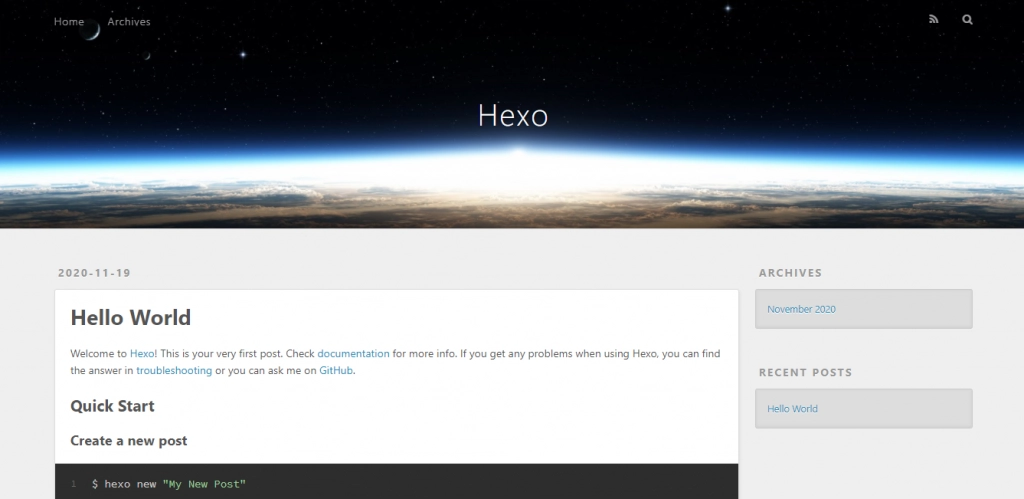
Now, you can visit your Hexo blog at http://localhost:4000. Hexo will now watch for file changes and automatically re-render the static site. You can press Ctrl+C to stop watching. If you want to run other commands while running hexo server, you'll need to use a separate terminal window.
Writing Your First Hexo Blog Post
First, let's take a look at the Hexo file structure.
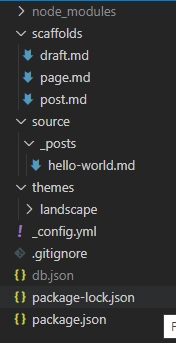
You'll add all of your posts to the
source/_postsfolder. By default, Hexo has created ahello-world.mdpost for us (.md stands for markdown).You can have multiple themes in the themes folder. The default one is landscape.
_config.ymlis responsible for all configurations in your Hexo blog. It uses YAML.
Creating your first blog post is pretty simple.
1hexo new [layout] "[post title]"For example,
1hexo new post "My First Post"(post is the default layout of Hexo, which will create a simple blog post. Therefore, you can shorten the above command as hexo post "My First Post")
The above command will create a file named My-First-Post.md in the source/_posts folder. This file will look like this:
1---2title: My First Post3date: 2021-01-01 05:45:034tags:5---Basically, when you run the above command, Hexo will automatically generate a file using the layout (post.md in this case) in the scaffolds folder.
Now, you can add any content to this new file and save it.
1---2title: My First Post3date: 2021-01-01 05:45:034tags:5---6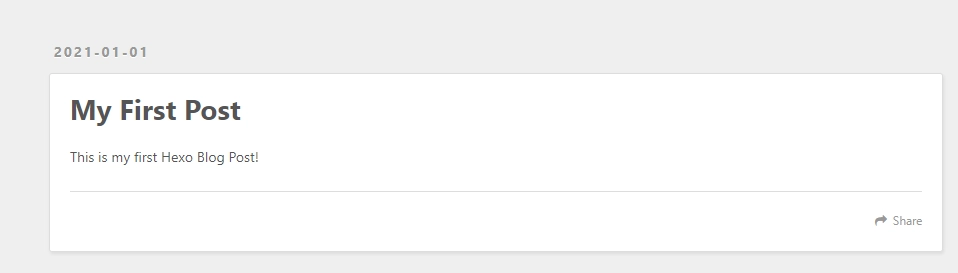
Changing Permalinks
_config.yml file contains all of the site-wide configurations. Most of these configurations are self-explanatory.
Let's see how to change the permalink format. By default, your blog posts have URLs in :year/:month/:day/:title/ format. But, it is recommended to keep URLs short and simple for better on-page SEO.
Use the following configuration to show only the title in the URL.
1permalink: :title/Note that hexo server does not watch for changes in _config.yml. Therefore, you'll need to stop the server and restart it after editing that file.
Changing The Theme
Changing the theme of your Hexo blog is straightforward. First, choose a theme from a GitHub repo or Hexo themes list.
Here, I'll choose the July theme by wisp-x. First, clone the git repo to themes/[theme_name] folder.
1git clone https://github.com/wisp-x/hexo-theme-july.git themes/julyFinally, change the theme name in _config.yml.
1theme: julyThat's all!
Adding comments with Hyvor Talk
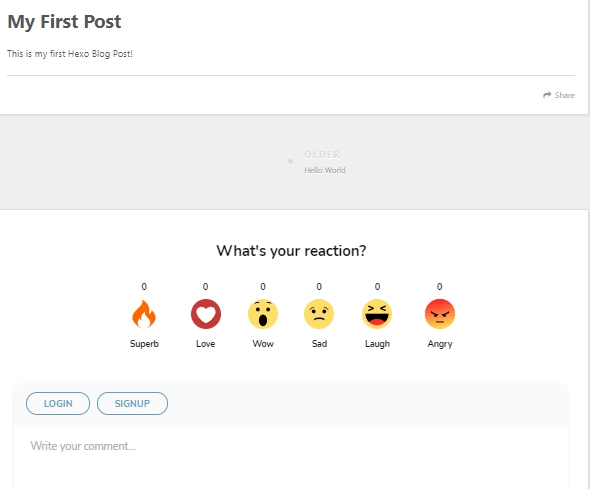
You can make your static site more engaging by embedding comments.
Hyvor Talk is a privacy-focused commenting platform, which you can use to easily embed comments. We will handle everything from real-time comments to email notifications for your users.
First, sign up at Hyvor Talk and copy the installation code.

Then, you'll need to find the relevant place in your theme's layout files to paste the code - usually after your blog content. (In
landscapethe theme, it'slayout/_partial/article.ejs). Then, paste the code there (after</article>tag).
(Normally, comments are added to post layouts. So, search the layout/post.[ext] file to place the installation code)
You can change the colors of the comments section to match your branding. Visit our homepage to learn more about Hyvor Talk.
Deploying Hexo Blog to Netlify
Compared to Jekyll, deploying Hexo to GitHub Pages is complex. So, we'll use GitHub and Netlify (it's free for personal usage).
Step 1: Pushing to GitHub
You'll need to push your code to GitHub before asking Netlify to build it for you.
Create a new repository on GitHub
Commit and push your code to GitHub
1git add .2git commit -m "first commit"3git remote add origin https://github.com/[username]/[reponame].git4git push origin masterStep 2: Set up Netlify
If you haven't yet, create a Netlify account at netlify.com
Then, visit https://app.netlify.com/start to create a new site.

After authorizing Netlify to access your GitHub repositories, choose the right one to build your site. Next, proceed with default settings.
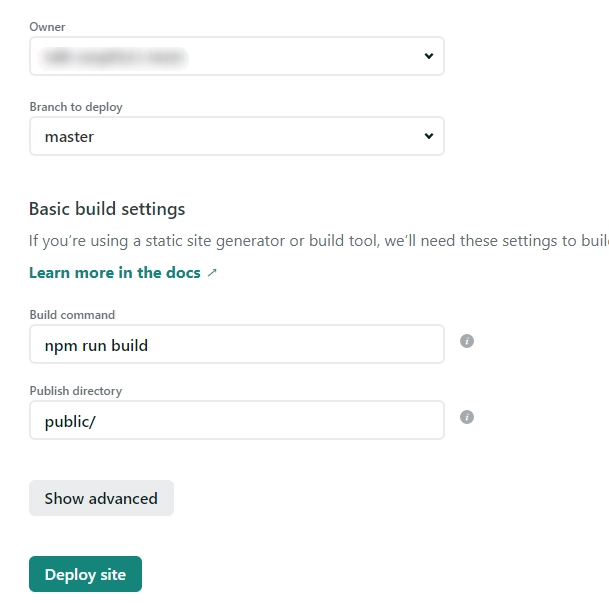
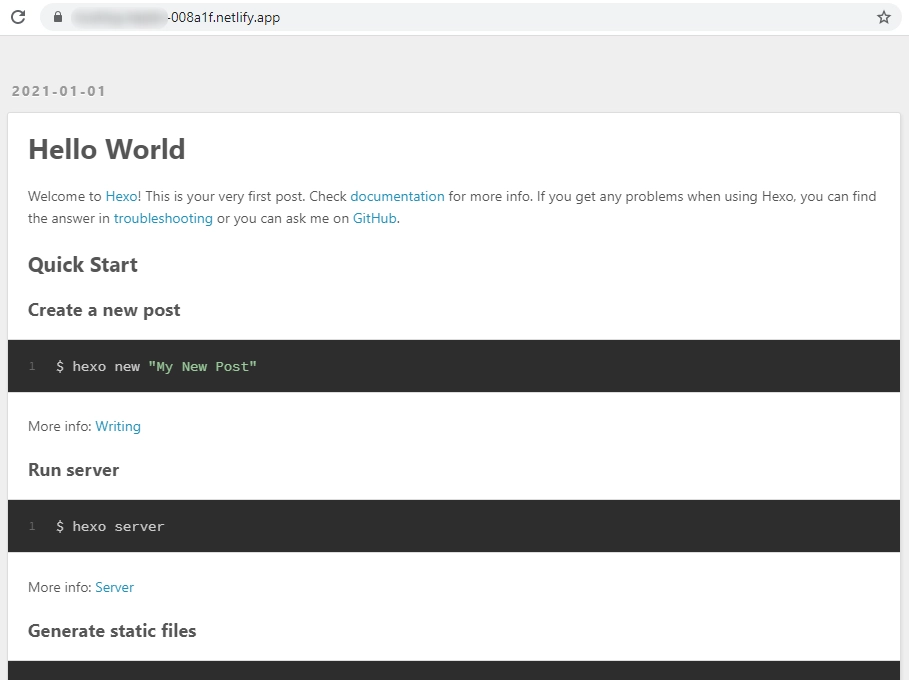
Click "Deploy Site". After a few seconds, Netlify will build your site and make it public.
Conclusion
If you are looking to create a blog in 2021, Hexo will be an easy option to start with. There are a lot of themes that you can choose from. You can even create your own theme easily. Hexo also has some plugins that can make your life easier. For example, the hexo-i18n plugin can be used for localization. In this article, we deployed the Hexo blog to Netlify. You can also deploy it to GitHub Pages, Gitlab Pages, or your own server.
If you are looking to develop your own themes/plugins, go through the Hexo official documentation. I hope that this guide helped you start your Hexo blog. If you have any questions, feel free to comment below.

Comments