This is a tutorial on how to add a blog to your Next.js application using Hyvor Blogs, an all-in-one blogging platform. We’ll be adding a fully functional blog with a custom theme to your Next.js app’s /blog (you can customize this) using Next.js Route Handlers.
This tutorial focuses on adding a “complete” blog to your app. However, if you like to create your own blog and use Hyvor Blogs only as a headless CMS, see our Data API. Here is our guide on how to use Hyvor Blogs as a headless CMS for your Next.js blog.
How it works
We will use Hyvor Blogs for everything, except serving the blog. By default, your blog is hosted on a subdomain of hyvorblogs.io. You can easily set up a custom domain like blog.mycompany.com as well. Here, we are going to host it on mycompany.com/blog, using Next.js Route Handlers, which will dynamically process all /blog/* routes.
When we receive a request to /blog/*, we’ll call Hyvor Blogs Delivery API to “learn” how to send a response back. Then, we will save that response in a cache so that subsequent requests can be served from the cache. Finally, we will use webhooks to clear the cache.
It might sound complicated, but we have abstracted most of the tasks into a library. You only have to write a couple of lines of code.
Step 1: Set up Hyvor Blogs
Create a blog & get the subdomain
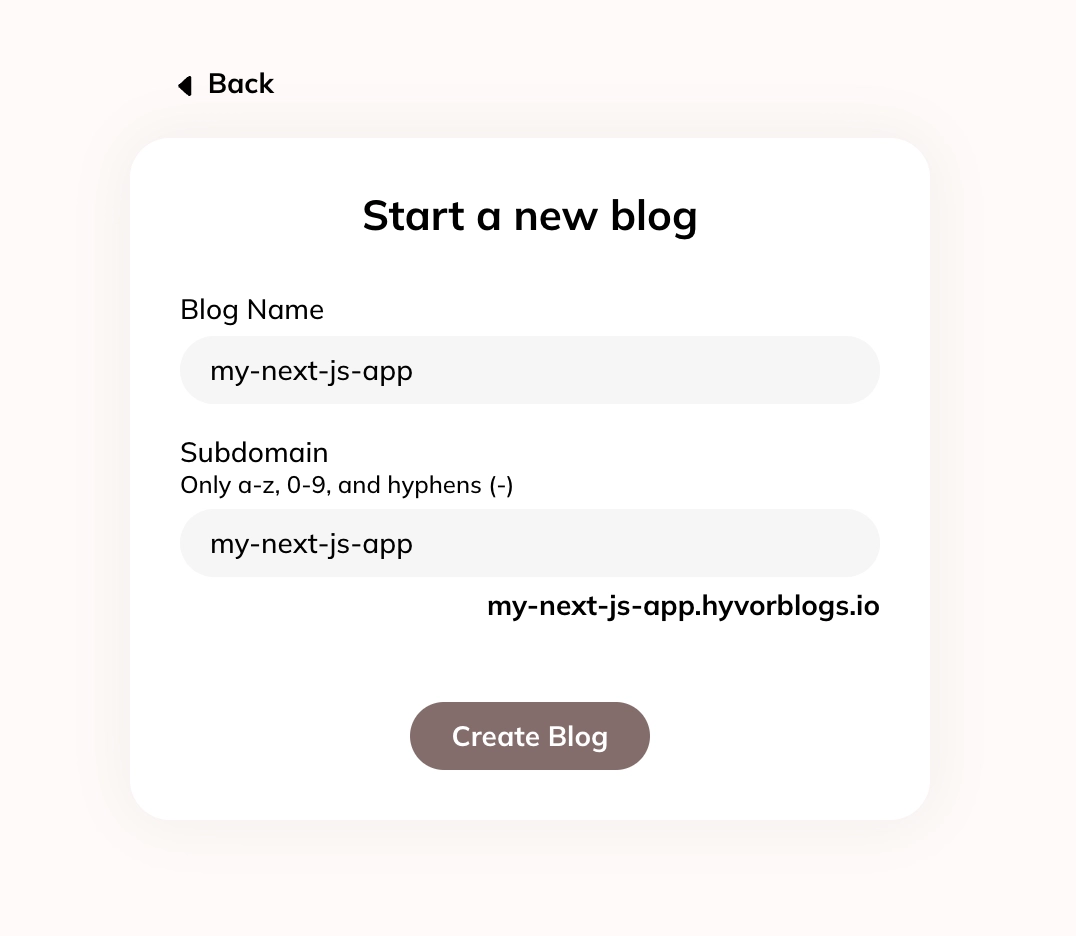
First, create a blog from the Hyvor Blogs Console. You will be asked to create a HYVOR account. Then, choose a subdomain. You will need this in the next steps.
Change hosting URL
Next, go to Settings -> Hosting, and change “Hosting At” to Self-hosting, and the URL to your self-serving URL. In this case, I am using {next-app-url}/blog
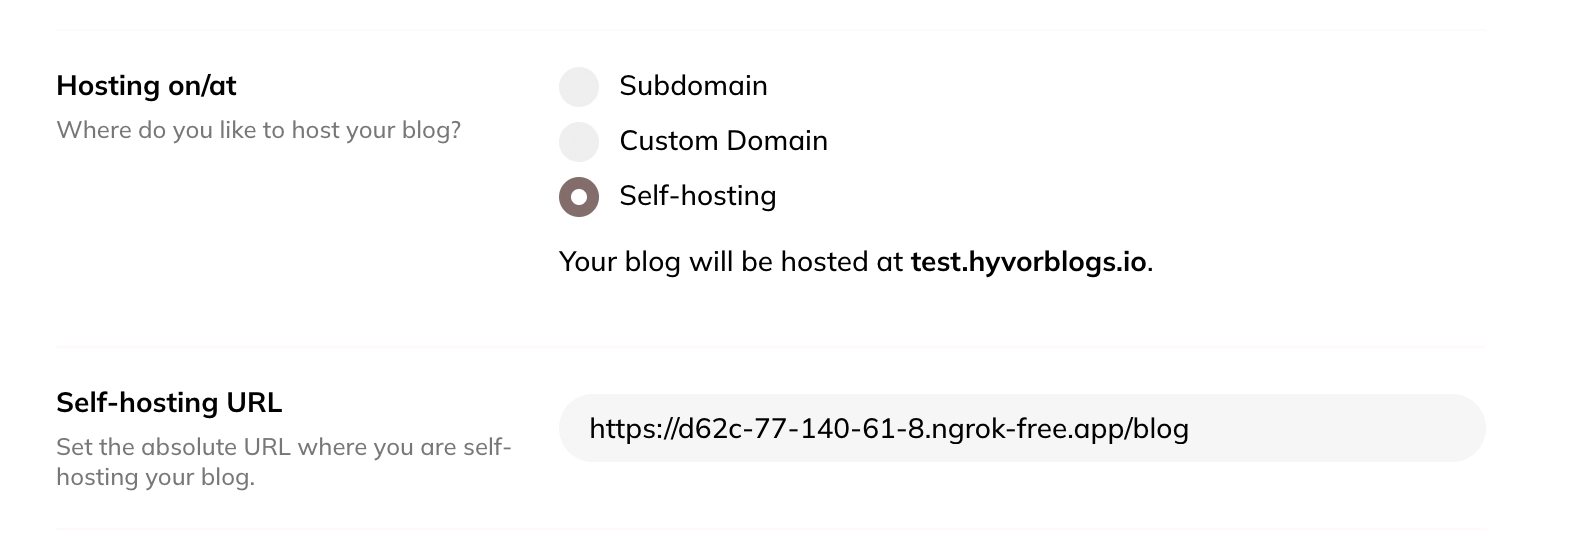
Important: To test webhooks, this URL should be publicly accessible. Therefore, if you are testing locally, use a tool like ngrok to expose your next app on the internet.
Create a Delivery API Key
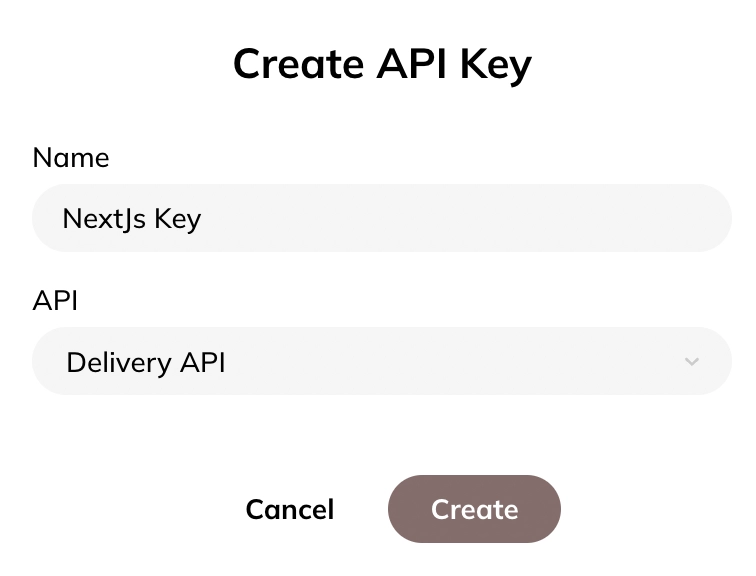
Then, go to Settings -> API Keys and create a Delivery API key. You will need this in the next step.
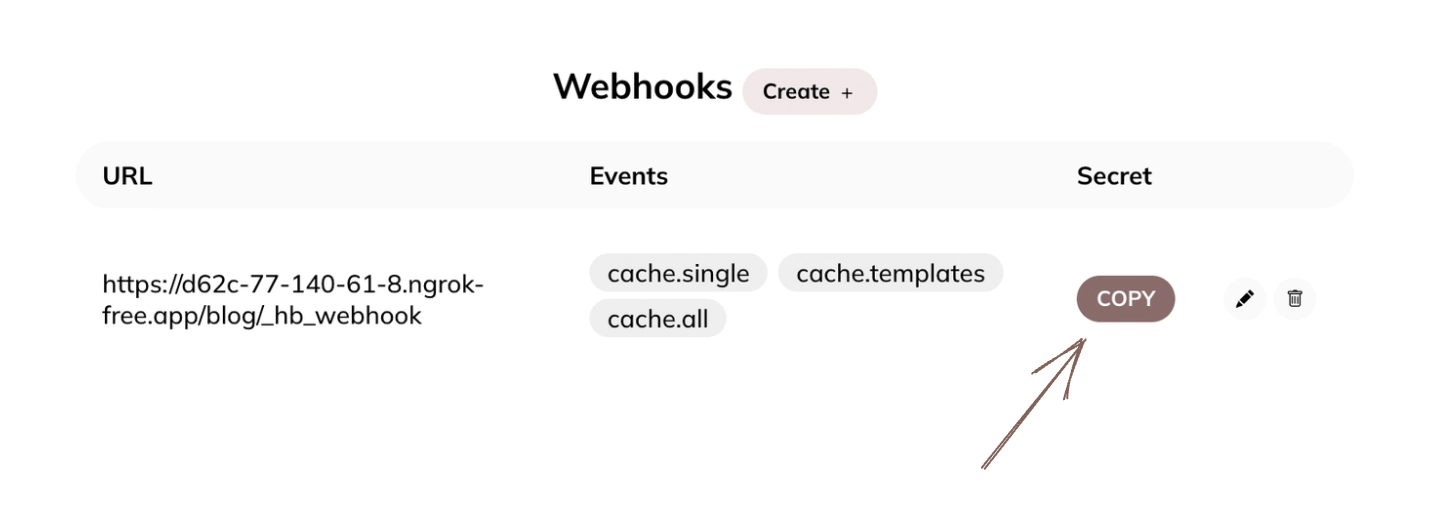
Set up webhook URL
Finally, go to Settings -> Webhooks and create a new entry.
URL:
your-app-url/blog/_hb_webhookEvents
cache.singlecache.templatescache.all
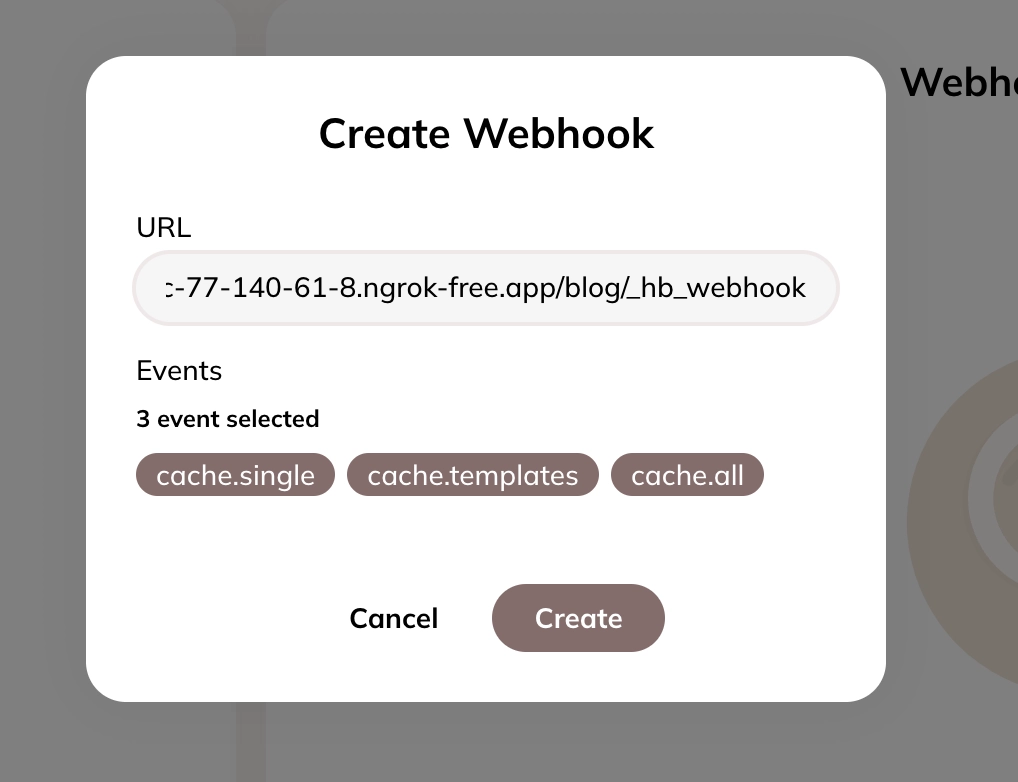
We’ll need the Webhook Secret in the next step.
Step 2: Set up Next.js
Install the helper library
We’ll be using helper methods from the @hyvor/hyvor-blogs-serve-web library in the next steps. Install that package using your package manager.
1npm install @hyvor/hyvor-blogs-serve-webSet up App Routes
As mentioned earlier, we’ll be using Next.js Route Handlers, which comes with the app router.
You will need a directory structure like this:
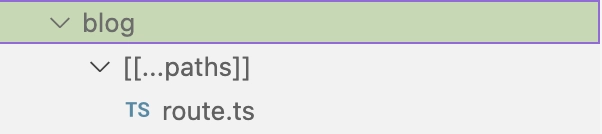
1blog2 [[..paths]]3 route.tsNote:
[[..paths]]optionally matches any nested path.
Here’s the full code of route.ts
1import { Blog } from '@hyvor/hyvor-blogs-serve-web'; 2Replace subdomain, deliveryApiKey, and webhookSecret values from the previous in the getBlog() function.
GEThandles HTTP GET requests to any/blog/*routePOSThandles only/_hb_webhookpath
Set up cache
@hyvor/hyvor-blogs-serve-web library uses Keyv as the cache layer. By default, the cache is saved in memory. It is highly recommended to set up a custom cache (ex: Redis, Vercel KV, etc.)
Here is an example using Redis:
1return new Blog({2 // ...other config3 cache: new Keyv({4 store: new KeyvRedis('redis://user:pass@localhost:6379')5 })6})See Keyv documentation for other available adapters.
That’s all! Try visiting /blog path of your blog. Then, try updating one of your posts to verify that the cache is cleared using Webhooks.
Finally
If you have any issues, feel free to comment below.
Resources:

Comments