In this tutorial, we’ll explore how to build a Next.js blog with Hyvor Blogs: a Headless CMS for blogging.
Before going straight to our Next.js blog tutorial, here is a brief explanation for beginners about blogging with a headless CMS. If you already know this stuff, skip right away to the tutorial. Note that we are using App Router in Next.js in this tutorial.
What is a Headless CMS?
In simple words, a headless CMS is a content management system that lets you create, store, and display your content anywhere you want as the way you like it. If explained from another perspective, it is called “headless” because it does not have a head - the frontend part that your users will see on your next.js blog- so you have to plug any kind of a head you want. All you need is to fetch and render data from your headless CMS’s API and design your front end as you prefer.
Here is simply how your Next.js blog fetches data from the headless CMS.
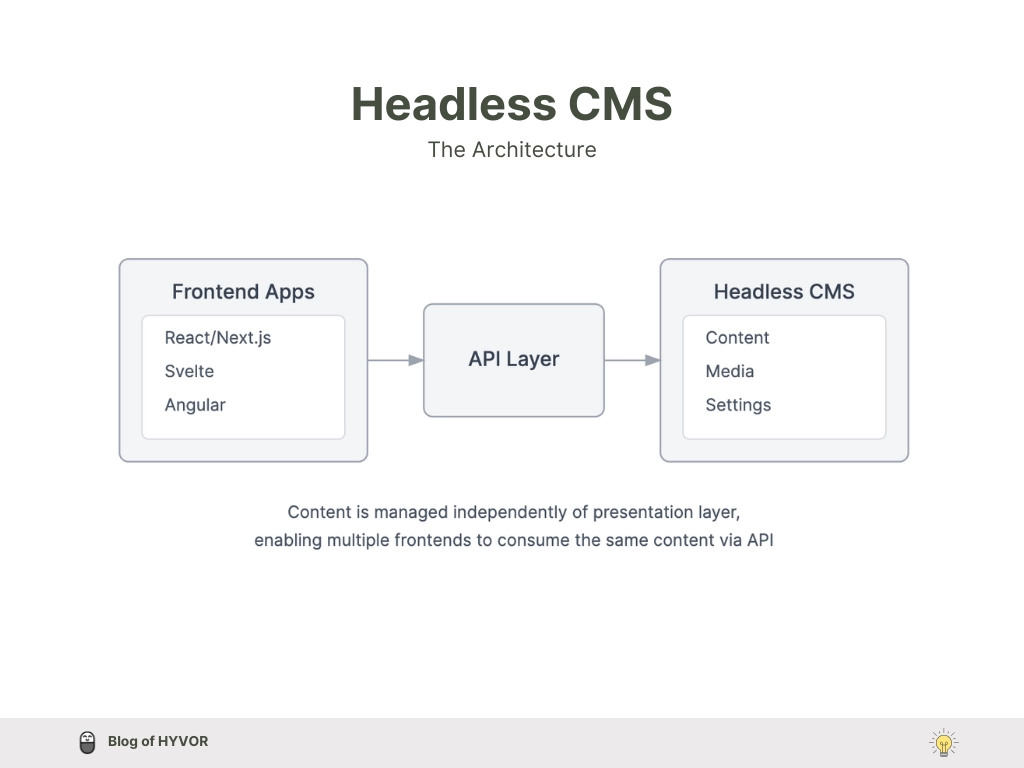
Using a headless CMS, content creators/writers can benefit from a friendly interface to write and manage content, while developers can build amazing blog frontend and improve experiences using whatever tools and design practices they love. This is perfect for companies or enterprises that want their content to appear in lots of different places without having to copy-paste everything manually. Not only companies, but developers who love hassle-free content creation while building beautiful frontends can try this too.
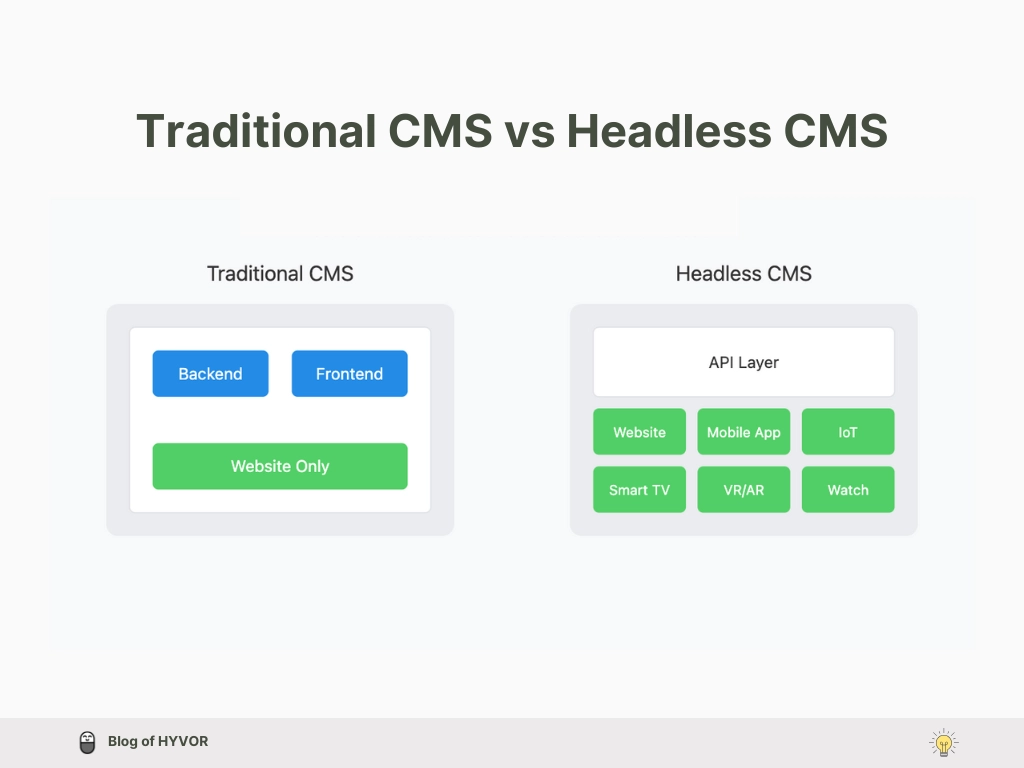
Here is an infographic that explains the inner workings of a headless CMS in more detail than a traditional headless CMS.
Why Hyvor Blogs as your Headless CMS?
Hyvor Blogs is an all-in-one blogging platform that mainly focuses on blogging: no e-commerce, no portfolios, just blogging. As such, we offer bloggers the following features.
Multi-language blogging including RTL language blogging.
User-friendly, team-friendly console with markdown-friendly rich text editor
Data API for headless cms
Hosting privileges: subdomain, custom domain, sub-directory, or anywhere you like.
Developer-friendly: console API, delivery API, webhooks, etc.
Fast blogging and so much more.
This is the Hyvor Blogs console. This is where you will be writing, editing, collaborating with your team managing all your blog content.
Now let’s move to the Next.js headless blog tutorial!
Step 1: Setup Next.js Blog Project
Create a new Next.js project
For this step, we are using the Automatic installation recommended by Next.js. Run the following command in your terminal.
1npx create-next-app@latestOnce you’ve completed this, you'll see the following prompts in your terminal.
1What is your project named? my-app2Would you like to use TypeScript? No / Yes3Would you like to use ESLint? No / Yes4Would you like to use Tailwind CSS? No / Yes5Would you like your code inside a `src/` directory? No / Yes6Would you like to use App Router? (recommended) No / Yes7Would you like to use Turbopack for `next dev`? No / Yes8Would you like to customize the import alias (`@/*` by default)? No / Yes9What import alias would you like configured? @/*Answer them as necessary to set up your Next.js project with the required dependencies. Here are my answers to the prompts.

Navigate to the project directory
Move into the newly created project folder:
1cd my-appStart the development server
1npm run devThis will open the project in the browser at http://localhost:3000 .
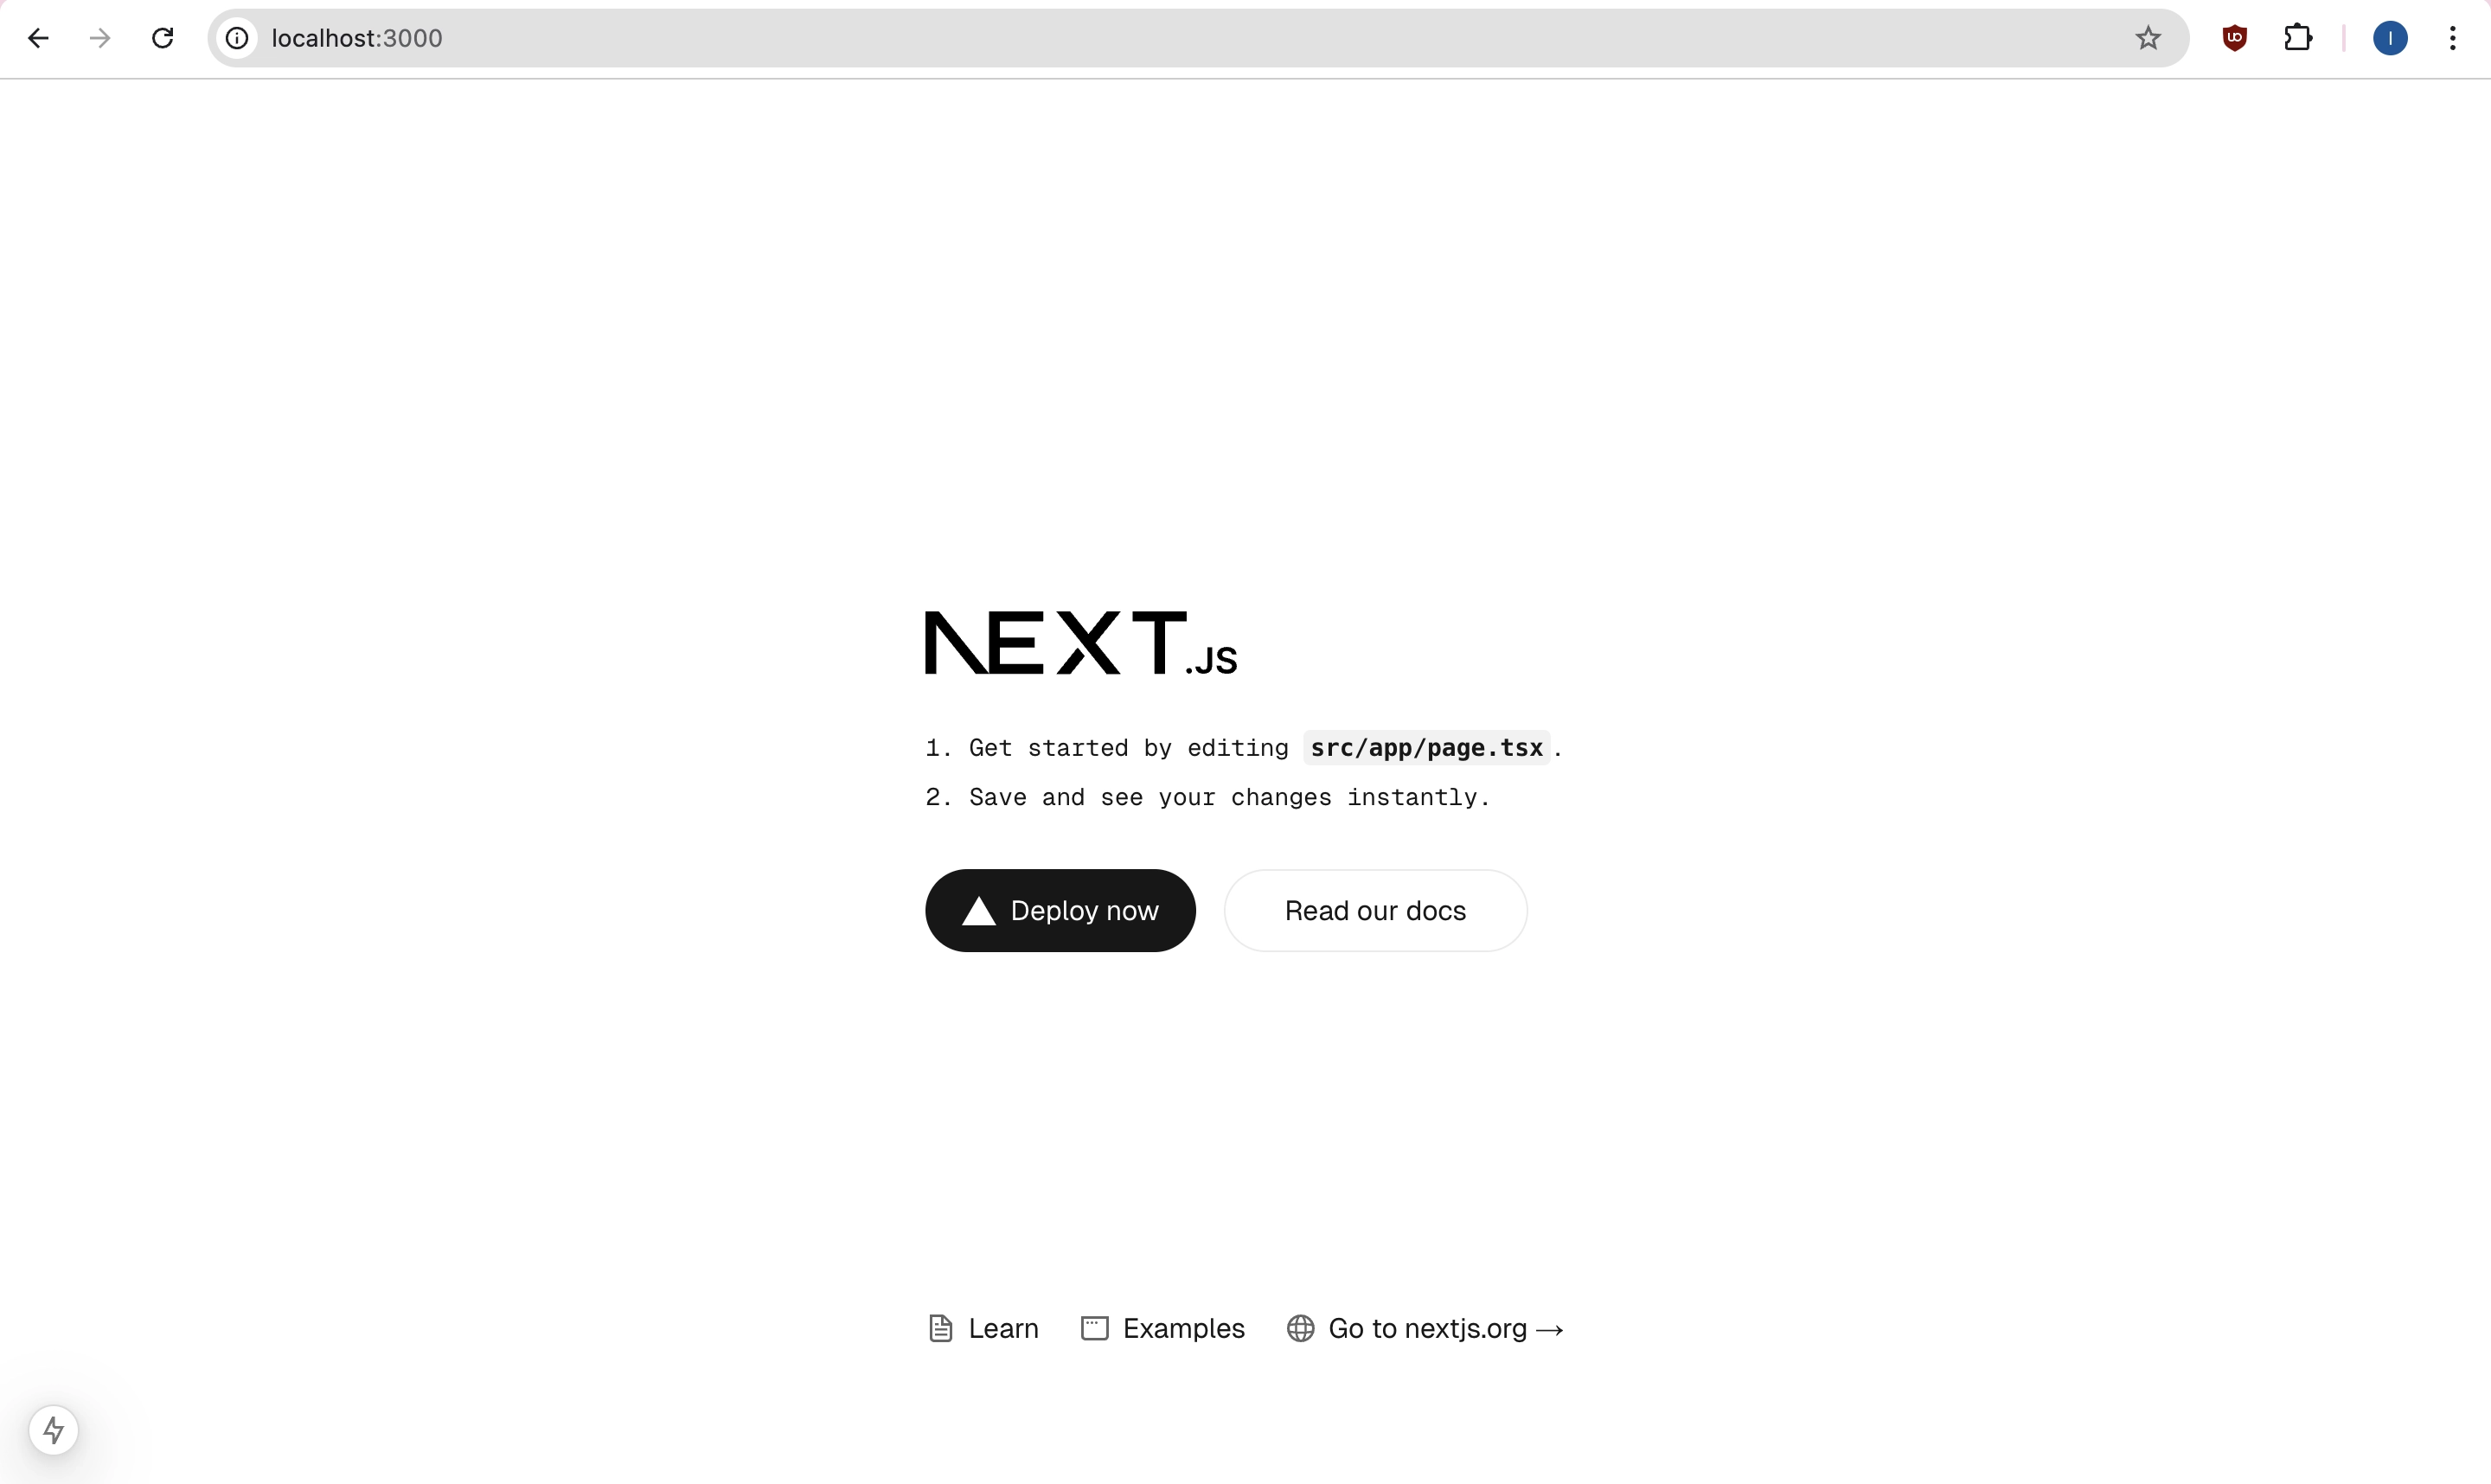
This is the project hierarchy for now.
1my-app/ 2├── public/ # Public assets (images, icons, etc.) 3├── src/ 4│ ├── app/ # App Router directory for routing 5│ │ ├── favicon.ico # Favicon for the app 6│ │ ├── globals.css # Global CSS for the app 7│ │ ├── layout.tsx # Root layout for all pages 8│ │ ├── page.tsx # Homepage - lists all posts 9├── README.md10├── eslint.config.mjs11├── next-env.d.ts12├── next.config.ts13├── node_modules14├── package-lock.json15├── package.json16├── postcss.config.mjs17├── tailwind.config.ts18└── tsconfig.jsonStep 2: Create your Blog at Hyvor Blogs
Go to the Hyvor Blogs console and create your blog. Once you have created your blog in Hyvor Blogs, we need the subdomain of the blog. To get your blog subdomain, go to Console -> Settings -> Hosting -> Subdomain.

For this tutorial, I’m using headless-cms as my subdomain.
To work on building this Next.js blog with Hyvor Blogs headless CMS, we use Hyvor Blogs Data API. Here is the Data API documentation of Hyvor Blogs for your reference.
The Hyvor Blogs Data API provides responses in JSON format, with all endpoints using the HTTP GET method. The base path for the API is https://blogs.hyvor.com/api/data/v0/{subdomain}, for example, https://blogs.hyvor.com/api/data/v0/headless-cms.
Now what is left there to do for us is fetching data from the Hyvor Blogs data API.
Let’s continue.
Step 3: Index page - Post loop page
This is the step in which we create the homepage/index page of the blog where you showcase all the posts of your blog including featured posts, pinned posts, etc.
Goto your Next.js project.
Get started by editing the
src/app/page.tsx.
To fetch data from HB data API, we are using the built-in fetch function of Next.js which is the modern streamlined approach currently.
Initially, there is some dummy code in it, just remove it. After removing those in page.tsx file, we are using it to call Hyvor Blogs data API and fetch the posts data. To do that, use the base path and call Data API’s posts endpoint to fetch post data as shown below.
1export default async function HomePage() { 2 const subdomain = "headless-cms"; // Replace with your blog's subdomain 3 let posts = []; 4Now this is what it looks like when you successfully fetch post data into your index page of this Next.js blog.
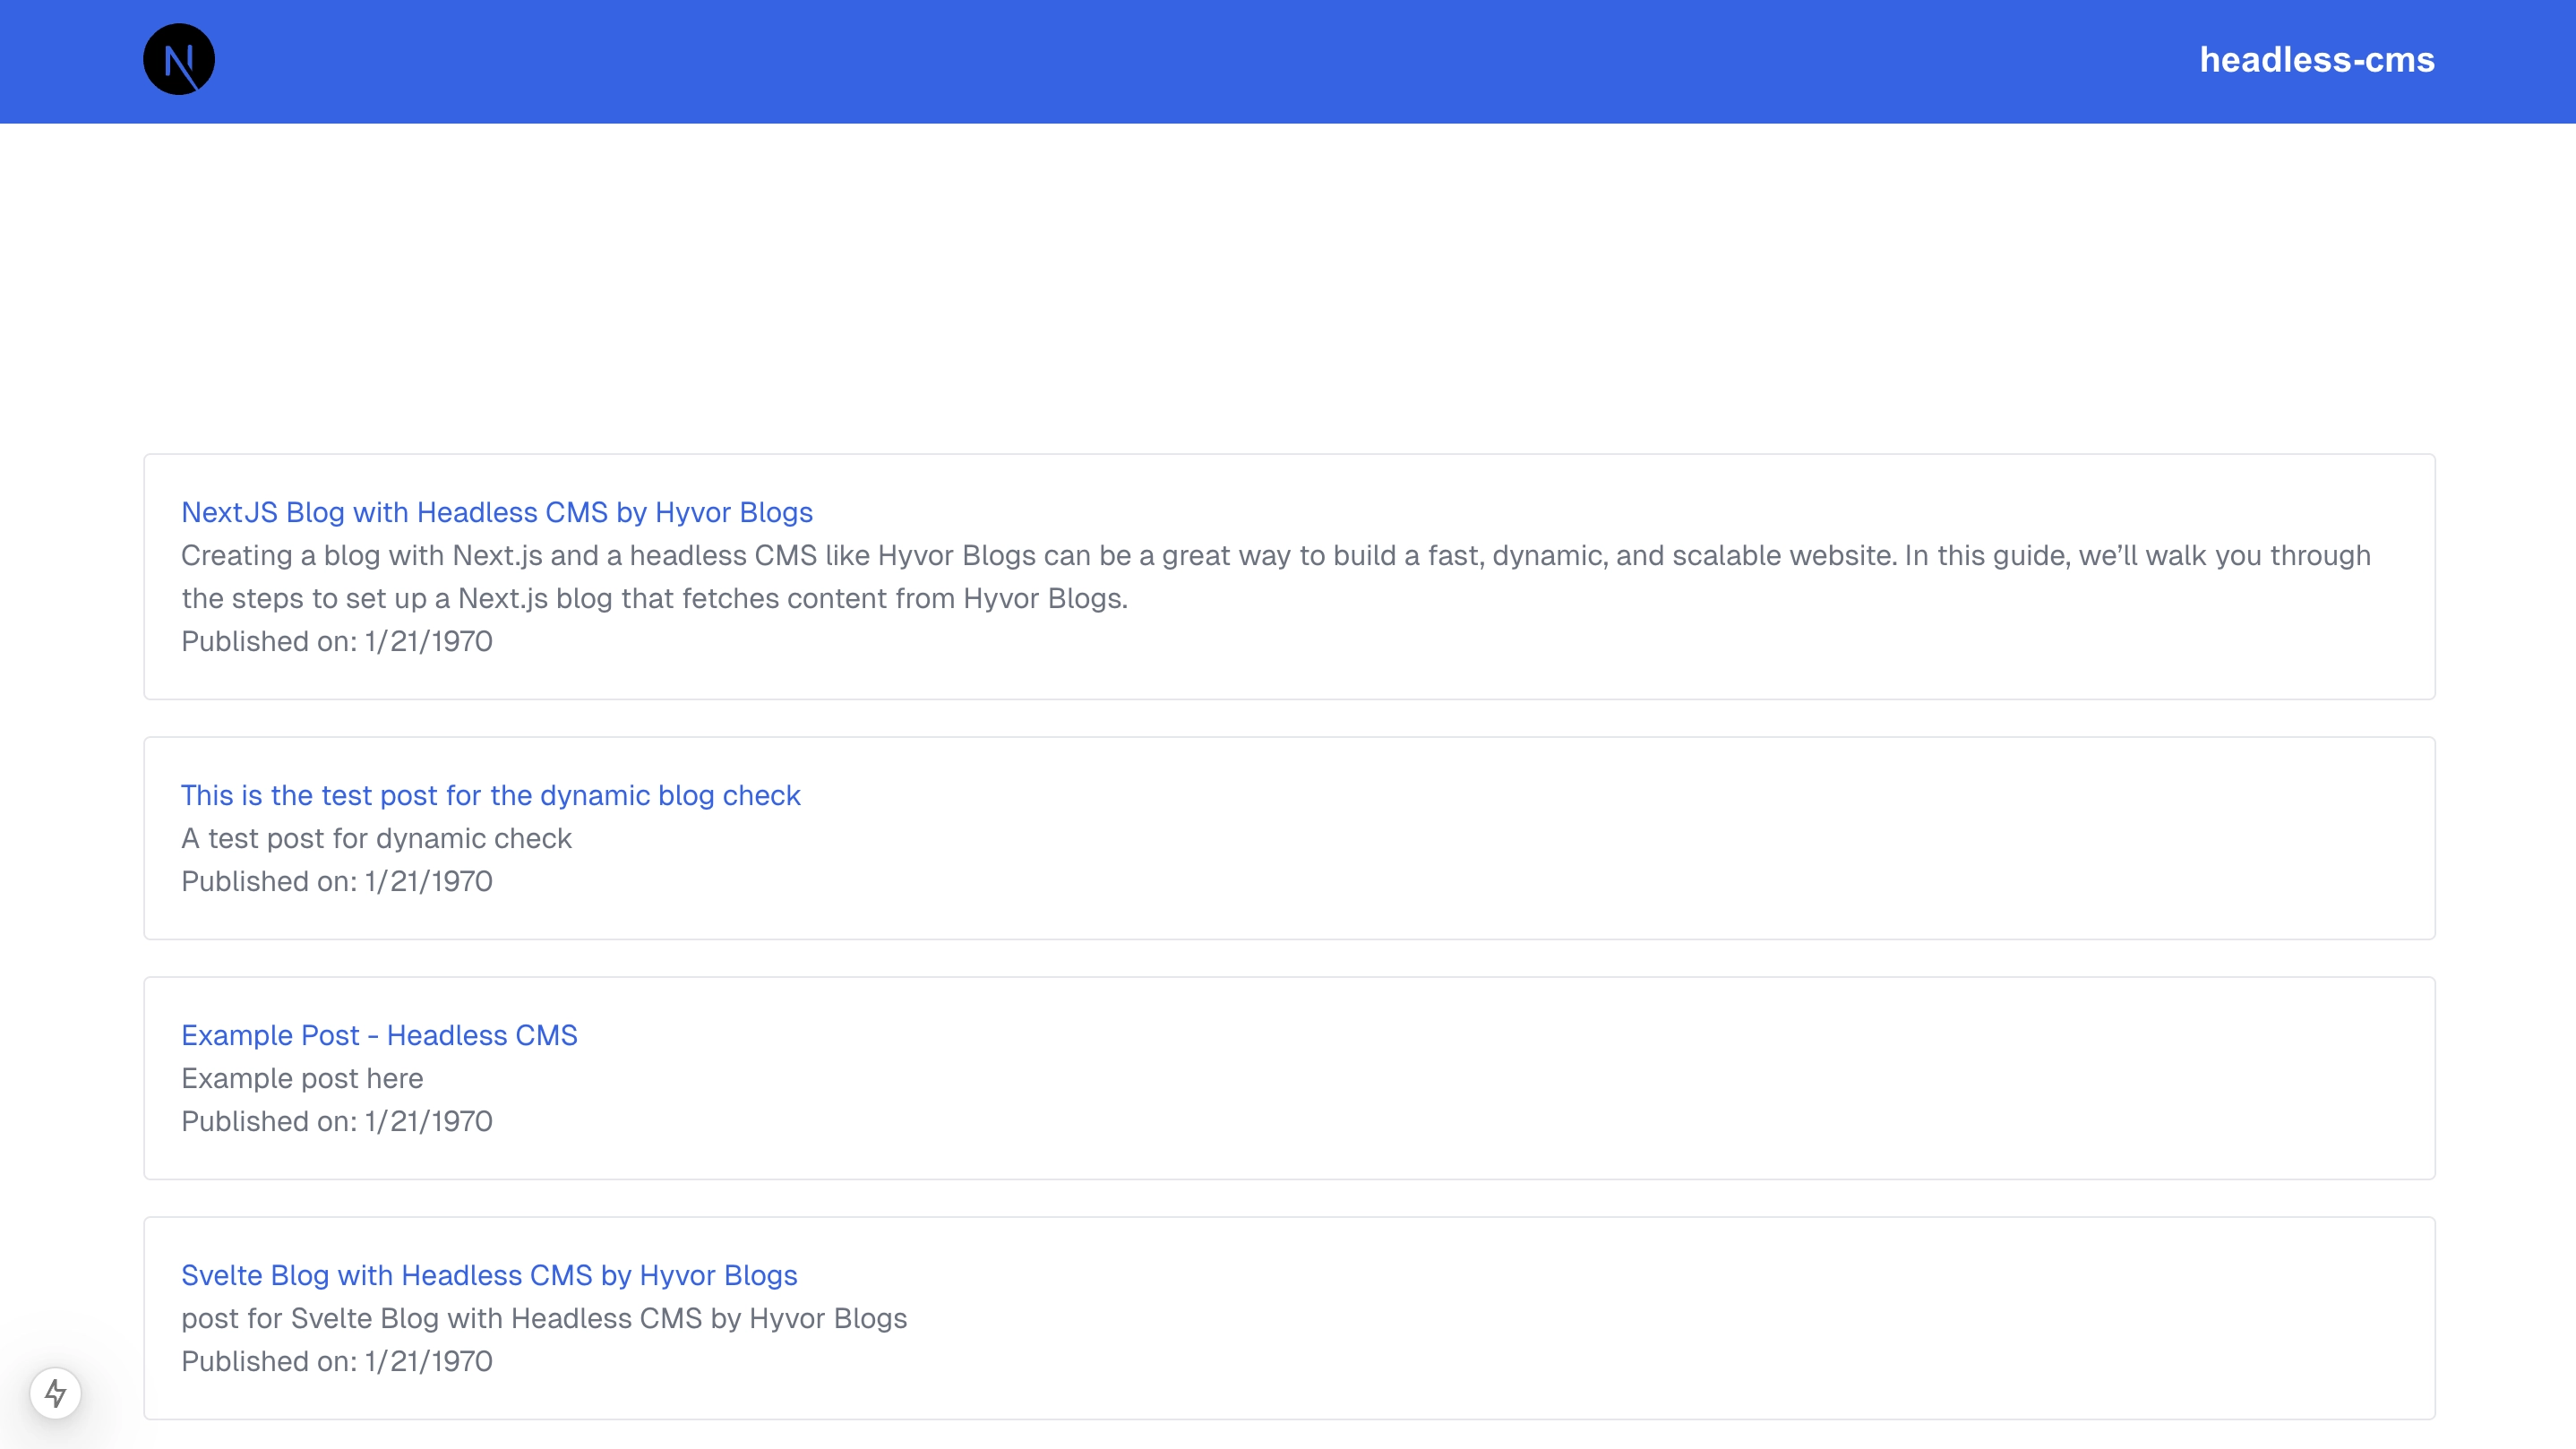
I have added some CSS to style this blog using Tailwind to make it more visually appealing. I mean, who loves to stare at an ugly blog, right?

Step 4: Post page
In this step, we are going to show post content when clicking on a particular post. Therefore when a post loads its content with a URL that looks like /[slug] .
Create a new route folder named
[slug]in theappfolder:/app/[slug].Then create a
page.tsxin it:/app/[slug]/page.tsx.Fetch post content data in that
page.tsxas follows.
1export default async function PostPage({ 2 params, 3}: { 4 params: Promise<{ slug: string }>; 5}) { 6 const { slug } = await params; 7 const subdomain = "headless-cms"; // Replace with your subdomain 8Once completed, it will look like this.
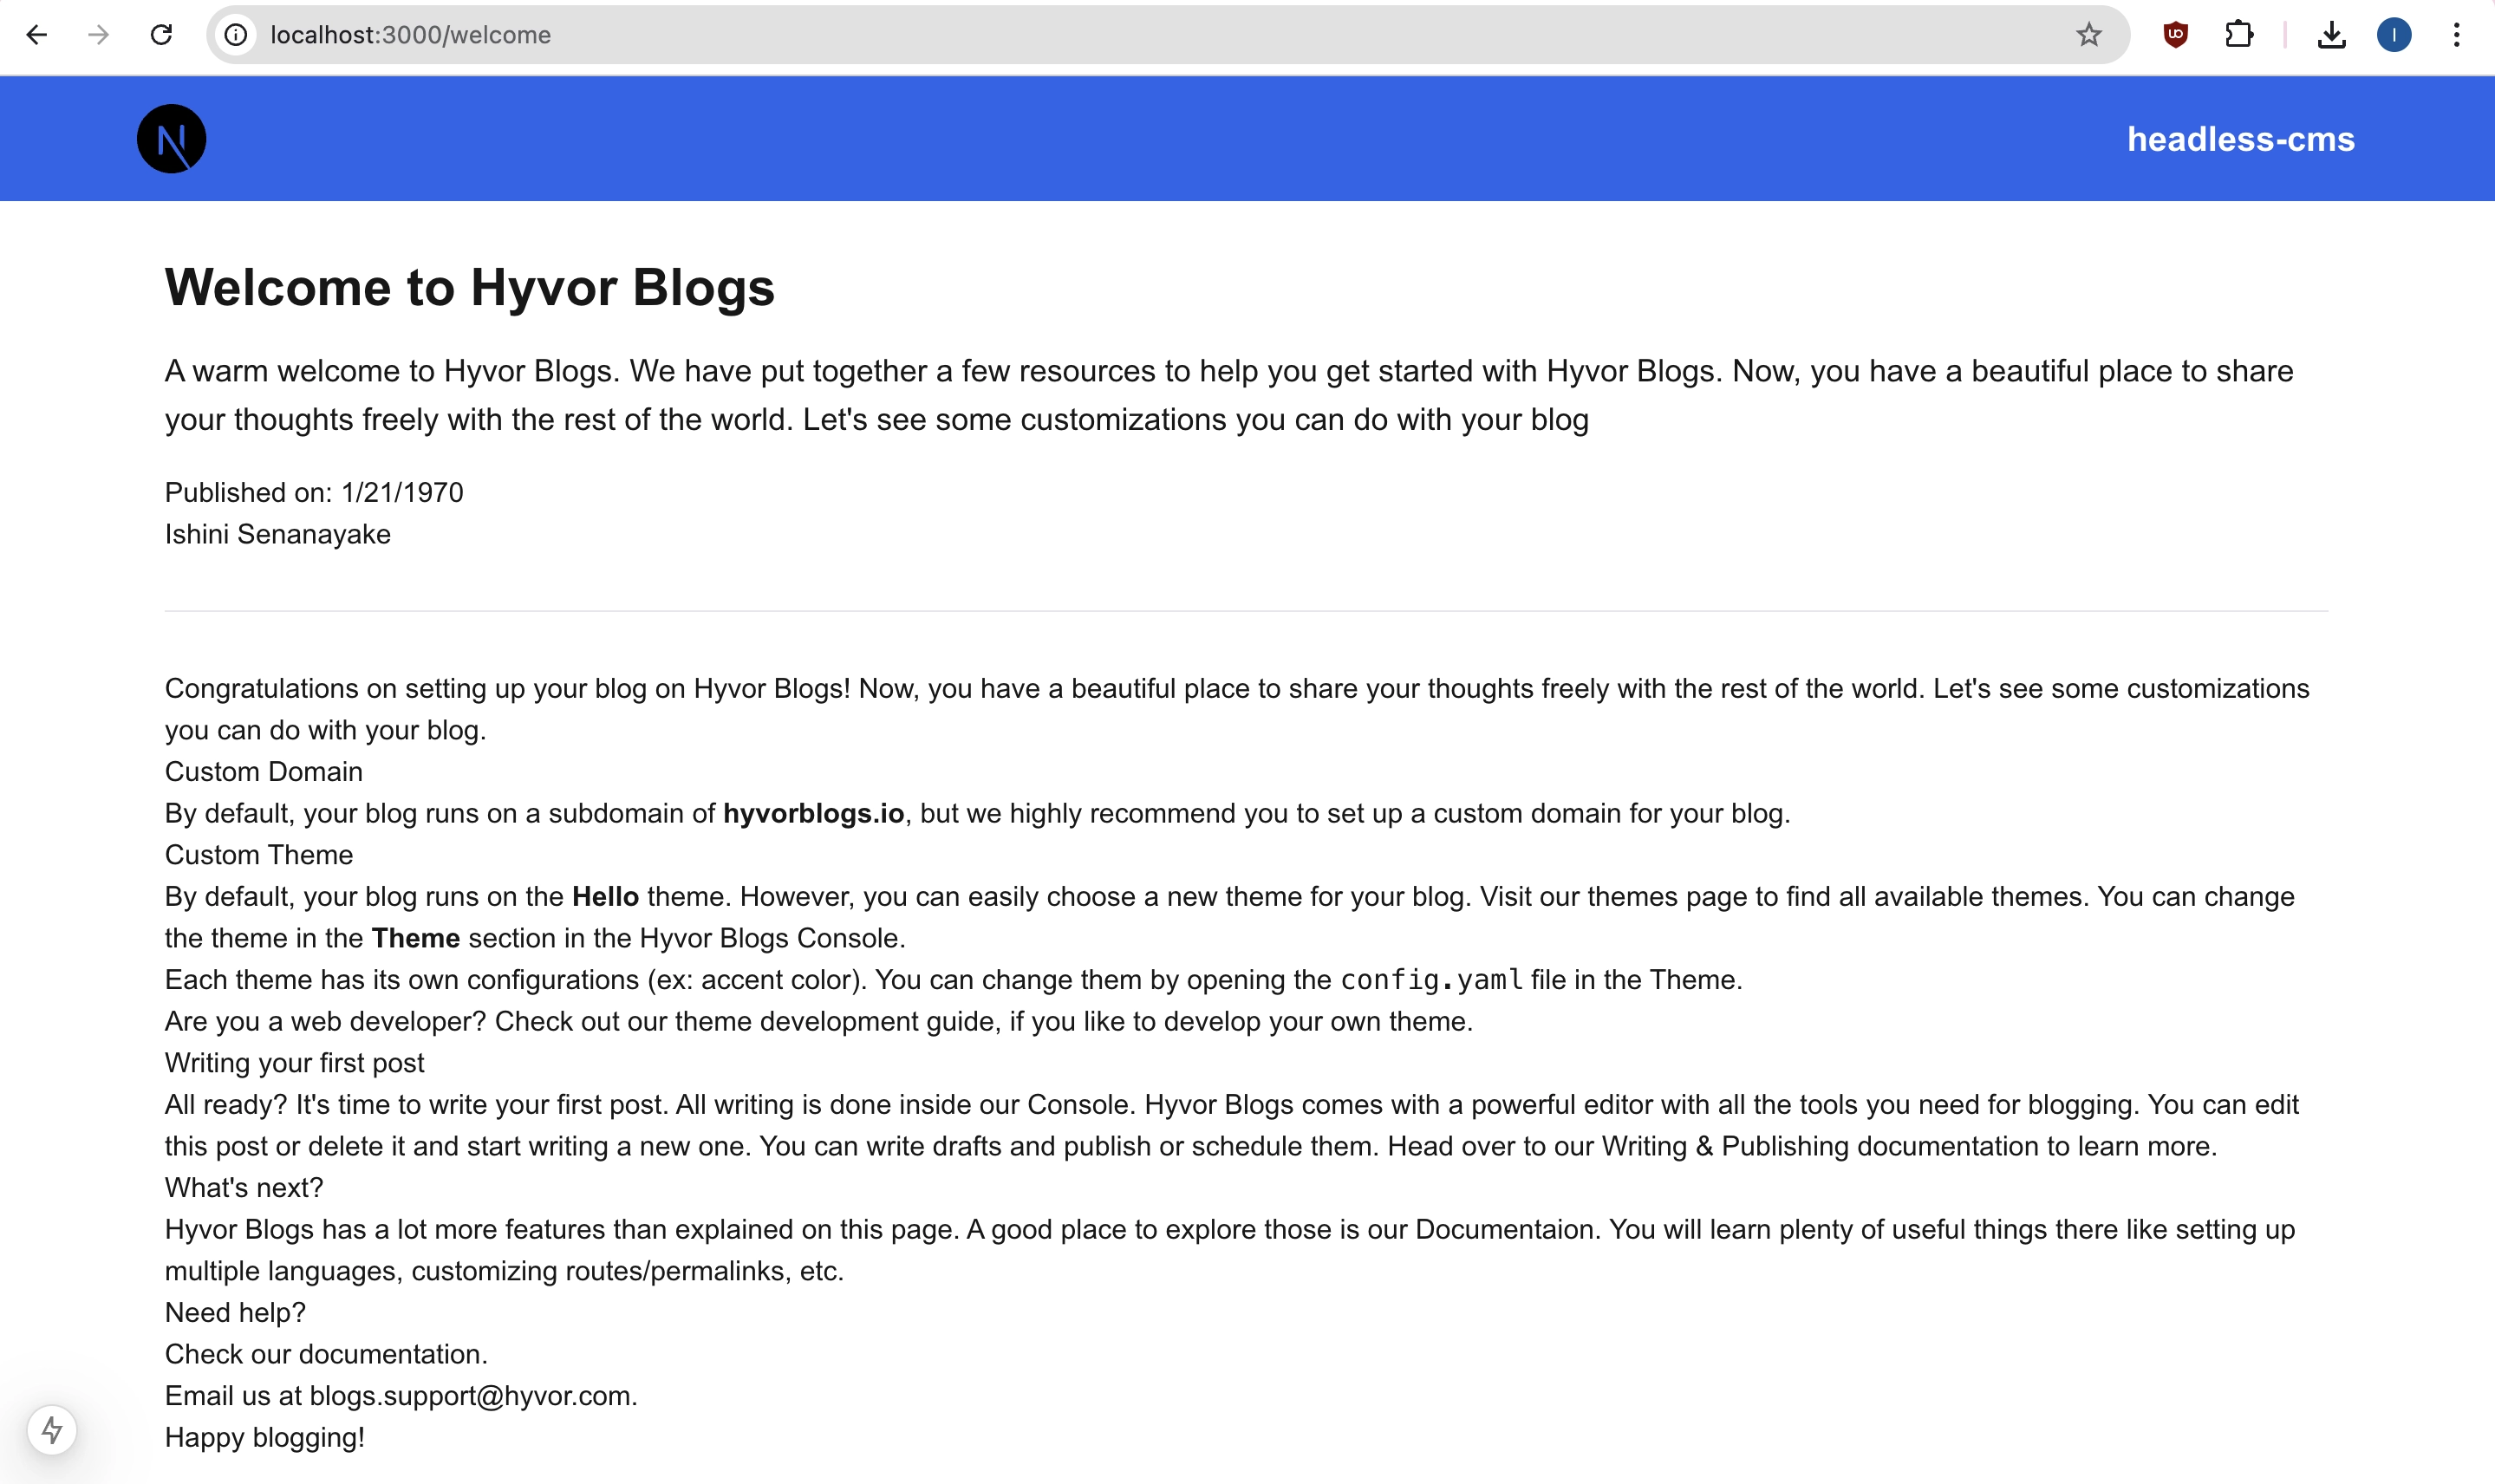
You can style the content of posts using CSS. Refer to our documentation. Refer to our content-style post which has all the content blocks.
Step 5: Pagination
Now we are going to set up pagination on the homepage of our Next.js blog.
To add pagination, we use the Pagination Object of Hyvor Blogs data API. To limit the number of posts we show on each page, we will be using limit and page params. The URLS of the pagination pages will be like /page/1 .
Create a reusable Pagination component.
You can add pagination buttons without using a component but that will bring lots of repetition of code in your project. Therefore to create a Pagination component, create a folder named
componentsin yoursrcfolder:/src/componentsIn the
componentsfolder create a file namedPagination.tsx. This is where we going to design our pagination component.
1interface PaginationProps { 2 pagePrev: number | null; 3 pageNext: number | null; 4 basePath?: string; // Optional base path for URLs 5} 6Go back to
/app/page.tsxfile. We have to make some changes to limit the number of posts shown on each page. Changes are to make the root page/should correspond to/page/1and limit the number of posts on a page.
1import Pagination from "@/components/Pagination"; 2Then create a folder in your
appfolder namedpage. Inside thepagefolder, create another folder named[pageNumber]. Inside the[pageNumber]folder, create apage.tsxfile:/app/page/[pageNumber]/page.tsx.
1import Pagination from "../../../components/Pagination"; 2Et Viola! We have just completed the pagination for our Next.js blog.
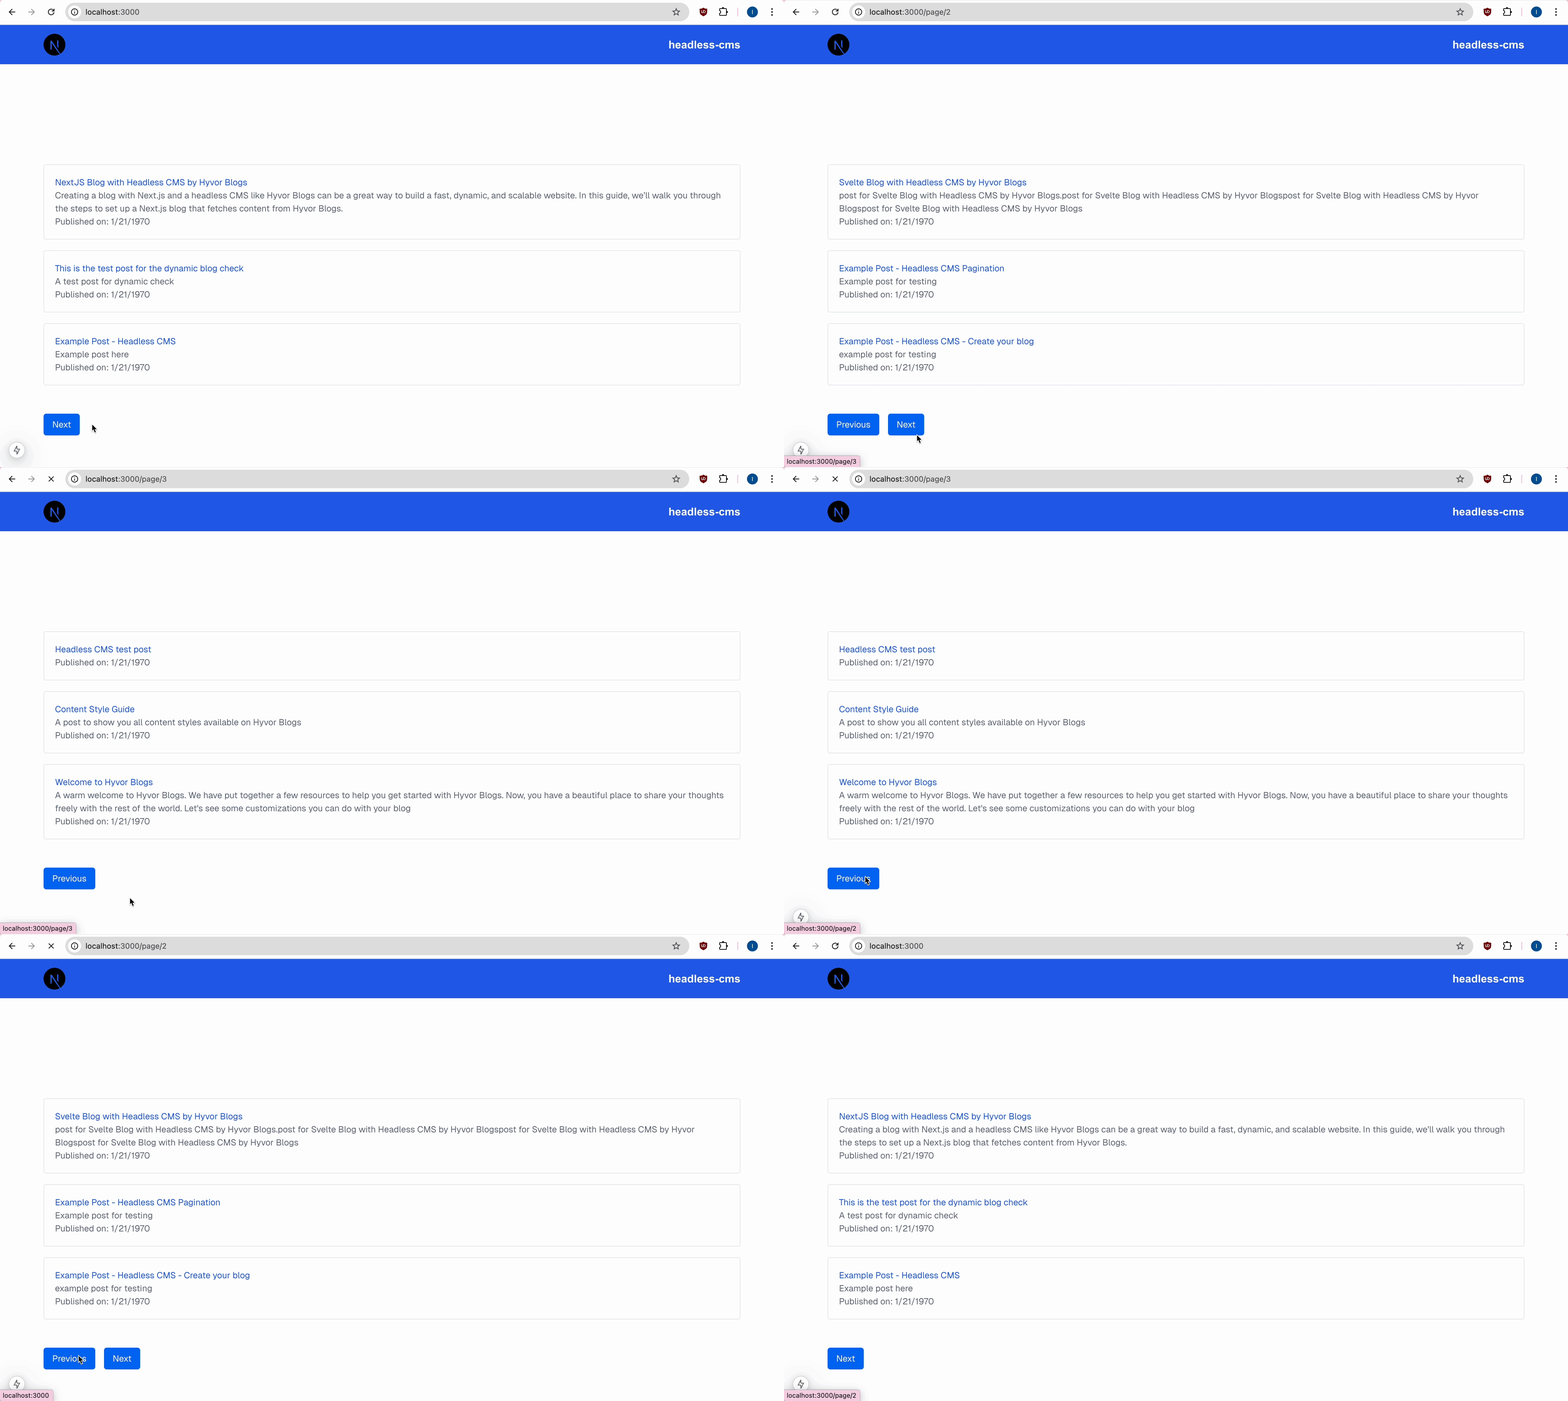
Step 6: Deploying
You can deploy your blog with Vercel or self-host it on a Node.js server, Docker image, or static HTML files. Here are the guides provided by Next.js for self-hosting. Follow the steps in those guides to deploy your Next.js blog.
Here is the link to our Next.js blog which we built in this tutorial deployed using Vercel.
And, here is the project’s GitHub repository for your reference.
Tips
To add an author’s page, you can use the
authorsendpoint which returns the authors object.To add a tags page, you can use the
tagsendpoint which returns the tags object.To do multi-language blogging, you can use
languageparam and language object.

Yay! You've built a Next.js blog using a Headless CMS Hyvor Blogs.
Feel free to expand this project using our Data API endpoints and objects.
Let me know by commenting down below if you hit a dead-end and need assistance.
You can also check out our headless CMS tutorials that are written for other front-end frameworks and libraries.
If you do not wish to create a headless Next.js blog, you can always create a Next.js blog with Hyvor Blogs.
Happy Blogging!

Comments