WordPress is the world’s most popular site management system. It powers more than 33% of all websites on the internet. Unlike Wix, Weebly, or Squarespace, WordPress.org is actually 100% free. Most bloggers choose WordPress because it is simple and easy to work with. In a blog, it is important to set up a WordPress comments section. In that case, WordPress offers its users a native commenting system to make things much easier.
WordPress Comments: The Native Commenting System
Comments are an essential part of almost every WordPress website. However, it is important to have comments under control: zero spam and allowed under the pages or posts you want them to appear.
In the WordPress native commenting system, blog owners can keep comments under control with a few tricks. See our preventing WordPress comments spam guide if you like to dive into that topic.
The following list shows what blog owners and blog users can do with the WordPress native commenting system.
Manual approval for comments before publishing
Avatar controlling
Spam free commenting
Allow people to post comments on new articles
Disable Comments on Specific Pages or Posts
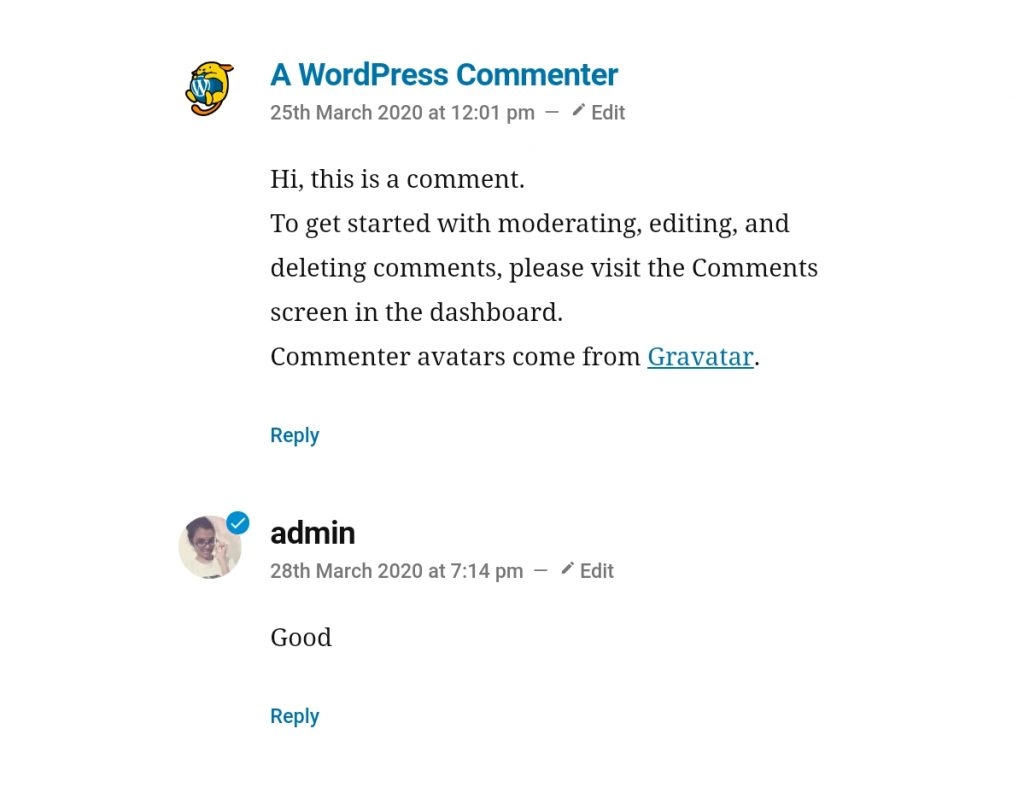
Here is what the WordPress native commenting system looks like. However, the way comments are shown on your site depends on the WordPress comments settings and on the theme that you are currently using.
Settings for WordPress Comments
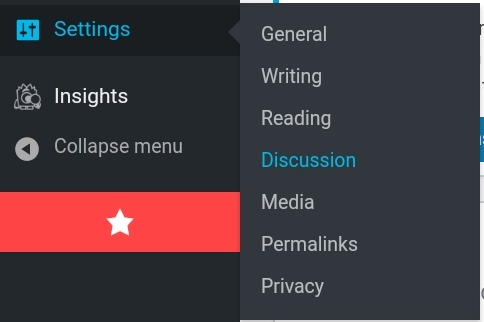
There are some general settings that a blogger can change in WordPress. All of these settings are short and sweet. You don't need to be a WordPress expert to utilize these features. The path to these settings is Settings -> Discussion tab, in your WordPress admin panel.
1. Allow people to comment on new articles

Assume that you need to create an environment for people to comment on your posts. To make this setting, you need to tick check the box saying allow people to submit comments on new posts under default post settings.
2. Comments must be manually approved

Sometimes, comments could be harsh, spam, promotional, or inappropriate. So, you need a moderation process before users submit their comments. To make this setting, you need to tick the checkbox saying Comment must be manually approved Before a comment appears.
After checking it, all the comments will hold until you approve them.
3. Show Avatars in WordPress Comments
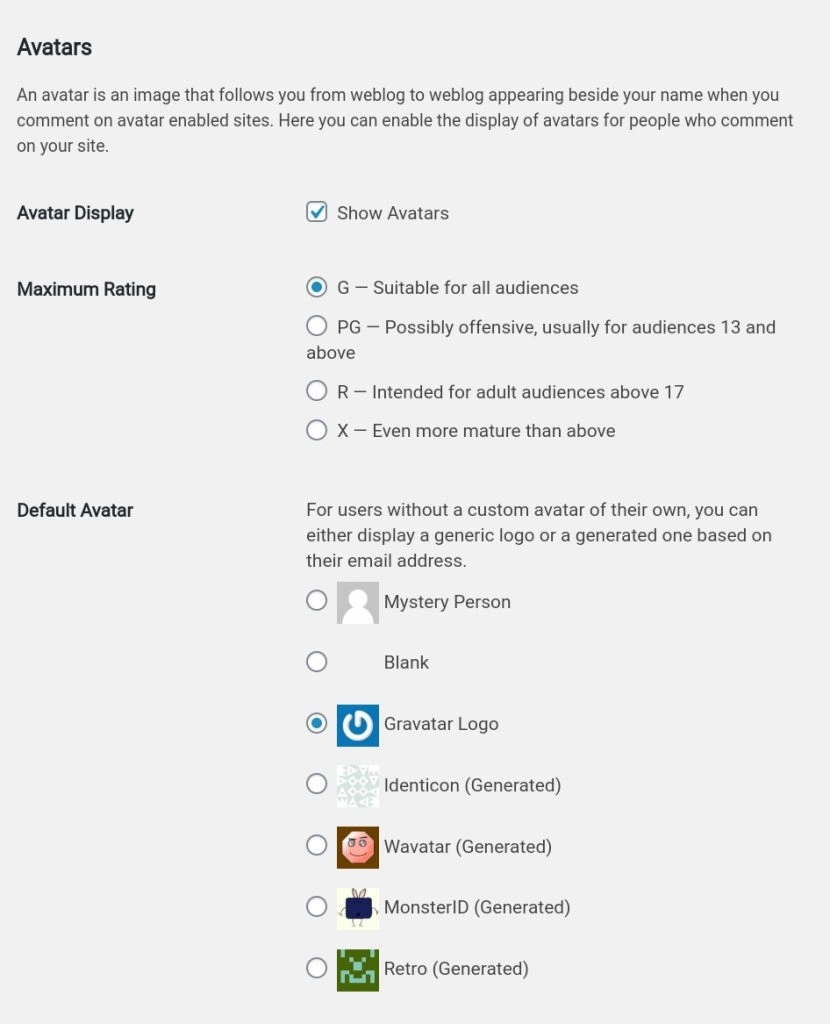
An avatar is an image that follows you from weblog to weblog appearing beside your name when you comment on avatar-enabled sites. Here you can enable the display of avatars for people who comment on your site.

Apart from the above main settings, there are some other settings that you can enable or disable such as email notifications. You can also disable comments by unticking the corresponding checkboxes on the checklist.
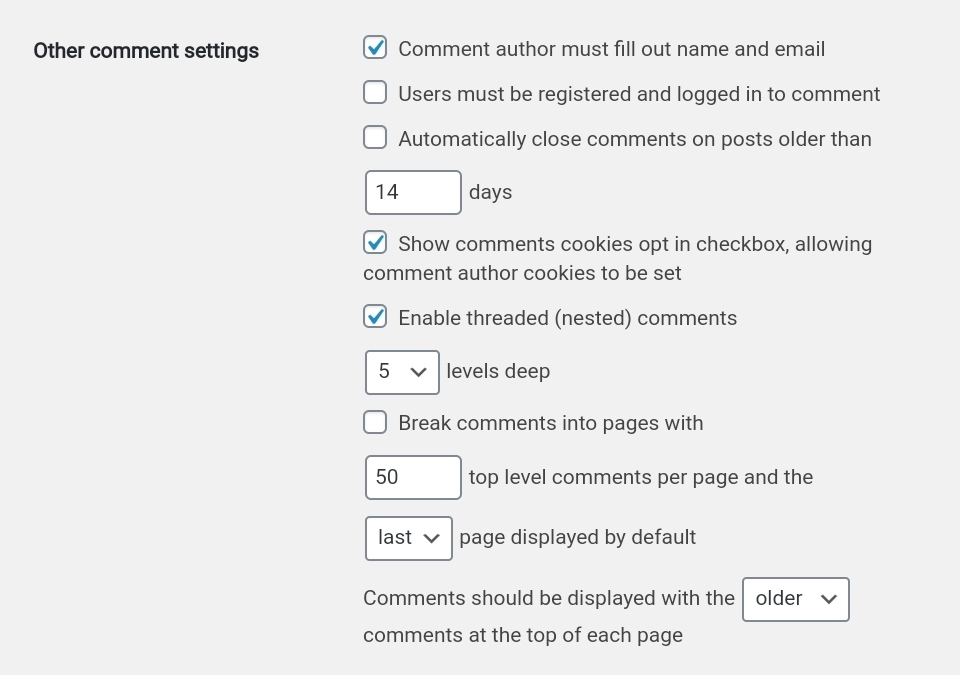
Moreover, you can set settings to people log in before commenting, enter their name before commenting, the number of comments shown on the page, etc. You will see these settings when you go through the Settings -> Discussion tab in your WordPress admin panel. However, doing this can decrease the number of comments you get drastically because people don't like to sign up for a blog just to leave a comment.
But, there are some downsides to using WordPress native commenting system.
No reactions and votes support.
Less attractive interface.
No text editor to write comments.
More spam.
It can be really slow when you have a lot of comments, which will not only slow down the comments section but also your complete site. (Because your comments are saved in your database.)
Reactions are compulsory if someone wants to attract more users and improve user interaction.
If you want to improve user interaction on your blog, it is time to think about continuing to use WordPress Comments. A text editor is also something important for a commenting section as users want to add links to words or format their comment texts. These features aren't in WordPress Comments. To solve those issues, you can shift to a third-party commenting plugin.
How to Install Third-Party Commenting System for WordPress
As WordPress Comments are not enough for your plans of success, you may have decided to shift to third-party commenting systems. In this case, you need to choose a good commenting system appropriately.
Follow these steps to install a third-party commenting plugin on your WordPress site.
First of all, choose an appropriate third-party commenting system
Note: For most users, Hyvor Talk is a good solution for WordPress comments. If you need to know why Hyvor Talk is better than other alternative comment systems for WordPress, this guide will help you.
Secondly, Go to the "Dashboard"
Thirdly, select "Plugins" and select "Add New" from the pop-up menu.
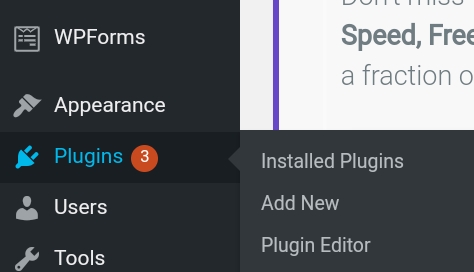
Then, type the name of the third-party commenting plugin you have chosen. (Eg: Hyvor Talk)

After that, you will see the search results under the search bar.
Then, click "Activate".
After clicking it, the commenting plugin is activated. You will see a message from WordPress like this.

After all, you can go further with the steps of installation of the corresponding commenting plugin.
If you have chosen Hyvor Talk, here's the complete guide on installing it on WordPress. You can also import your previous comments from the WordPress native comments system to Hyvor Talk with a few clicks.
Conclusion
WordPress provides a minimal commenting system for WordPress bloggers. While WordPress native comments system is a fine commenting system, if a blogger wants more from comments, it is better to shift to a third-party WordPress commenting plugin. If you have any questions or suggestions please feel free to comment below.
Happy Blogging! ✌

Comments